Transcript
The coffee table frame is coming together really well. And now we’re up to deciding what we’re going to use for the top. Now Julie has got her ideas. She wants to do a bit of glass work. Leah’s thinking of breaking up some old bits of china and doing some sort of mosaic. But the old chippy in me has found a beautiful bit of taxi. Okay, now this is one of the old beams from the original extension back in the seventies. So we’ve cut it up. I’ve given a bit to pull the foreman to do a structural beam going into the garage. And I’ve got a couple of pieces here which we’re going to buff back and see what little bits of feature we can find and how we’re going to lay them out. I’m looking for a rustic finish on my table.
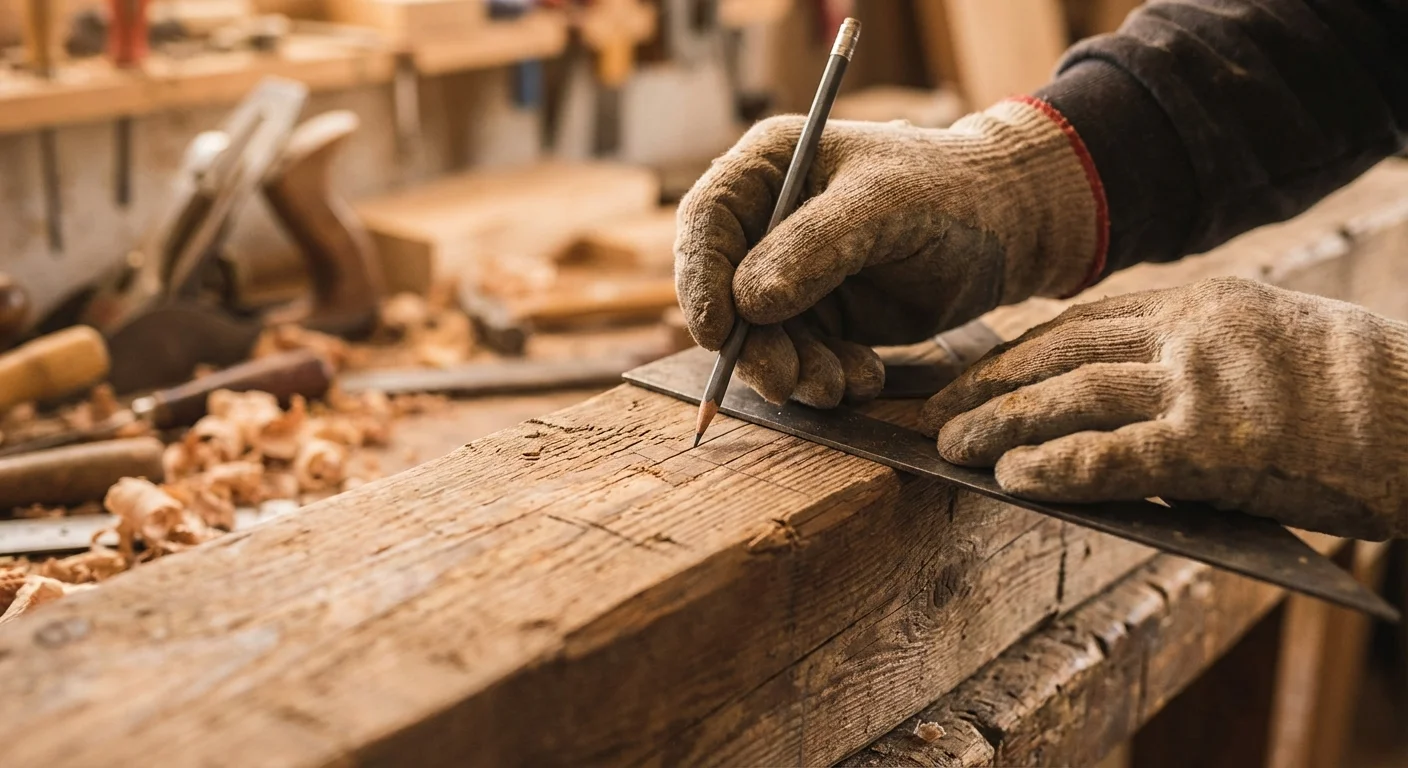
So these timbers are perfect They’ve got a few splits in them, a few nail holes, and we’re going to really make them stand out as the features of the table. So our table base, if you remember, was made of 60 by 3 40. I’m going to mark that out there. I’m just going to go over. So make that 1100. So now I’ve selected my area, it’s time to put it all together. Now, there’s a couple of ways to go about doing this because we want to create some strength in this joint. And when you’re using a biscuit joiner, you’re going to need a special tool, and even when you use a doubt, there is a jig that you can use to get your holes aligned perfectly. But with this table, I’m going to show you a little way to get out of it without any of those expensive bits and pieces. I’m going to line up both of my pieces on the table like that. There’s a variance in height, but that’s okay, just mark at the end of my table. I’m going to give myself a couple hundred mil extra, but when we cut them off later from here, I’m going to start marking out my dau locations.
150 in. 150, 300 in. Now there’s no regulation or specification on how often you need to space them, just as long as you get a few along the run, it’s going to be nice and solid. And once he marked him out, get your set square and mark across both bits of timber. And this was about 45 mils. So I’m gon na go with 22 ISH, so half that, and then from my two top sides, I’m going to mark an intersection with the lines I’ve just done. So if I do this right, it’s going to pull my two tops together nice and flush before I drill my holes for my dowels. I’m just going to put a little punch in it. They’re just going to make sure my drill doesn’t go offline. So we’ve got our eight-millimeter dowel bits and we’ll use an eight-millimeter drill now that they’re 38 mil long.
So I want to drill in 20 mil into each of our bits of timber. Now here’s where you’re going to need a bit of a steady hand. So I’m going to put it in the little punched out hole. I’m going to start it off nice and slow. And just keep looking around to make sure my angles are nice and square. Get down to the tape job’s done. You can never have too much. Mhm. Now to install my dowels, it’s not about holes. And then wind him up. Let’s come out beautifully level. And that’s what we wanted. Now we just have to let that dry. I’ll go back to doing my legs. Then we come back and start finishing this off. Now the first stage of our tabletop is done, and I’m thrilled that we’re using another bit of recycled material from the house.
Now we get back to our legs and because of the metal, there’s a couple of ways we can fix these together. So I picked up a couple of different types of screws just to do a test on an old bit of steel first because it’s really tough. I don’t want them to break off on my good table, and what we’re looking for is a drill bit that’s about the size of the shank. So you want to still hold the little ribs of the screw out themselves, so that’s going to bite into your steel. So when you’re drilling, you want to put a nice lot of pressure on the back of the drill there and go nice and slow. Now, you know when it’s working because you’re getting these little apple peel, like shavings, coming through, right?
I was going to try our first screw with plenty of pressure. So now I’ve done my test holes, which is really important because you don’t want to be breaking screws in your good stuff. Now we can put it all together. Well, that’s the structure done. And that is one sturdy base. Now we’re ready to paint. But before we get into that, I’m just going to get rid of any flakes of paint and rust with a wire brush and then we can apply the hammer, right? Now, for the finish of our base, I’m using the hammer right, satin black. It’s great paint that’s going to hide any imperfections in this old steel. Now, the best thing about this product is that you don’t need a primer or an undercoat; you can just apply it straight to your surface.
Well, there you go. What a transformation this has been from the front of our house to now having our brand new coffee table. So we’re almost there. I’ve just got to stand up at the top now and bring these two halves together. I can’t wait to see what the result is going to be like.