
Have you ever considered propagating your spider plant? It’s an easy and fun way to make more of these lovely plants, and a great way to share them around with family or friends! In this article, we’ll be focusing on propagating spider plants in water.
By the end of this journey, you’ll be able to share your spider plant with plenty of people while saving yourself some money. Propagation is a skill that many gardeners aspire to learn, and it’s easier than you might think!
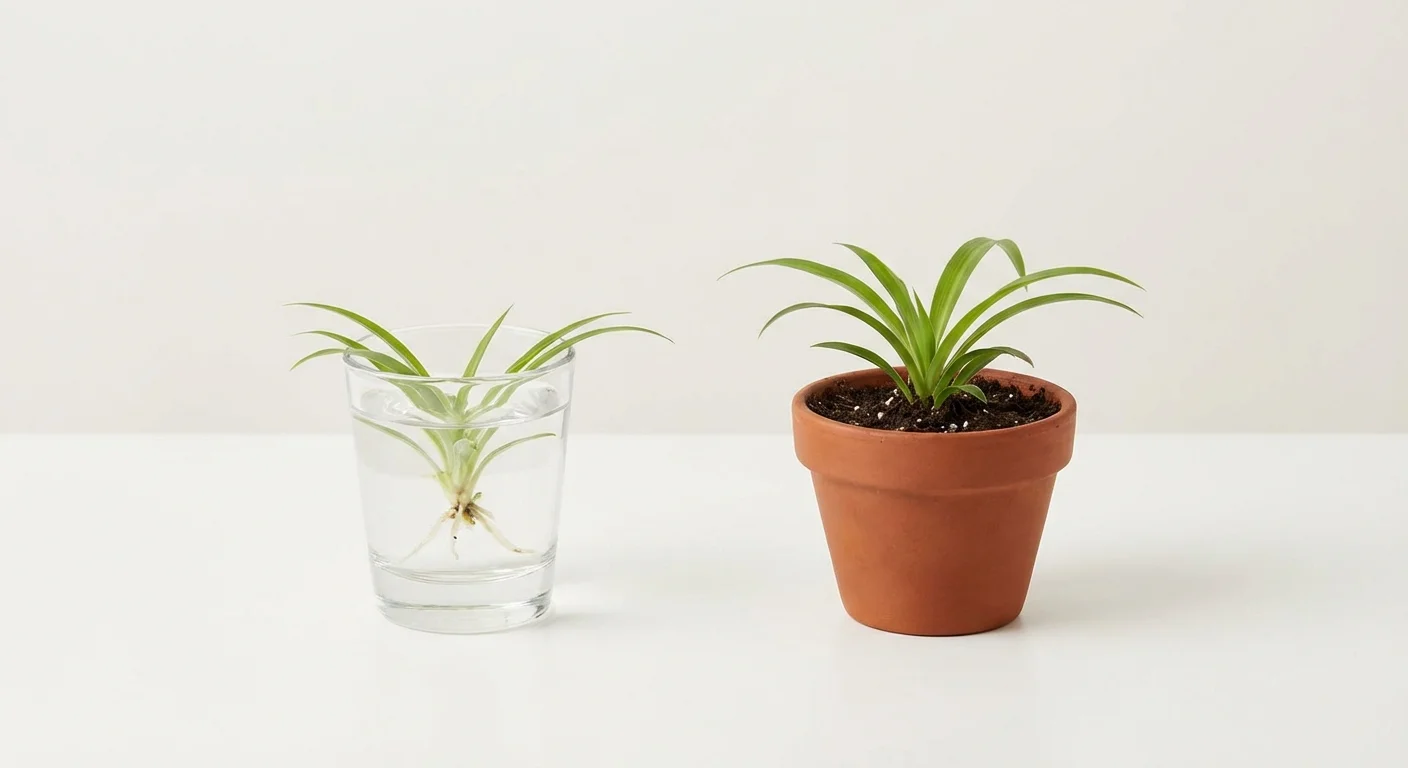
Here’s: How To Propagate a Spider Plant in Water?
Spider plants (Chlorophytum comosum) can be propagated in water, though it is not the most common method. To propagate this plant in water, take healthy cuttings from the parent plant, remove any lower leaves, and place them in a glass of water. This will encourage the cuttings to develop roots.
Materials Needed
When propagating a spider plant in water, you’ll need a few specific materials. Firstly, you’ll need a healthy mother plant with an offshoot, or “spiderette” that is ready to be removed from the main plant. Additionally, you’ll also require a jar or vase full of clean water, as well as the following items:
A healthy mother spider plant: Choose one with lush foliage and that is firmly rooted.
An offshoot or “spiderette”: Look for a young shoot growing along the stem of the mother plant; it should feature several leaves and extend out around 2 inches.
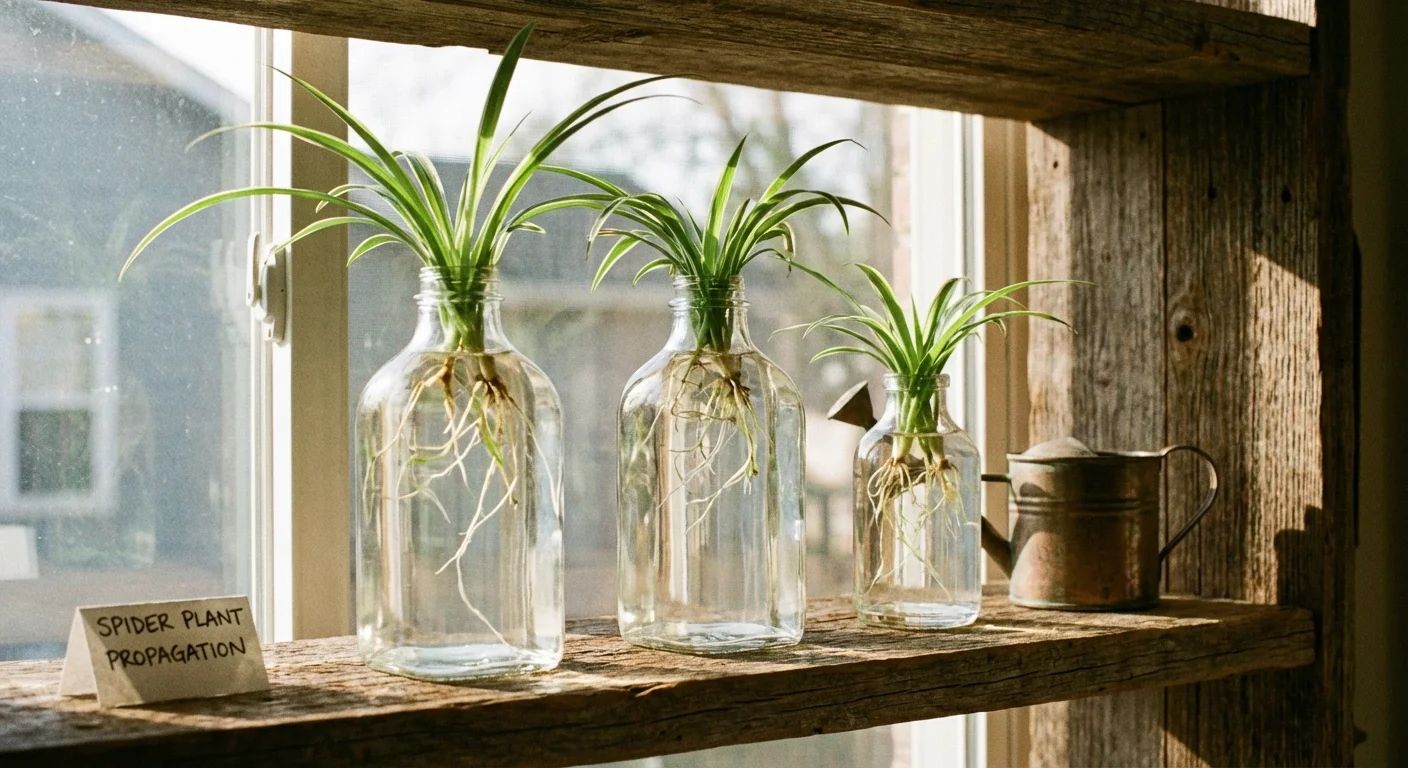
A jar or vase: This will serve as the container for your spiderette while its roots start to develop. The vessel should be transparent, so you can easily watch them grow.
Water: To guarantee successful propagation, use room temperature water that has been properly cleaned.
Step-By-Step Instructions: Propagating a Spider Plant in Water
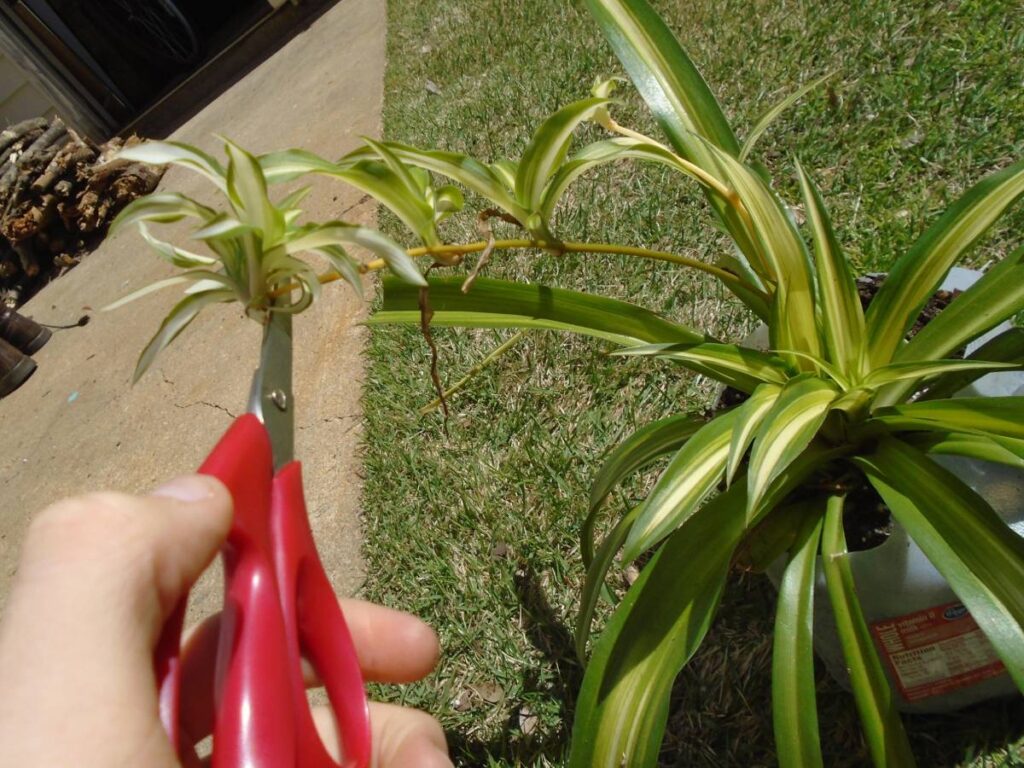
1. Locate a Healthy Offshoot or “spiderette” on the Mother Plant
When it comes to propagating a spider plant in water, the first step is to locate a healthy offshoot, or “spiderette” on the mother plant. These are small plants that grow along the long, skinny stems of the mother plant.
It’s important to choose a spiderette that has a few leaves and at least 2 inches of stem for successful propagation. For an extra boost of health, I like to pick the spiderettes that have roots already growing, but this isn’t necessary.
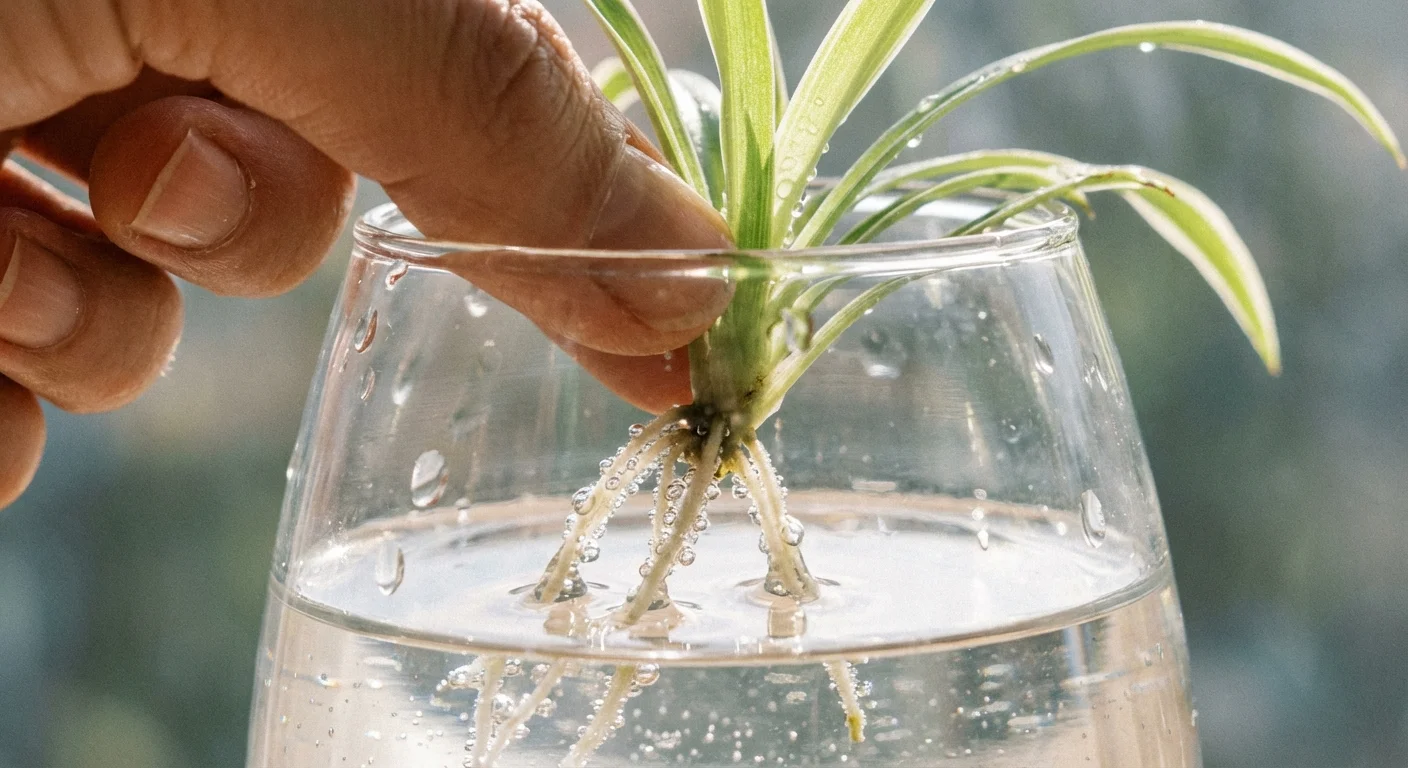
2. Place the Spiderette in A Jar or Vase of Water
Once you’ve found your perfect spiderette, carefully twist or cut it from the mother plant and place it in a jar or vase of water. Make sure the leaves are above the water line so they don’t get soggy!
Then find a warm, well-lit location for your new little friend. I personally like to place my jars near a window that gets indirect light. This is perfect for giving your plant babies just enough sunlight without burning them!
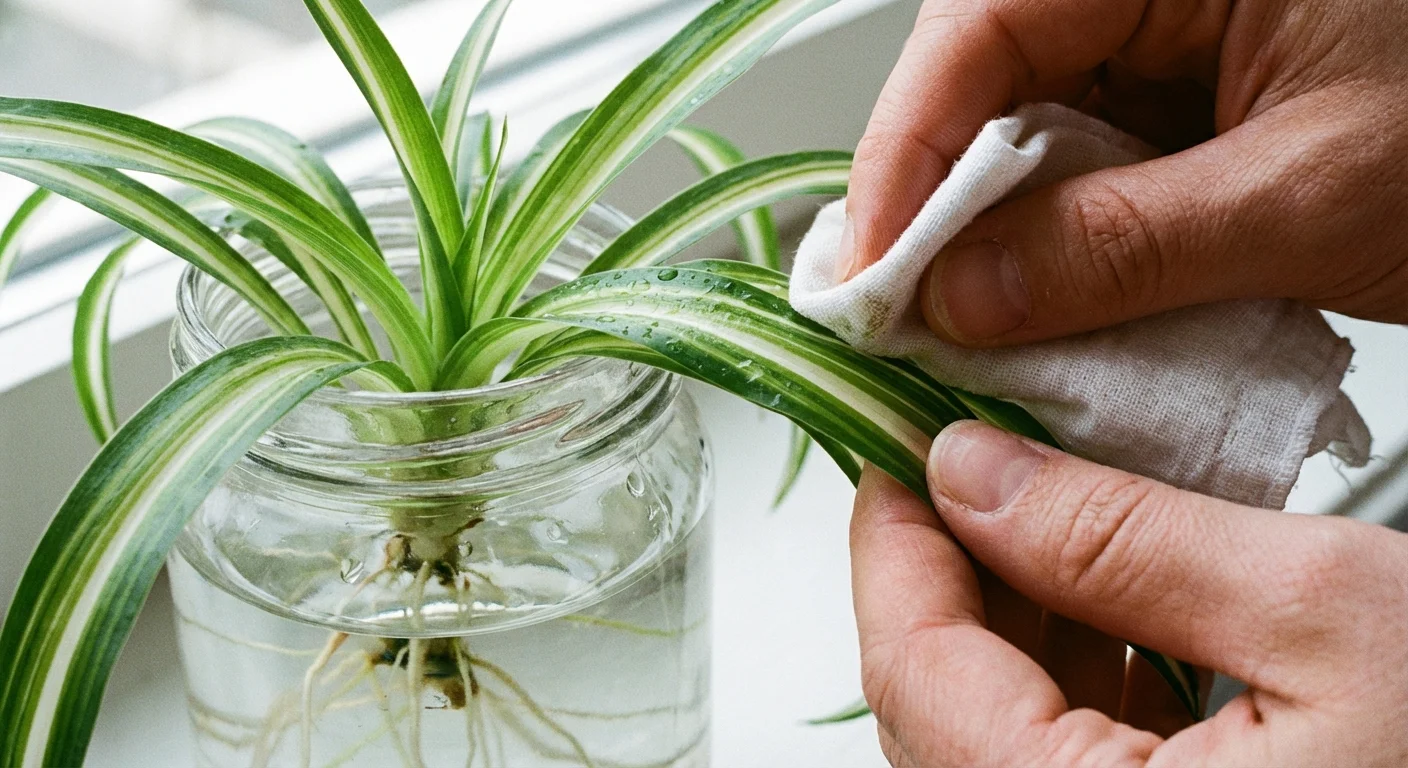
3. Change the Water Every 3-5 Days
It’s important to change the water every 3-5 days to keep bacteria and algae growth at bay. Not only does this prevent unpleasant sights such as green and smelly water, but it also keeps your new plant healthy too!
To make things easier, I like to set reminders on my phone so I never forget when it’s time to change the water.
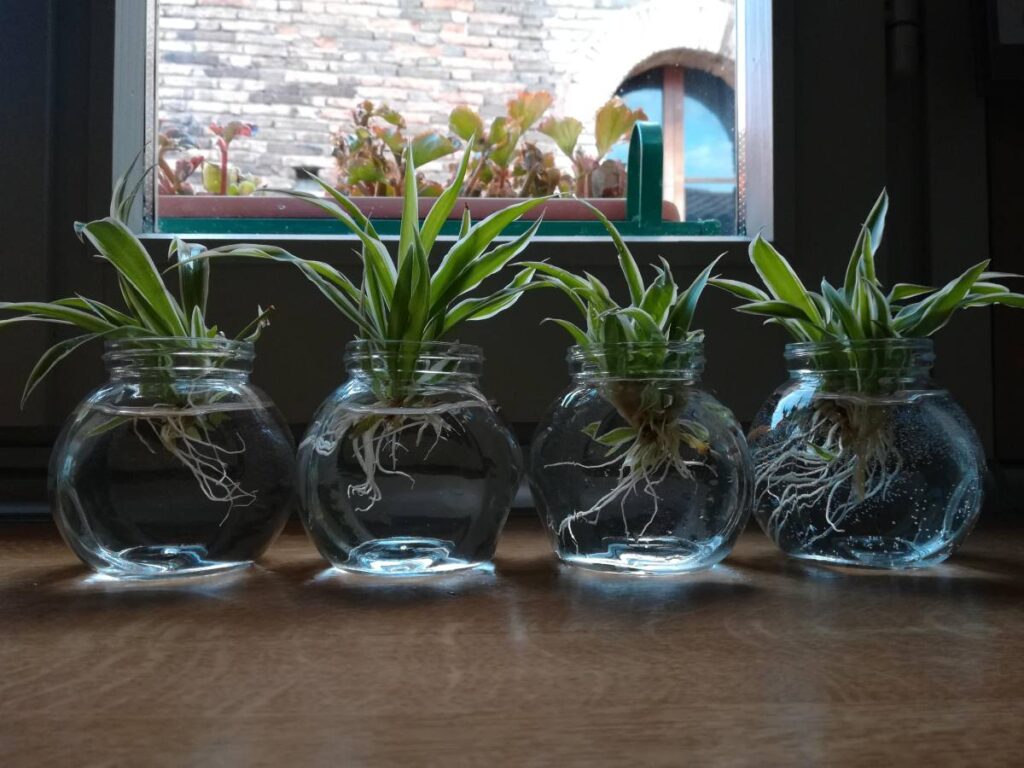
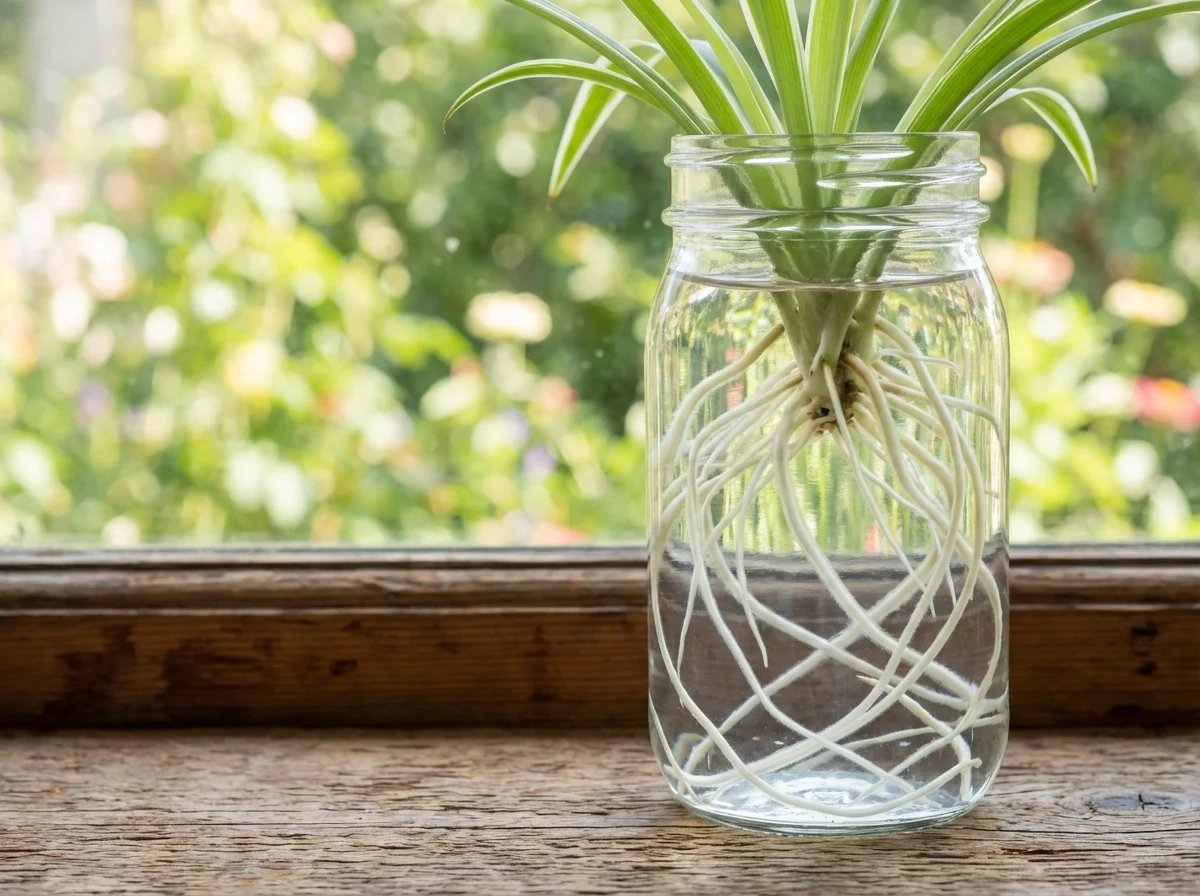
4. Watch for Root Formation
Once you’ve set up your spider plant propagation in water, it’s time to wait and watch for new roots to grow. This typically takes about 2–3 weeks, though it could be longer depending on the conditions of your environment.
When you start to see small roots forming in the water at the base of the stem, you know that your spider plant is healthy and ready to take the next step in its journey.
This is a great moment, as it is a sign that all of your hard work has paid off! Now you can finally transplant your spiderette into a small pot filled with well-draining potting mix.
Keep an eye on the roots so that you can make sure they are strong enough for each new step towards growing a beautiful, happy spider plant!
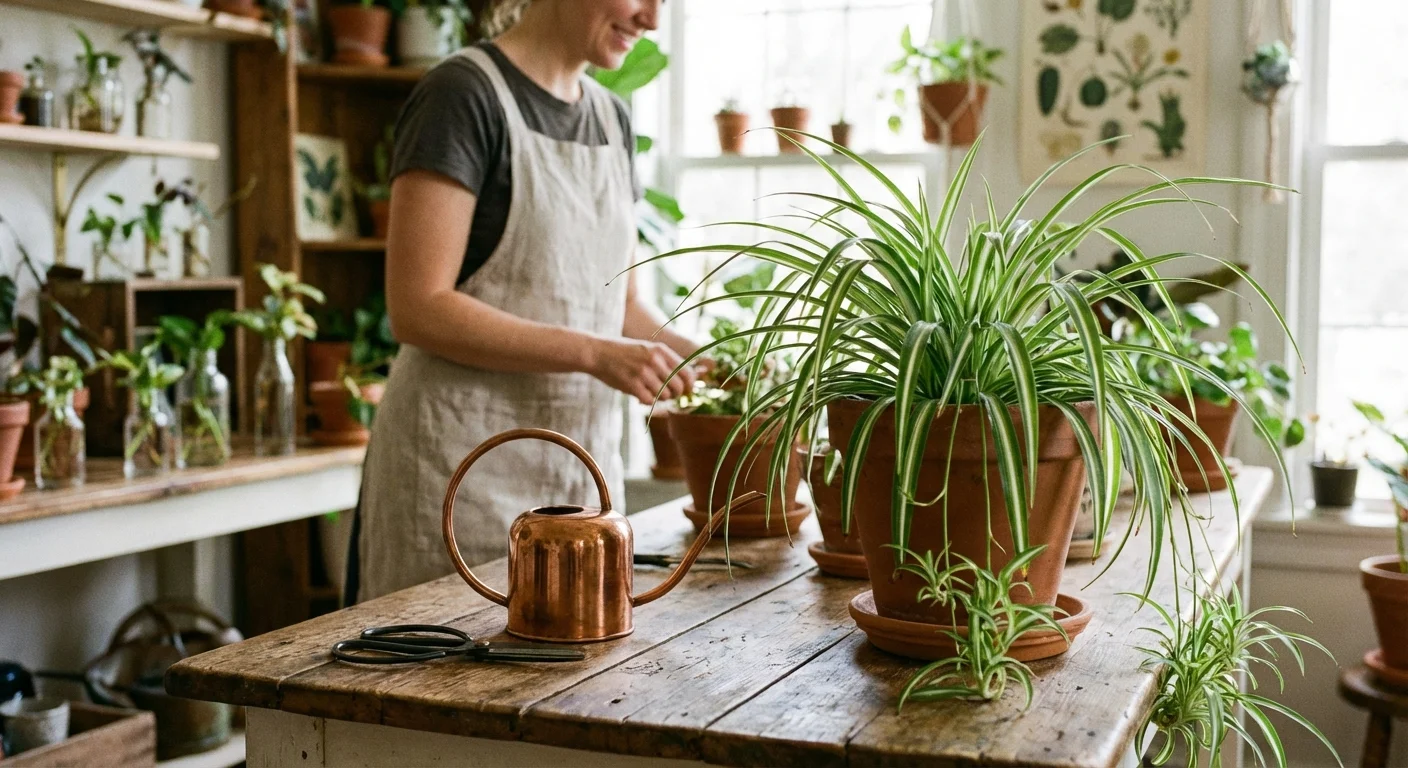
5. Transplant the Spiderette
When propagating your spider plants in water, patience is key. It can take several weeks for the spiderette to become well established and ready to be transplanted. To ensure success, it’s important to keep the soil moist but not waterlogged.
Once your spiderette has grown to a height of at least 2-3 inches, with its roots firmly established, you can begin the transplanting process. I like to use a larger pot or garden bed for this step as it allows the plant more room to grow and thrive.
How Long Does It Take to Propagate a Spider Plant in Water?
Propagating a spider plant is a great way to increase your collection, but it can often be difficult to know just how long the process will take. Generally, it should take between 2-3 weeks for your spiderette to fully root and be ready for transplanting.
However, there are a few factors that could affect this timeline:
Firstly, the health of the mother plant you’re propagating from—if it’s not in optimal condition, then rooting may take longer than usual.
Additionally, the size of your spiderette will play a role! Larger ones may need more time as opposed to smaller plants.
Furthermore, how you care for and nurture your plant plays an important role in its rooting success. You’ll want to make sure it’s kept in a warm, well-lit location so that the light and heat help spur on healthy growth and development.
Plus, changing out the water regularly is key! This prevents stagnation or bacterial contamination that could harm the spiderette’s health.
And finally, due to the harsher winter weather conditions in some regions with lower temperatures and shorter days, propagation might take longer than expected during those periods of time.
Benefits of Propagating a Spider Plant in Water
Propagating a spider plant in water comes with many benefits for gardeners. It’s a simple process that doesn’t take much time or effort, so you can quickly add to your collection or share with friends and family. Here are just a few of the benefits that come with propagating your spider plant in water:
Simple Process: You don’t need much to propagate your spider plant; all you need is a healthy mother plant, a “spiderette”, jar, a vase, and some water. With just a few steps, you can have a new, healthy spider plant in no time!
Increase Your Collection: Propagating spider plants in water allows you to create multiple plants without having to buy any more. With just one mother plant, you can create multiple new spider plants by taking offshoots, or “spiderettes”.
Easy to share with friends and family: You can also easily share with friends and family after the spiderette has rooted. You can simply transplant it into a small pot and give it as a gift!
Comparison to other methods: It’s much easier than trying to propagate through division or soil!
So if you want an efficient way to propagate your spider plants without breaking the bank, then propagating in water is definitely worth considering.
Troubleshooting Common Issues with Propagating a Spider Plant in Water
Propagating spider plants in water is a relatively simple process, but there are some common issues that may arise. If you’re having trouble getting your spiderette to thrive, here are some troubleshooting tips to help you out!
Yellowing or Wilting Leaves
One of the most common issues is yellowing or wilting leaves. This can be caused by a lack of light or overwatering.
To fix this, make sure your container is placed in an area with bright, indirect light and change the water regularly. Additionally, only water the soil when it’s dry to the touch; overwatering can lead to root rot and other problems.
Brown Spots on the Leaves
Another issue you may encounter is brown spots on the leaves. This could be due to too much direct sunlight or not enough humidity in the air.
To solve this problem, move your container away from any direct sunlight and mist your plant every few days with a spray bottle filled with lukewarm water.
Mold or Mildew
Mold and mildew can be a common issue with spider plants that are being propagated in water. This is typically caused by not changing out the water frequently enough or by leaving the container in a warm, humid place.
To prevent this from occurring, it’s important to switch out the standing water every 3-5 days and make sure to keep the container in an area with good ventilation.
Also use room temperature or slightly warmed water to avoid shocking your plant’s root system when changing the water. Be sure to rinse off any dirt or debris from inside the pot before adding fresh water as well.
If you do spot signs of mold or mildew on your spider plant’s leaves or stems, it must be dealt with quickly before it spreads to other plants. Remove any affected parts of the plant from the pot and discard them immediately. Then submerge the whole plant in a bucket of lukewarm, soapy water for 10-15 minutes. This will help kill off any remaining mold or mildew spores and stop them from spreading further.
No Root Formation
If you’re trying to propagate a spider plant using water and are not seeing any signs of root formation after a few weeks, it could be due to a couple of common reasons. To fix this:
One is to make sure the spiderette is healthy; this will ensure that it has the best chance of taking root.
Another key factor is making sure the water temperature is kept at room temperature. Water that’s too cold can inhibit root growth, so if you’re not seeing root formation, try raising the water temperature slightly.
Finally, check for other signs of disease or pests before attempting your propagation process; if any are present, they may be causing issues with growth.
Poor Growth
If you’re trying to propagate your spider plant in water and not seeing any root formation after a few weeks, there may be a couple of possible explanations.
To ensure that your spider plant babies have the best chance of taking root, you should select a healthy spiderette from the mother plant. Carefully inspect for signs of disease or pests before removing it from the source.
Temperature is also an important factor when propagating spider plants in water. If the water is too cold, this can inhibit root growth and cause delays in seeing any root formation in your new spider. Keeping the water at room temperature will give them the best chance of success.
Additional Tips for Propagating a Spider Plant in Water
Make sure to use clean water when propagating a spider plant in water. Tap water can contain chlorine and other chemicals that can be harmful to the plant, so it’s best to use filtered or distilled water instead.
When changing the water, make sure to use lukewarm temperatures, as cold water can shock the roots and cause them to die off.
If you notice any signs of mold or fungus growing on the surface of the water, it’s important to change it immediately, as this can be detrimental to the health of your spider plant.
To ensure that your spider plant is getting enough nutrients, consider adding a small amount of liquid fertilizer every few weeks while it is propagating in water. This will give your plant babies a boost of energy and help them grow faster!
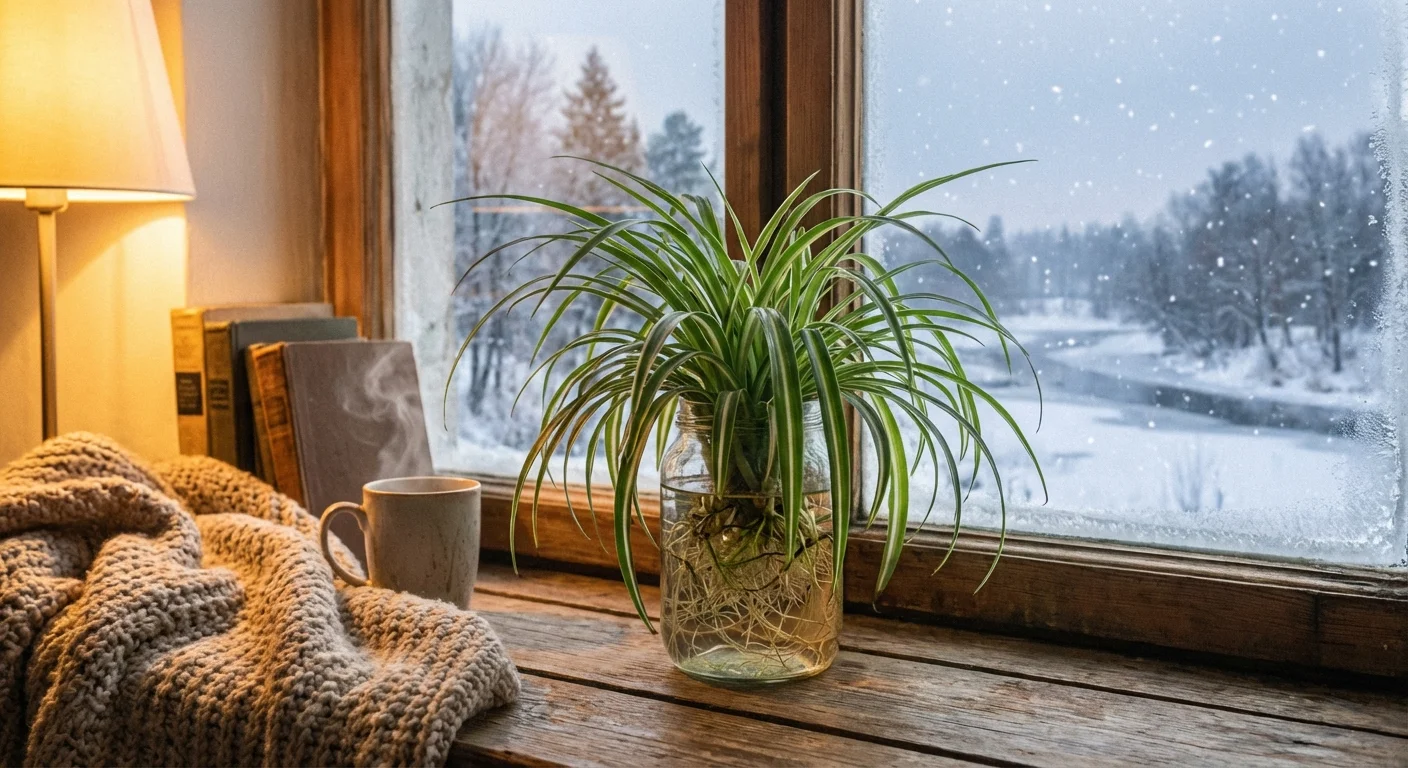
Can Propagate Spider Plant in Water During Winter?
Winter can be a tricky time for propagating spider plants in water, as the plant needs the right temperature and light to grow. However, with some extra care and attention, it is possible to successfully propagate this plant in water during the winter months.
When deciding where to put your spiderettes’ container, choose a spot that gets bright, indirect light. A windowsill that gets plenty of natural light is ideal.
Additionally, make sure the room temperature stays above 60°F; if it’s lower than this, you can provide extra warmth with a heating mat or grow light.
It’s also important to keep an eye on the water level and change it more frequently than usual due to the colder temperatures slowing down the process. The evaporation rate is usually slower during the winter too, so you’ll need to top up the water more often.
By following these steps and providing your spider plant with enough warmth and light, you should have success propagating them in water during the wintertime!
Is It Better to Propagate Spider Plants in Water or Soil?
When it comes to propagating spider plants, one of the biggest questions is whether to do it in water or soil. Each method has its own pros and cons that make it suitable for different situations.
Propagating in Water
Propagation in water is easy and straightforward. All you need is a healthy mother plant, an offshoot or “spiderette,” a jar or vase, and some water. You can also see the roots forming, which lets you know when it’s time to transplant them into soil.
Propagating in Soil
The soil method is more traditional and reliable, giving the plant a stable environment once the roots have grown. This makes it easier to transfer the plant once it’s mature enough.
Advice
If you’re looking for an easy and straightforward method, propagating in water is a great choice. On the other hand, propagating in soil is more traditional and gives your plant a more stable environment.
In either case, research and experimentation will help you determine which one works best for you.

Final Thoughts
Propagating a spider plant in water is an easy and satisfying way to grow new plants. Not only is it an amazing experiment, but it also looks beautiful when done correctly.
With proper care, you can have several healthy spider plant cuttings before too long. Everyone with a green thumb will be jealous of your colorful list of propagation successes.