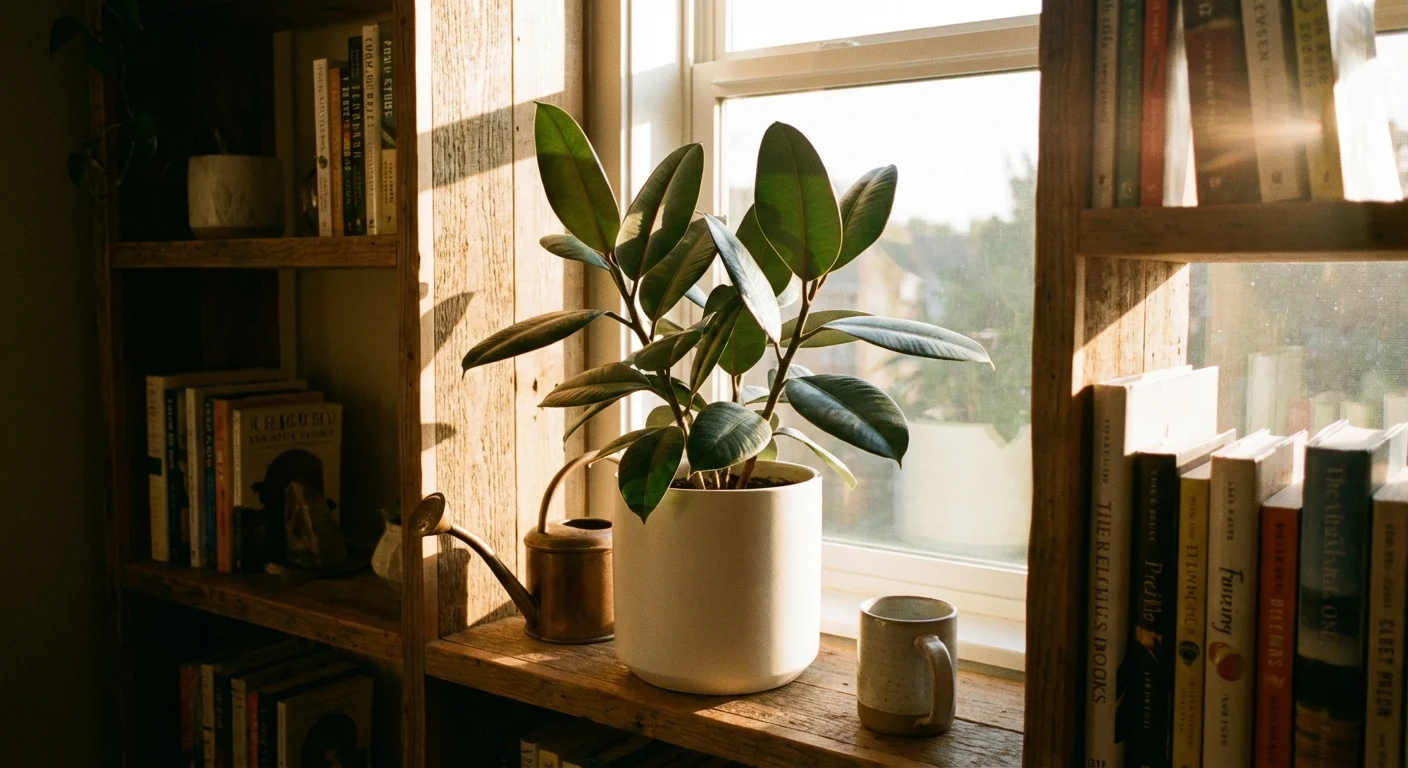
If you’re looking for a fun way to spruce up your home, propagating rubber plants in water is like giving your living space fresh air. It’s an easy project that will provide you with the satisfaction of watching something grow and blossom right before your eyes!
In this article, I’ll guide you through everything you need to know about propagating rubber plants in water, from preparation to care.
Here’s: How To Propagate Rubber Plant in Water
You can propagate rubber plants in water: take a cutting from the plant, remove any lower leaves, and place the cutting in a jar of water exposed to indirect sunlight. Change the water every few days and wait for roots to form before transferring it to the soil.
Gather Supplies Needed for Propagating a Rubber Plant
Hey friends! So you’ve decided to take the plunge and propagate a rubber plant, huh? Before we get started, let’s ensure we have our ducks in a row. Time to gather some supplies – it’s time to ‘duck’ out for a shopping trip! Here are just a few things you’ll need:
1) A healthy specimen of your chosen rubber plant – if this is your first go at propagation, why not pick an easy variety like ficus elastica decora?
2) Clean scissors or shears – these should be sharp enough to cut through stems without crushing them.
3) A clean container with fresh water – any glass vase will do nicely.
4) Some rooting hormone (optional).
Now that we’ve got everything ready, it’s time to start propagating!
– First, remove stems from the mother plant one by one, making sure each cutting has at least two leaves on it before snipping away.
– Dip the end of each stem into some rooting hormone powder (if using), then place the stem into its new home in the water-filled vase.
– Make sure there’s plenty of room between each cutting so they don’t overcrowd one another as they grow.
With these simple steps taken care of, all that’s left is to sit back and watch those roots form – how exciting!

Prepare the Container for Propagation
First, you’ll need to get a container for the propagation process. Use one at least 6 inches wide and deep, so your new plant will have plenty of room to grow.
Make sure it has drainage holes in the bottom; this is key, as too much water can lead to root rot.
You should also use sterilized soil, peat moss, and sand mix – never regular garden soil.
Next, add some water to the container until it’s damp enough but not soggy. To propagate rubber plants in water, take cuttings from healthy stems with leaves intact.
Strip away any lower leaves before placing the cutting in its potting mixture, ensuring no air pockets are underneath.
Place the container in an area that gets plenty of indirect sunlight, and keep an eye on the moisture level of the soil regularly – don’t let it dry out completely!
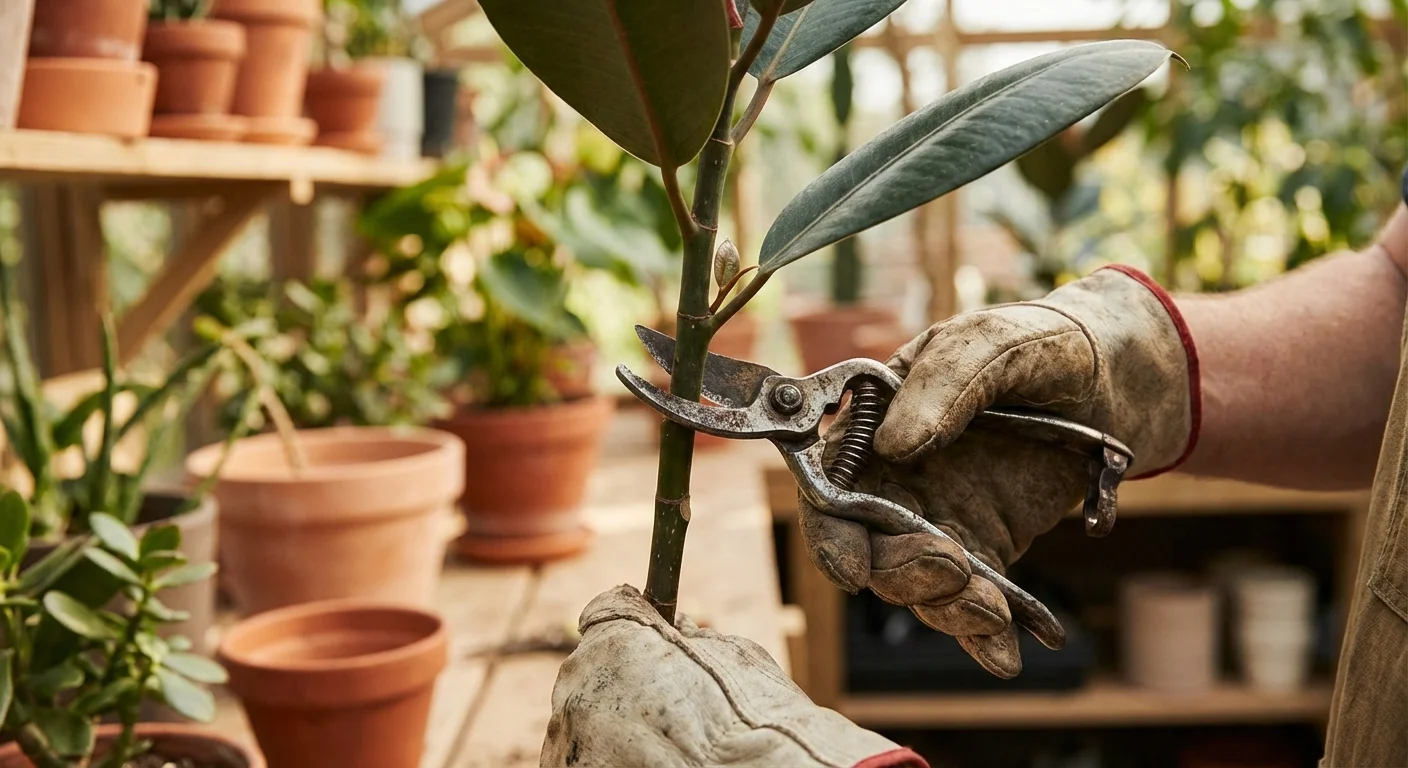
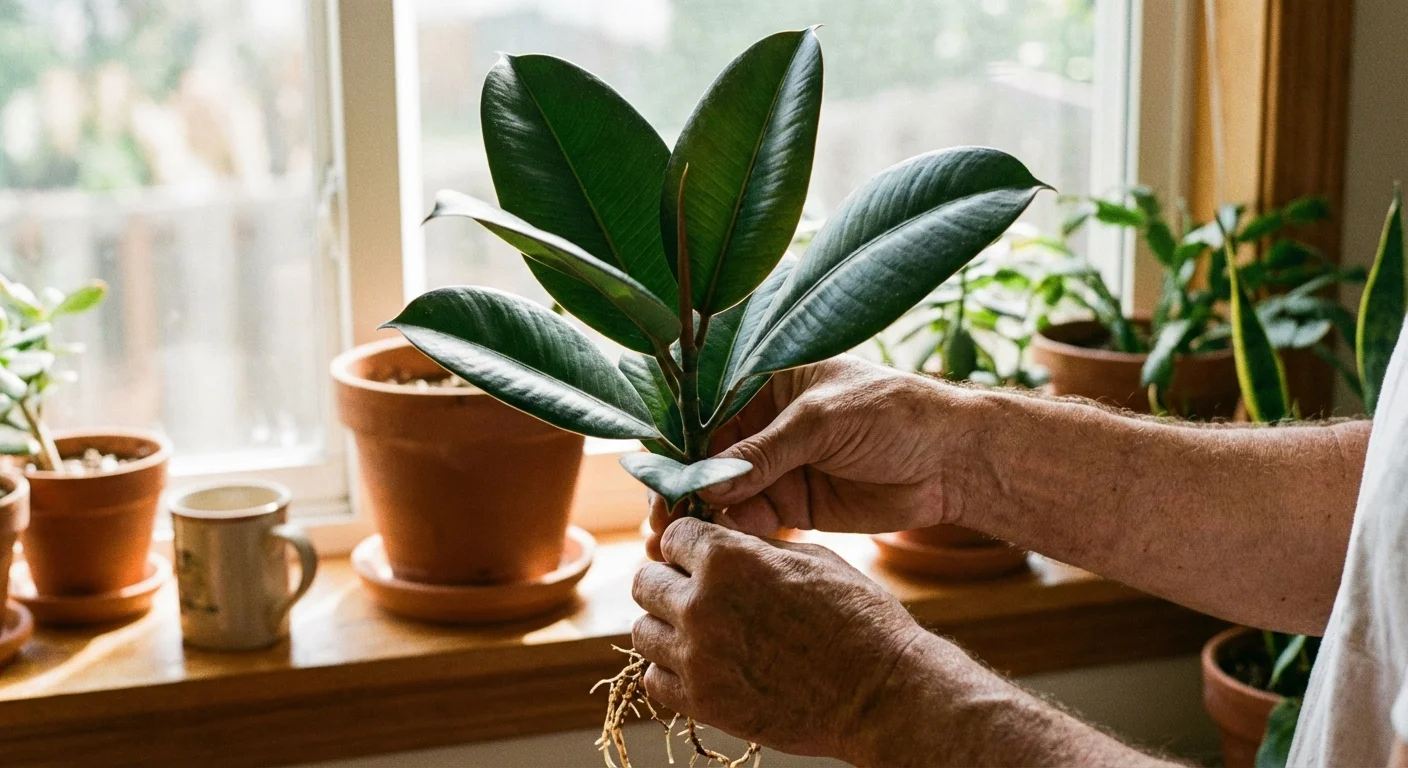
Cutting the Rubber Plant and Removing Lower Leaves
First, let’s start with the cutting process. I recommend taking a pair of sharp scissors and trimming off a small section from the main stem of the rubber plant. Next, cut below a node or leaf axil, where new roots will form when propagating in water.
Once you’ve identified an appropriate spot for your cut, it’s time to remove some lower leaves. This helps encourage more energy toward root growth, resulting in healthier plants.
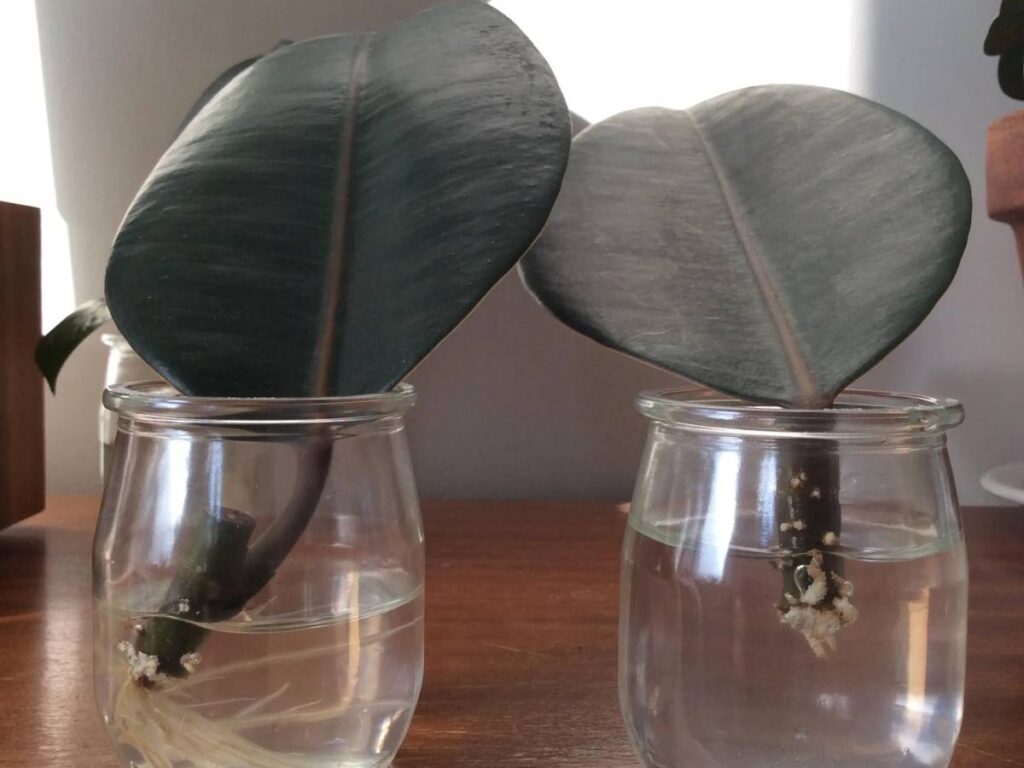
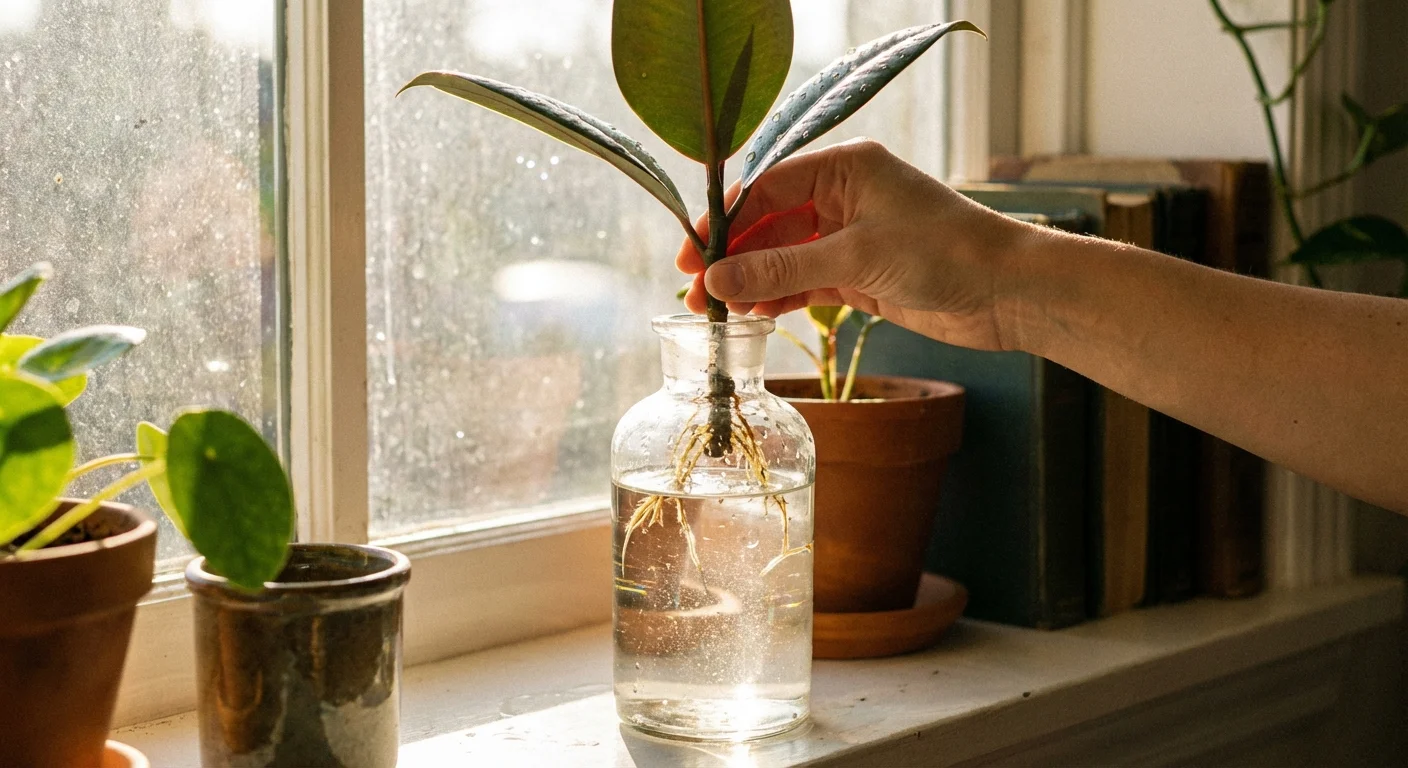
Now that you have made your cuts place the newly trimmed piece of your rubber plant into a glass jar filled with lukewarm water and watch as those brand-new roots grow!
Be sure to keep an eye on the water levels and change out any old water every few days to stay clean and clear. With just a bit of patience, your hard work should pay off soon enough!
Placing the Cuttings in the Water
Propagating a rubber plant in water is like watching new life unfurl before your eyes. It’s an act that requires tenderness, care, and patience – a symbol of hope for the future. You can break down the process into simple steps:
1) Cut the rubber plant at least 2 inches below a leaf node
2) Remove any lower leaves from the cutting
3) Place the cuttings in water to root
4) Change the water every few days to keep it clean
5) Wait for new roots to form!
The crucial part of propagation is placing the cuttings in water. This allows moisture to reach the stem quickly, which then helps it take up nutrients. So put, this step starts off the entire rooting process.
As you place each cutting in its container filled with fresh water, watch how slowly but surely little tendrils emerge from them as they take hold.
What was once just a stick-like structure now slowly develops foliage and eventually grows into something beautiful – all thanks to you!
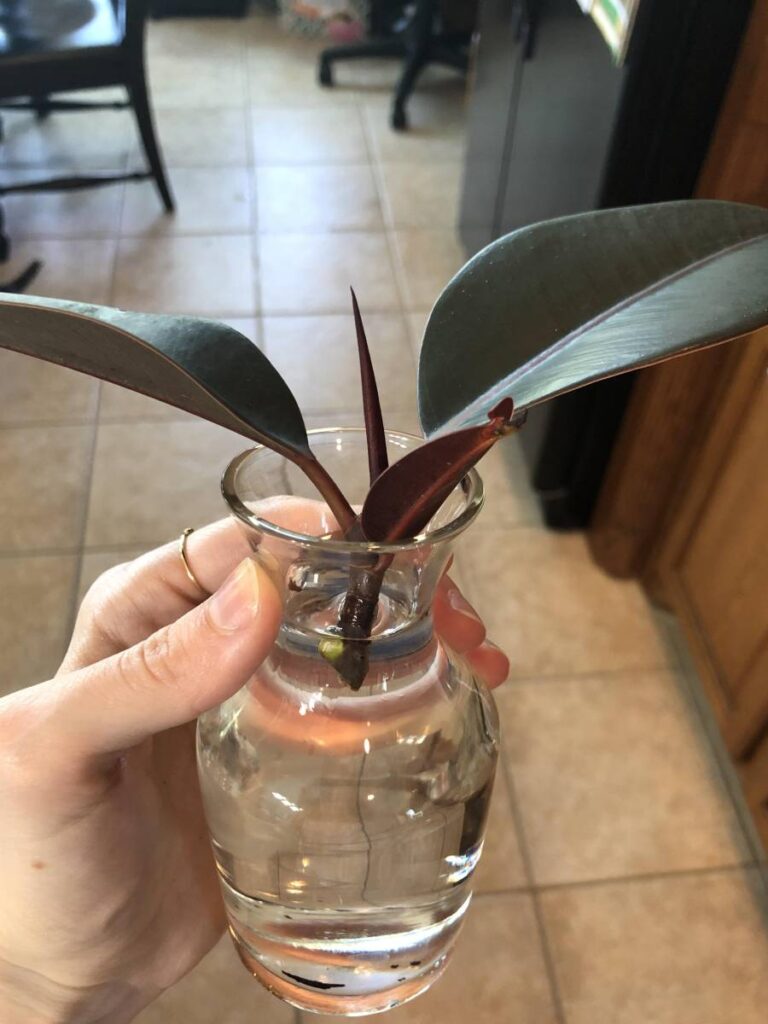
Monitor the Water Levels
The root system of your rubber plant cuttings should be completely submerged in water. Although you don’t need to keep adding more water, you must check on them every few days and replenish them as necessary to remain appropriately hydrated.
You may also want to change out the water once or twice while they’re growing. Then, if there’s any sediment at the bottom, use clean tap or bottled spring water instead.
It’s best not to use distilled because it lacks nutrients that can help support growth. Additionally, ensure you place the cuttings away from direct sunlight – this will prevent algae from forming in the water and protect your new roots from drying out too quickly.
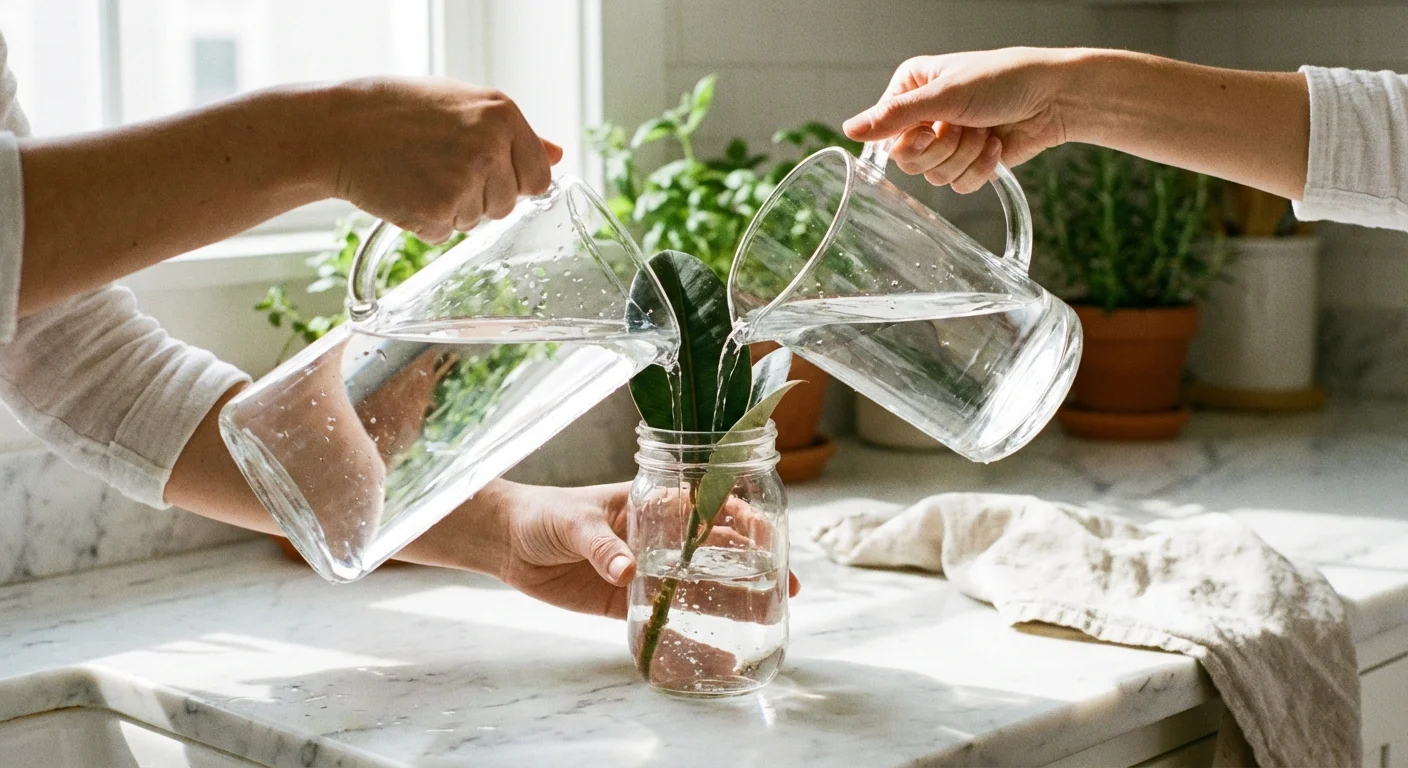
Change the Water Regularly
When propagating a rubber plant in water, it is essential to change the water regularly. This helps ensure that your cutting has access to fresh nutrients and oxygen for healthy growth. However, it’s important to be mindful of how often you change out the water, as this will depend on the conditions of your room, such as temperature and humidity levels.
Here are some tips I’ve found helpful when caring for my rubber plant cuttings:
- Change the water once per week or every other week
- Use distilled or filtered water instead of tap
- Add liquid fertilizer at 1/4 strength to each new batch of water
- Be sure to clean off any algae build-up with an old toothbrush
It’s also essential to monitor the water levels; if they fall too low, air can’t reach the roots, which can cause them to dry out.
If your cutting isn’t thriving, no matter what adjustments you make, consider repotting it into the soil immediately!
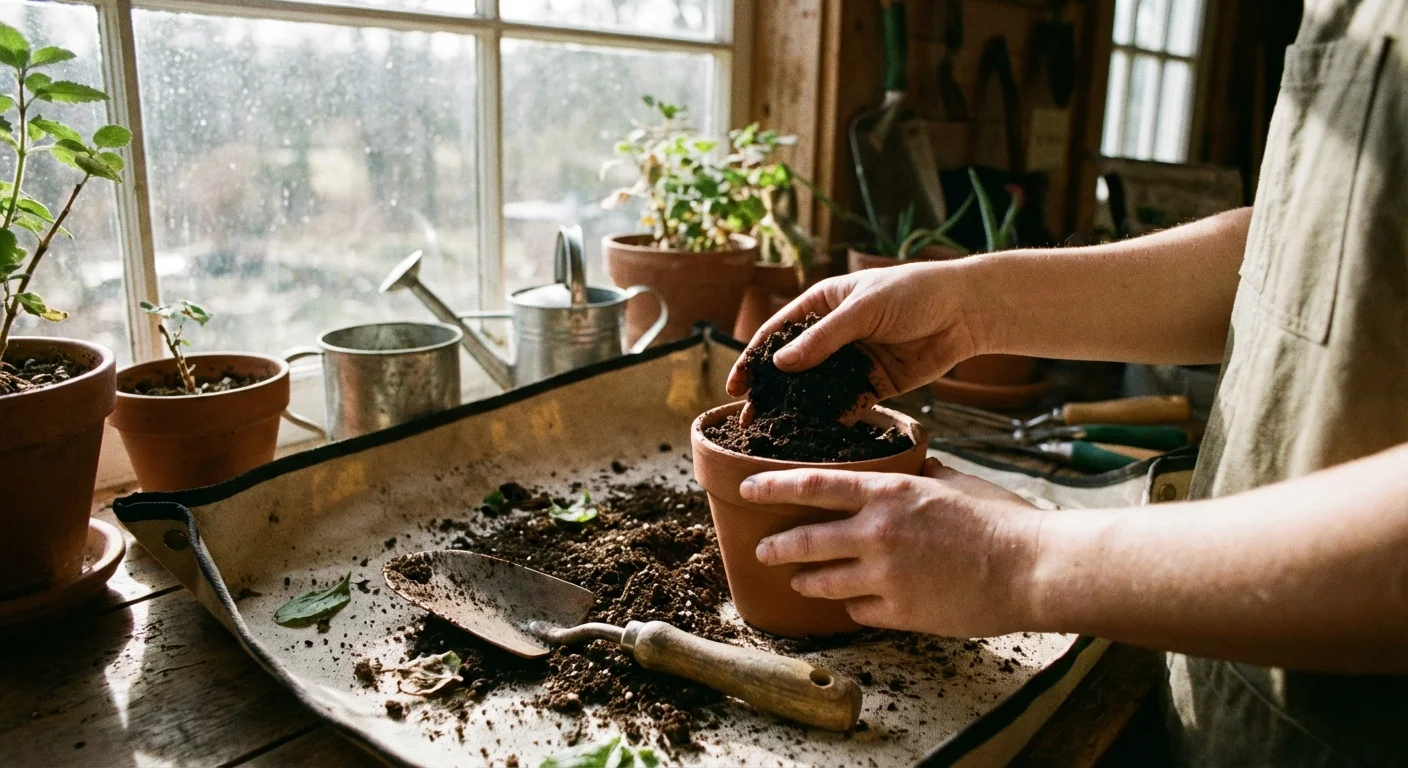
Prepare the Soil for Planting the Cuttings
It’s time to get our hands dirty! Propagating a rubber plant in water requires preparation before planting the cuttings. Like any task, proper planning is key for successful propagation. So let’s dive into preparing the soil for planting your cuttings like an expert gardener.
Just as with anything else, it helps to take things one step at a time; that same rule applies when prepping our soil for planting the cuttings of this beautiful houseplant.
First, select a potting mix specifically designed for succulents and cacti – this will ensure that your new plants have all the necessary nutrients available to them during their growth period.
Then add some perlite and/or coarse sand to help improve drainage so that excess moisture doesn’t accumulate in the soil or around your cuttings roots.
Mix these ingredients until they are well blended, then fill up your container with enough of the mixture to give your propagations plenty of room to grow healthy roots – now you’ve got some perfect soil ready for planting those precious little cuttings!
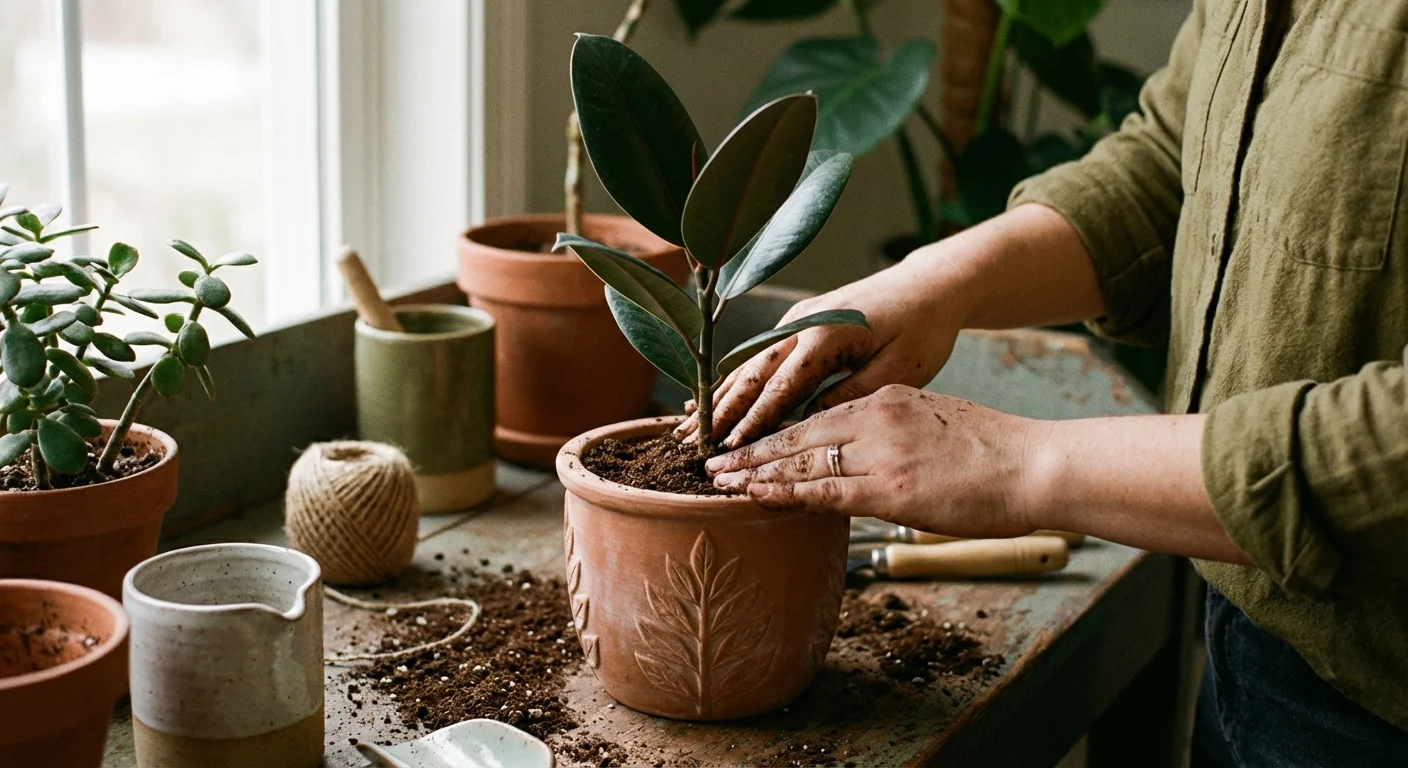
Place the Cuttings in The Soil
Now that you’ve got the soil ready for planting, it’s time to place your cuttings. Make sure each cutting is buried in the prepared medium, so at least two nodes are covered.
To do this, dig a shallow hole and lay the cutting horizontally with its base below the soil’s surface. Don’t forget to water them well after they’re planted!
Once planted, keep your rubber plants moist by misting them every day or two and giving them a light watering once per week.
If you want to propagate rubber plants in water instead of soil, take stem cuttings around 4-6 inches long and remove leaves from the bottom half.
Place these into a jar filled with lukewarm water and change out fresh water every few days until roots have begun to form on the cuttings.
Then plant as usual in soil or another preferred growing medium when roots are up to an inch long.
No matter which propagation method you choose, ensure plenty of bright indirect sunlight and warm temperatures for the best results—your new potted friends will thank you for it!
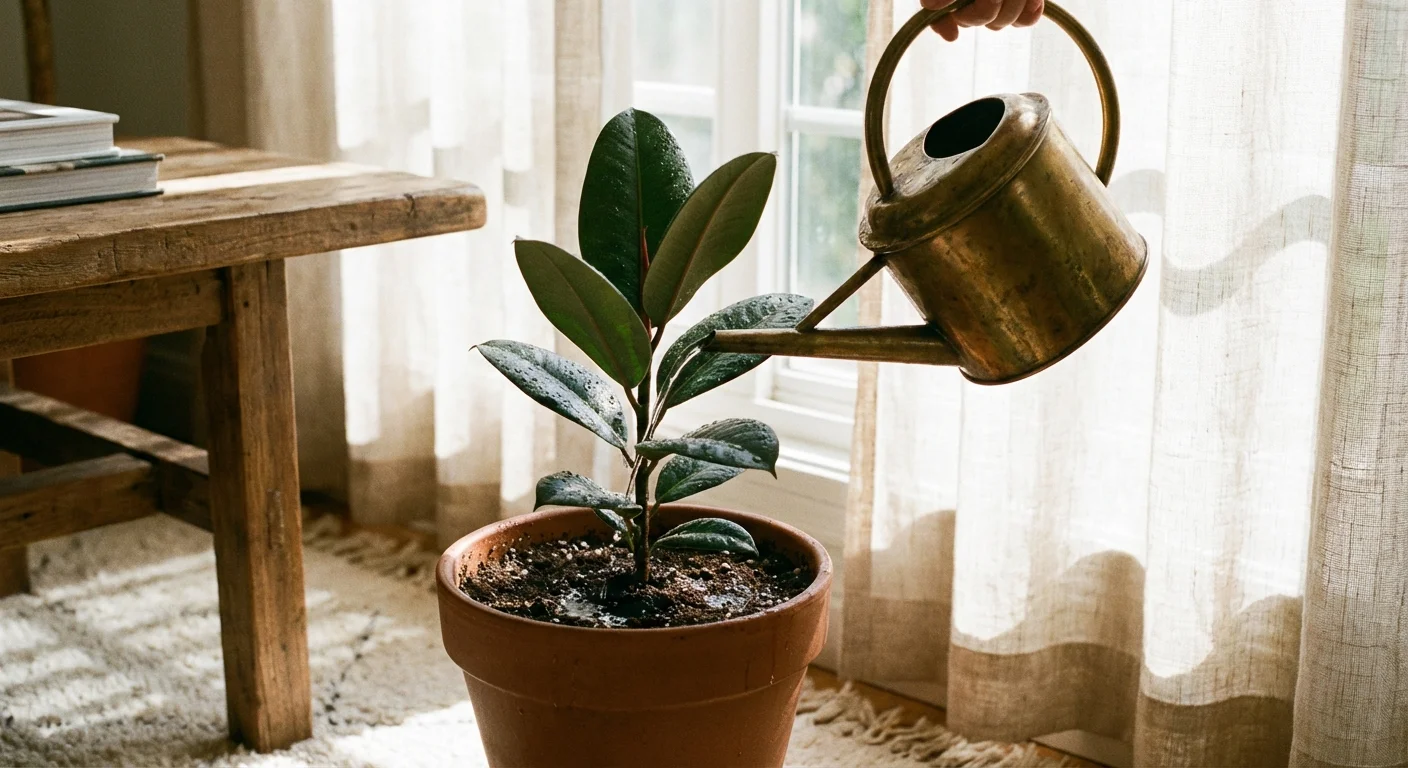
Water and Care for The New Plants
Once the cuttings have been placed in the soil, it’s time to water and care for the new plants. I recommend giving them a good soak with filtered or distilled water every few days, so they don’t dry out. To ensure healthy growth, you can also add fertilizer periodically using a dilute solution of liquid fertilizer.
To keep your rubber plant looking its best, there are certain things to consider:
LIGHTING: Rubber plants prefer bright but indirect light rather than direct sunlight. Move around if necessary until you find the ideal spot for yours!
HUMIDITY: This tropical species loves humidity, so misting regularly is recommended. You can even use a pebble tray filled with water underneath your pot – this will also help keep the air humid!
TEMPERATURE: Keep temperatures consistent between 65°F (18°C) and 75°F (24°C). If possible, avoid drafts from windows or doors since these could cause fluctuations that may negatively impact growth.
If all of these conditions are met, then you should be able to watch your new rubber plant thrive! With proper watering and care, it won’t be long before you see excellent results from your propagation efforts.
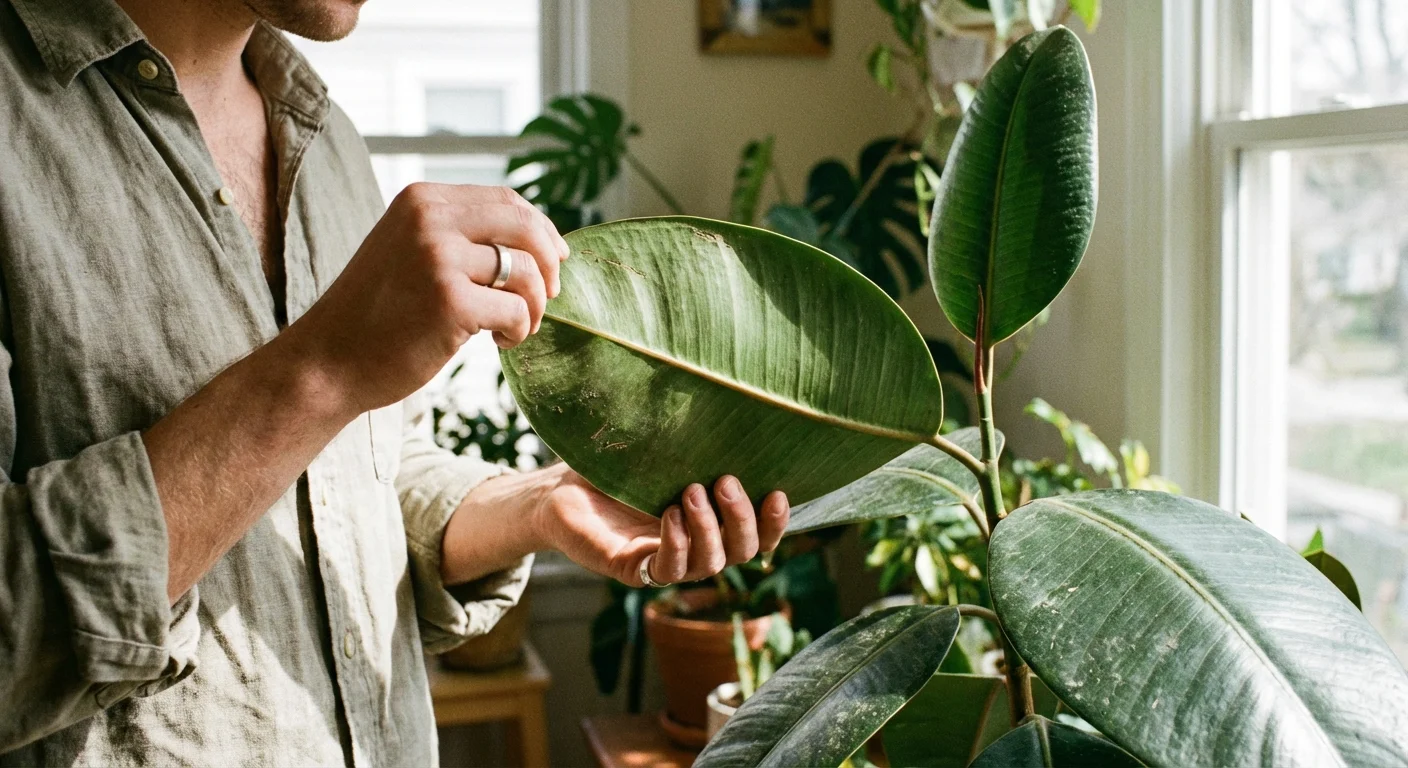
Troubleshooting Common Issues
When it comes to propagating rubber plants in water, there are a few common issues that you may encounter.
First and foremost is ensuring your plant has enough oxygen; without this, the roots won’t be able to develop correctly. Next, to ensure proper aeration of the water, add some stones or gravel to the bottom of the container so that they can draw air into the soil.
Additionally, ensure that you change the water every couple of days to keep it fresh and free from bacteria build-up, which could harm your plant’s root system.
Another issue is temperature – too hot or too cold could cause stunted growth and even death for your new cutting!
Ensure your environment stays between 65-80 degrees Fahrenheit with high humidity levels above 60%. If needed, you can also use a humidifier to maintain optimal conditions for propagation.
With these tips in mind, you should have no problem successfully growing rubber plants in water quickly and easily!
Conclusion
Propagating a rubber plant is an easy and rewarding gardening task. With the right supplies, knowledge of how to trim and prepare the mother plant, and monitoring signs of possible stress in your new plants, you can successfully propagate your Rubber Plant.
If it’s been some time since your last propagation attempt, don’t worry! It’ll be like riding a bicycle—you may not remember all the steps immediately, but with a bit of practice, you’ll get back into the groove quickly enough.
I know that when I can take something from one place and help it grow and thrive elsewhere, it fills me with so much joy—like watching my son take his first steps after months (and years!) of hard work toward getting him there! The same satisfaction comes from seeing these cuttings turn into full-grown Rubber Plants.
So give yourself permission to experiment and enjoy this process. Propagation is a great way to bring more life into our homes while connecting us to nature in a meaningful way.