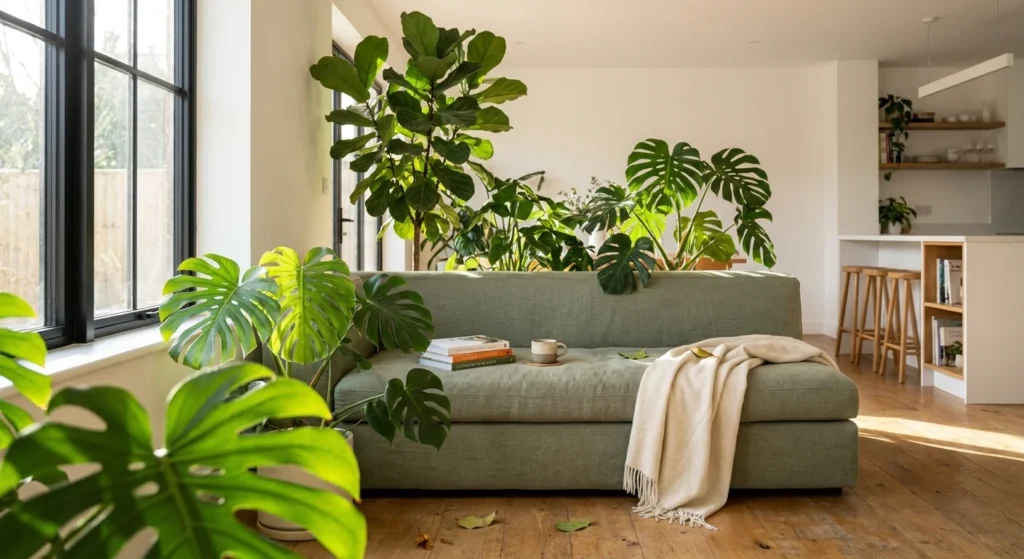
When you’ve decided to refurbish your home, one of the biggest misconceptions is to start buying items from the local furniture barn or the old standby, Ikea. But let’s be real: aren’t we tired of decorating our homes in such a basic fashion?
Let’s spice things up in the new year and stock our home with pieces that have a little pizzazz. We all need that in our lives! One-of-a-kind furniture can really set your home apart and show off your distinct design vision.
Besides, it will also make it look more expensive when, in reality, it really isn’t. Also, if you don’t have the money for a designer look, you can just do a little upcycling. So yes, instead of dumping the old stool, table, or even chest of drawers into the local landfill, you can simply repurpose those pieces and give them a brand-new life. Upcycled items are eco-friendly, and they also save you a lot of money.
Don’t worry: DIY isn’t as hard as it seems. With only a couple of tools, some paint, and lots of gumption, you will have a brand-new piece of furniture in virtually no time. Here are some projects you could easily start right away:
Design a headboard from an old door.
You will save a bundle of cash by simply replacing that custom-upholstered headboard and installing a brand-new DIY version instead. Two reclaimed barn doors that are bracketed to the wall, or simply a couple of planks (bought for a couple of dollars each) lined up and nailed in, can easily add that much-needed rustic charm. And yes, everything in a matter of minutes.
If you’re curious to know what to do if the old wood smells a little funky, you can simply remove the offending odor by placing some baking soda sachets or even rolled-up newspaper on the piece you want to use for about a week. Also, if the smell still doesn’t fade, a couple of hours of sunshine should definitely do the trick.
Turn a crock into a bedside table.
Carol Marcotte, a well-known interior designer at Form & Function in Raleigh, North Carolina, helped a client with that nifty DIY project above. The homeowner had this great crock that she really wanted to salvage. She had a couple of pieces of beautiful hardwood left over from her floor renovation.
If you also want to try it in your own house, you’ll be glad to know it only takes 30 minutes. You will have to cut the wood in a circle or square shape. Also, you can nail small pieces of scrap wood to one side of your circle in the same shape to properly fit inside the rim of the crock.
This way, you will create some kind of stopper for the crock to hold the top in place. Then, make sure you paint and refinish the tabletop. Antique crocks can be easily found on eBay or at yard sales for $50 to $75 if you don’t already have one in your basement.
Craft a bench from a bed frame.
This bed frame-as-bench project from Just Jill can be easily done in only an hour and a half. To start, you need to take an old footboard and slice it into two equal parts (you could wind up with a little leftover from the middle).
Once you have your two pieces of the footboard, you just need to attach a piece to each side of the headboard with some screws or brackets to form the bench’s arms. You can use planks from the old bed frame (or even some two-by-fours, if you have any) and connect them across the front.
It will link the two arms and also offer that familiar rectangle shape you’re looking for. To hold the seat in place, just nail a couple of wood scraps to the inside of the bench (you will basically create a frame this way).
For the last piece, make sure you carefully measure and cut a wooden plank (or even more planks) for the seat. Nail the plank down to the rest of the bench. This is basically where you’ll be sitting. You want to make sure it’s very steady and secure, and all the nails are flush with the wood. Paint, stain, and distress as you please.
Make the crib springs into a bulletin board.
Naturally, you can’t put your cute tot in an old crib you just picked up at a tag sale or flea market. At times, those things might have been recalled or even damaged, which makes them unsafe to use. You can still take the spring portion of this castoff and make something fabulous, like a wall organizer. An old crib might even sell for as little as $30, and

Display pictures in a window-paned cabinet.
Nothing compares with some DIY magic with old cabinet doors. One of the best and most interesting projects you can start is taking a lovely lead-pane door off a hutch, painting it, and then hanging it up on the wall. Or, you could also take on the project listed here.
Trust me, it won’t take you more than an hour. Check out garage sales to find any old door that “speaks” to you. It might cost around $20, just so you can be prepared. Then, measure the panes and print photos to fit (or even cut them to size).
We also recommend you use painter’s tape or masking tape to properly hold the pictures in place. Then, mount this brand-new design to the wall with four large screws.
Convert a baker’s rack into a linen closet.
If you’re not much of a DIYer, we still have some things coming up for you. Probably the easiest project on this list is finding a baker’s rack, which is less than $75 at estate sales. You can spend 45 minutes sanding off rust and then coating it with some spray paint.
Once it’s been fully rehabbed, you can simply trick it out to properly suit the room. For instance, if you’re short on storage for bathroom essentials, just arrange the baskets to hold towels, washcloths, and toilet paper. Or, you can use this super clever idea: turning a baker’s rack into a mudroom or entryway organizer.
How to update old furniture
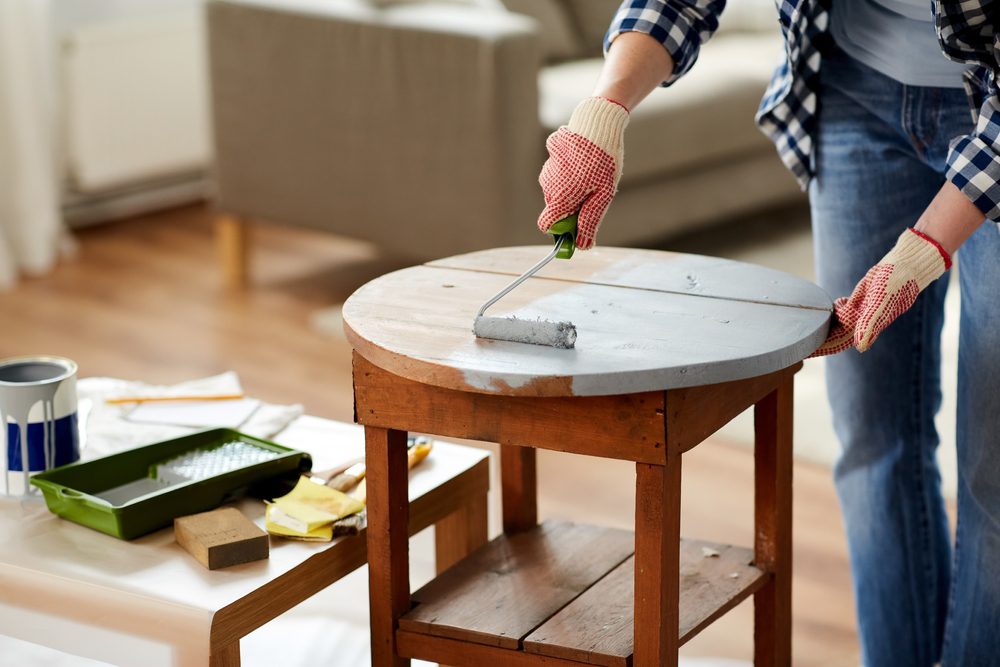
- Paint: Painting is probably one of the most efficient ways to properly update your old furniture. It’s extremely cheap, easy to use, and super exciting to add color to your items. For the best outcome, you want to start with the first coat and brush on primer, then sand between coats for the right finish. You could also fill any dents, cracks, or deep scratch lines with filler.
- stain: staining is another great way to update your old furniture and antiques. You can easily choose to buy your stain at any retailer out there, or even make your own. The same as painting, staining will provide a wide range of color options and tones, from classic all-white to bright yellow.
- Add clear wax: If you’re a big fan of natural wood, strip the paint and add a clear coat of wax. Start by using a paint stripper to properly remove the paint from the whole piece. As soon as you strip the whole surface, you can use a natural wax to restore the unit to its former glory. You can even use clear wood wax, as it will successfully protect the wood and show off its natural colors.
If you found this article insightful, you definitely have to check out this one, too: Skip These 8 Home Trends That Are Going out of Style in 2024