
This is a common question from those who want to grow these beautiful flowers in their own garden.
This article will answer this question and explain the procedure for transplanting them successfully into your garden.
Are Calla Lilies Hard to Transplant?
Calla lilies are easy to transplant. If you are looking for the best ways to transplant calla lilies, you should know that they have to be taken care of properly. This includes having the right kind of soil, watering, temperature, and light to promote flowering.
How do I transplant a Calla Lily?
How to Transplant Calla Lilies Outside?
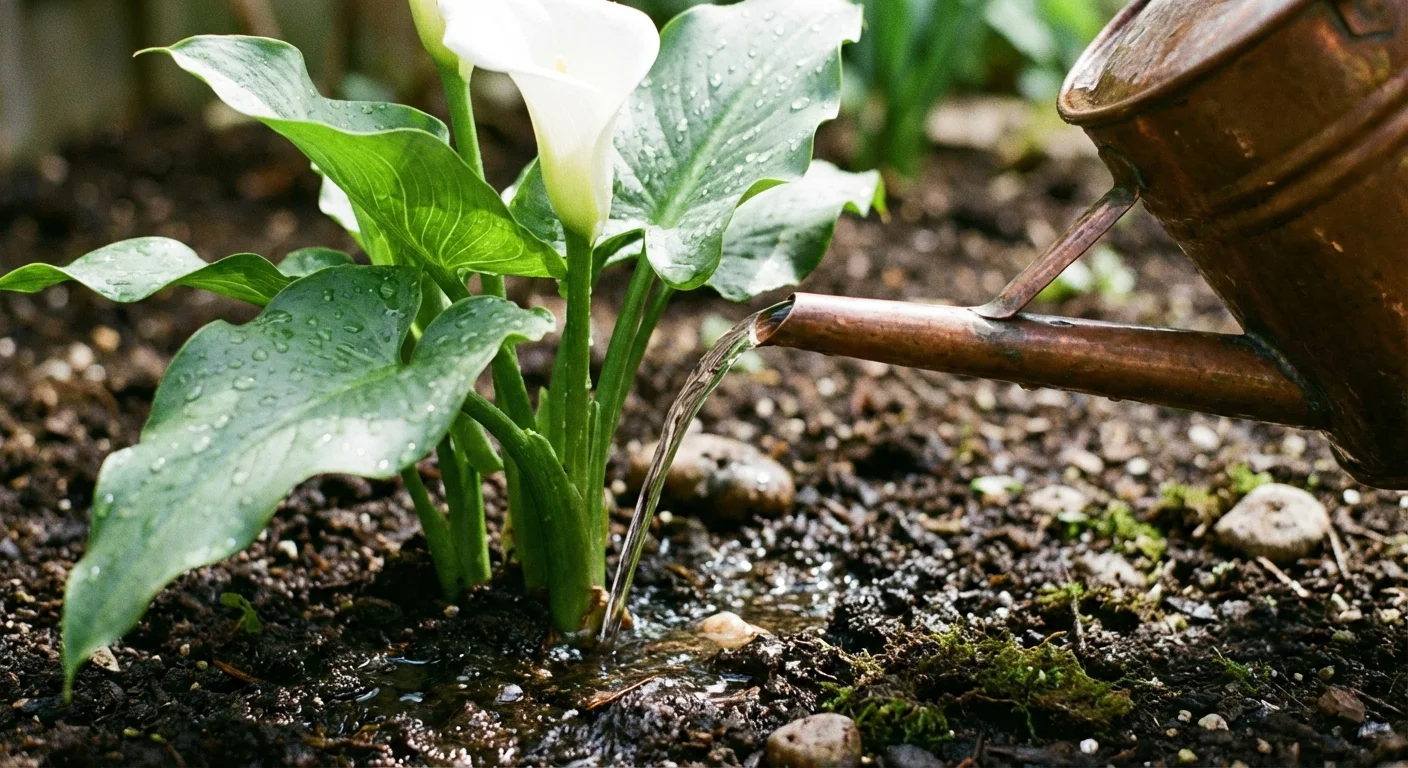
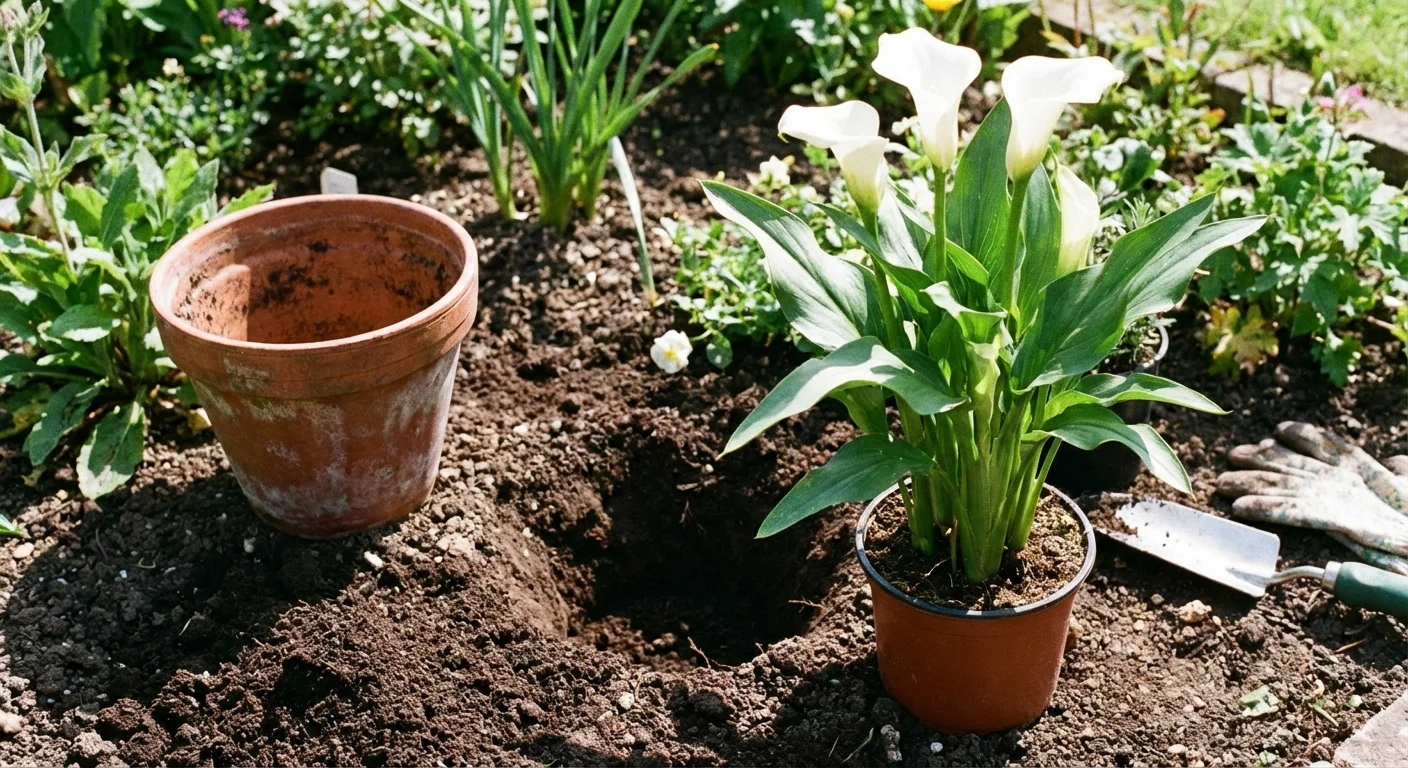
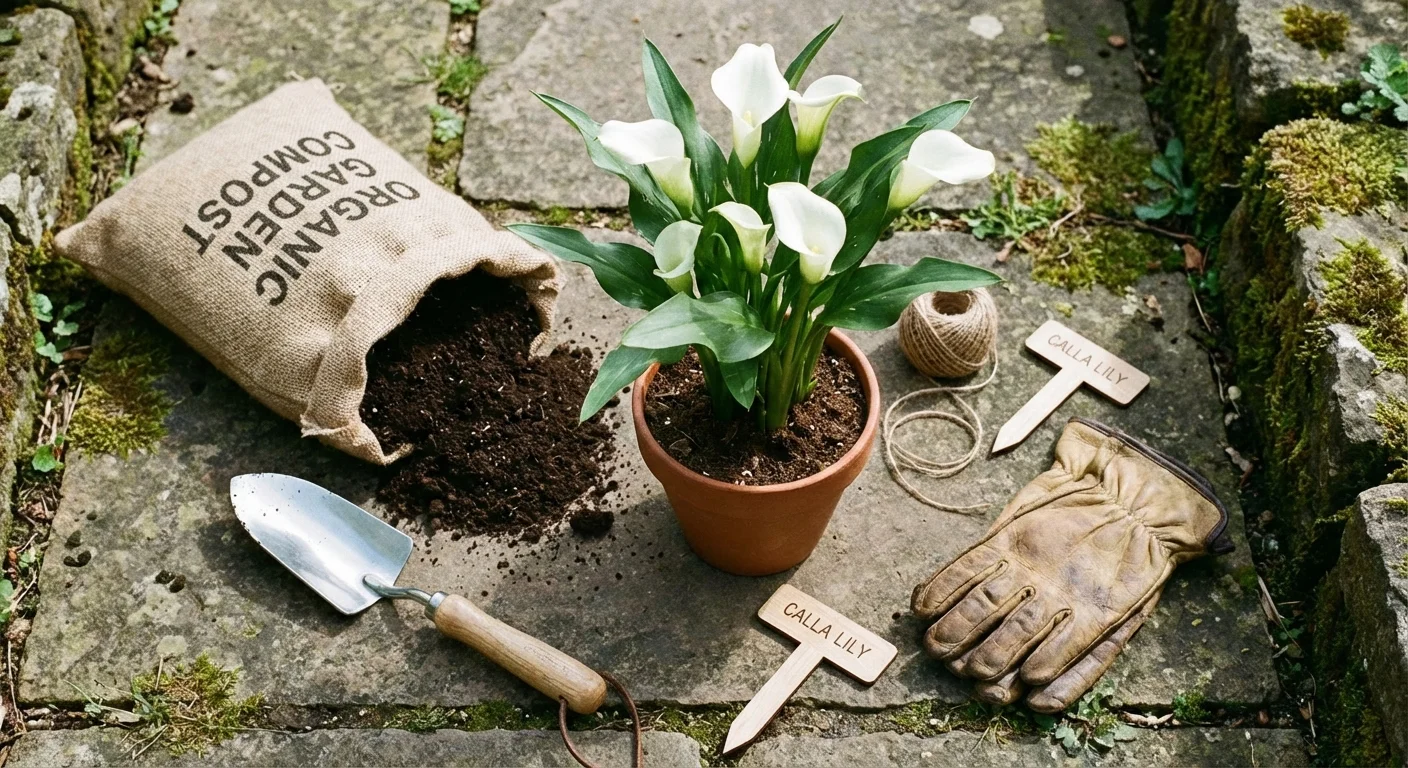
Calla lilies need room to grow, so transplant them 12–18 inches apart. It’s best to dig a hole deep enough so the plant’s rhizomes don’t get damaged in the process. Put some compost in the bottom of the hole before placing the calla lily in it. Water deeply after planting.
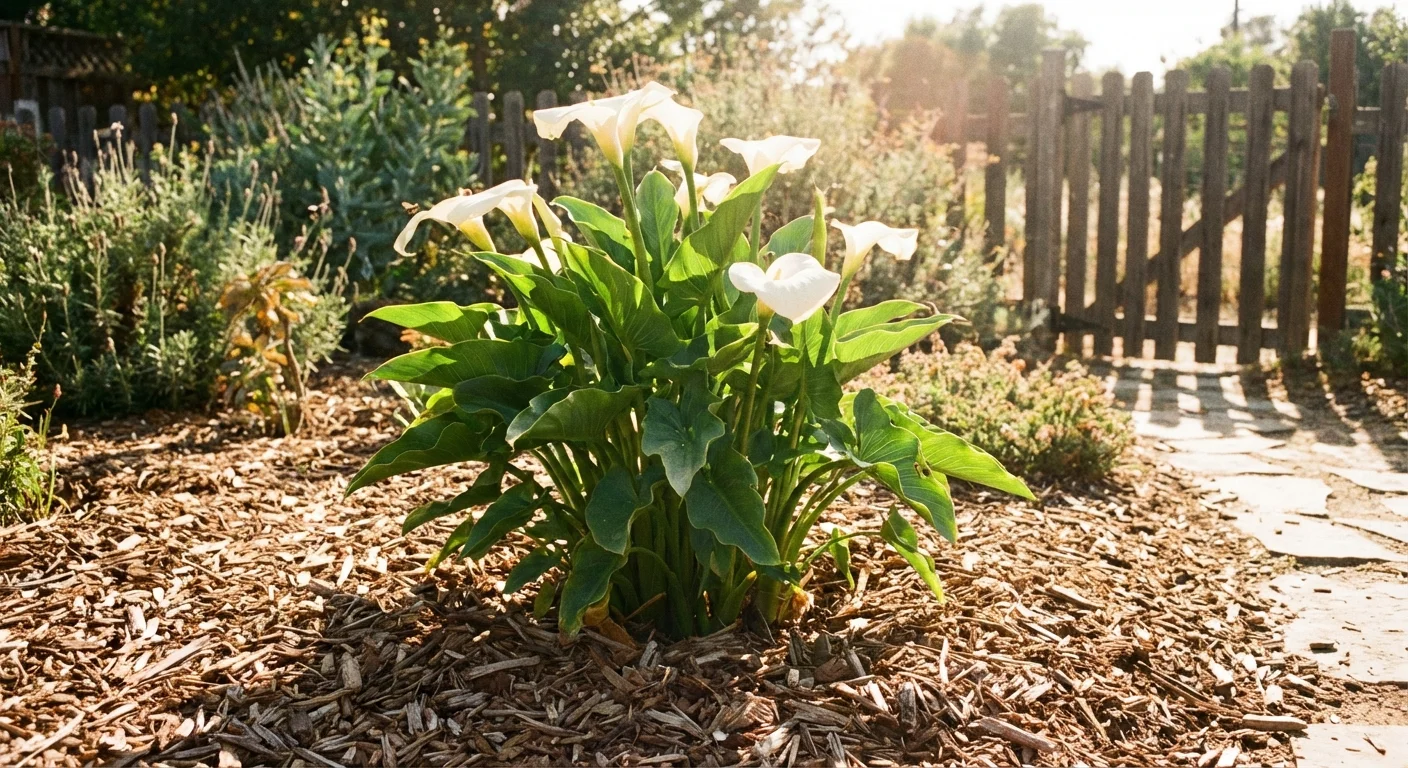
For best results, calla lilies should be grown in USDA plant hardiness zones 8–10. They need potting soil rich in peat or organic matter to retain moisture and should be watered around once a week. Spread a layer of mulch around the plant to keep the soil moist but not bogged down.
How to Transplant Calla Lilies Indoors?
To transplant calla lilies indoors, loosen the soil around the rhizomes and plant them 3 to 4 inches deep. Be sure to water deeply after transplanting. You may also want to mulch around the plants to help retain moisture. When transplanting potted callas, plant them in a hole as deep as the container they were in.
Calla lilies need constant moisture, so be sure to check for aphids regularly. Fertilize your calla lilies during their blooming season to encourage growth. Once the plants have dried out, give them a rest period before repotting them in late winter. Water them lightly to encourage fresh growth.
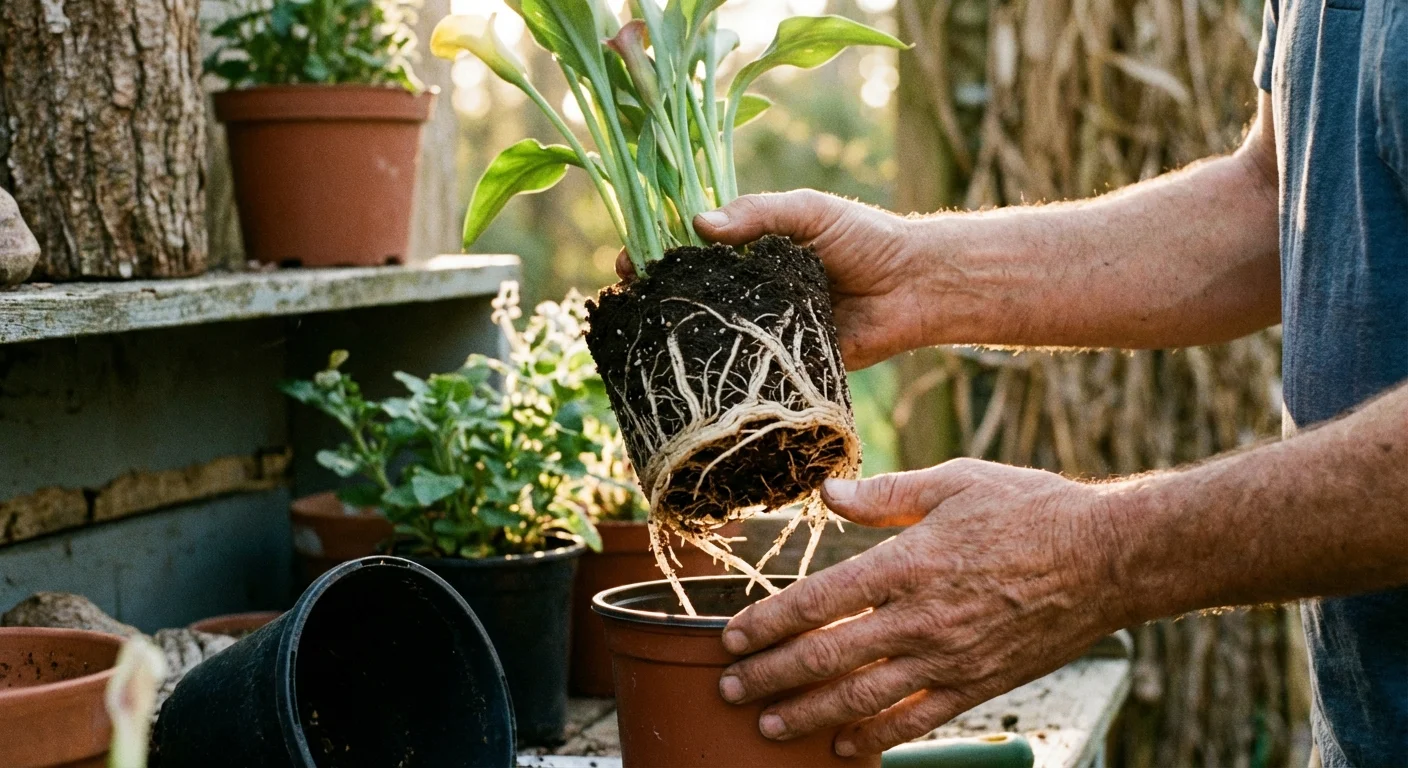
How to Transplant Calla Lilies from Pots?
Calla lilies can be transplanted from pots by following these simple instructions.
First, make sure the hole you are transplanting the calla lily into is as deep as the pot it is currently in.
Second, water the calla lily well and keep an eye on moisture levels for a few days after transplanting to ensure the plant stays moist.
Third, monitor pH levels to ensure proper flowering. fourth, only water when the soil is dry and the top two inches are wet to avoid overwatering.

What Are the Best Conditions for Transplanting Calla Lilies?
Callas should be transplanted when they are strong enough to tolerate outdoor conditions. Gardeners often transplant calla lilies in the greenhouse before transplanting them to the outdoors. The best time to transplant calla lilies is in the spring after all danger of frost has passed.
Callas grow well in low, moist areas where most other rhizomes would suffer from root rot, so transplanting them in the spring is best.
You can also transplant callas in the autumn after they stop flowering.
Adjust the growing environment to match the USDA-rated zones of the plants.
What Is the Ideal Time to Transplant Calla Lilies?
Based on the research, the best time to transplant calla lilies is in the spring after all danger of frost has passed. This is because calla lilies can grow in a variety of climates, but they do best in moist areas.
How Do I Care for My Transplanted Calla Lilies?
Calla lilies should be placed in a location that gets at least six hours of dappled sunlight. They are not winter hardy and need moist soil, so make sure to water them frequently. However, too much water can lead to root rot, so be careful not to overwater.
What Are the Risks of Transplanting Calla Lilies?
Transplanting a calla lily can cause the plant to lose its blooms, flowers, and leaves. This is because transplanting disturbs the plant’s roots, which can cause it to go into shock. The best time to transplant a calla lily is in early spring or autumn, when the plant is not in bloom.
What Are the Signs that My Calla Lilies Need to be Transplanted?
Calla Lilies need to be transplanted if the following signs are present:
- The plant has been growing in a container for more than a year.
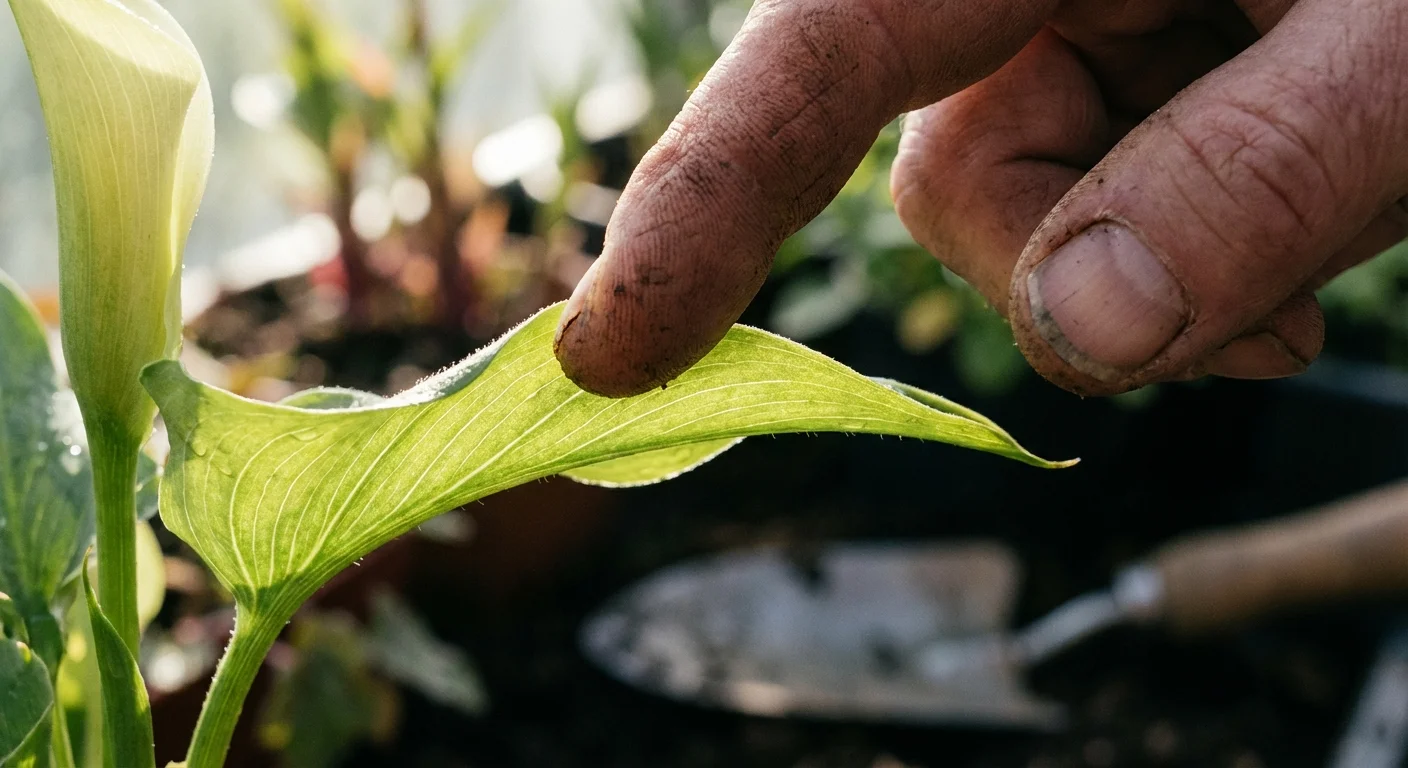
- The leaves of the plant are yellowing or turning brown.
If you see either of these signs, it means that the plant is not getting the nutrients it needs and will not thrive unless it is transplanted to a new location.
Can Lilies Be Transplanted While Blooming?
Transplanting your calla lily while it is blooming is possible and can be done during the summer months. Giving the plant a good soak before moving it and also giving the new soil location a good soak. Some have found success by watering throughout the transplanting experience.
Can I Transplant Calla Lilies in Summer?
Calla lilies can be transplanted during the summer. The best time to transplant them is when they are blooming. Transplanting calla lilies in summer will help the plants get a good start in their new location.
It is important to soak the plants before moving them and to water them at the new location before moving the plants.

Can I Transplant Calla Lilies in the Fall?
You can transplant calla lilies in the fall, between midsummer and fall. This is because the timing for transplanting calla lilies is based on the foliage’s growth cycle and the region’s climate. Calla lilies are native to tropical regions, so they need to be transplanted with care.
Can I Transplant a Potted Calla Lily Outside?
Yes, you can transplant a potted calla lily outside. First, make sure to acclimate the plant to its new environment by slowly exposing it to outdoor conditions over a period of a week or so. Once the plant has acclimated to the sun and wind, transplant it.
What Are Some Tips for Transplanting Calla Lilies?
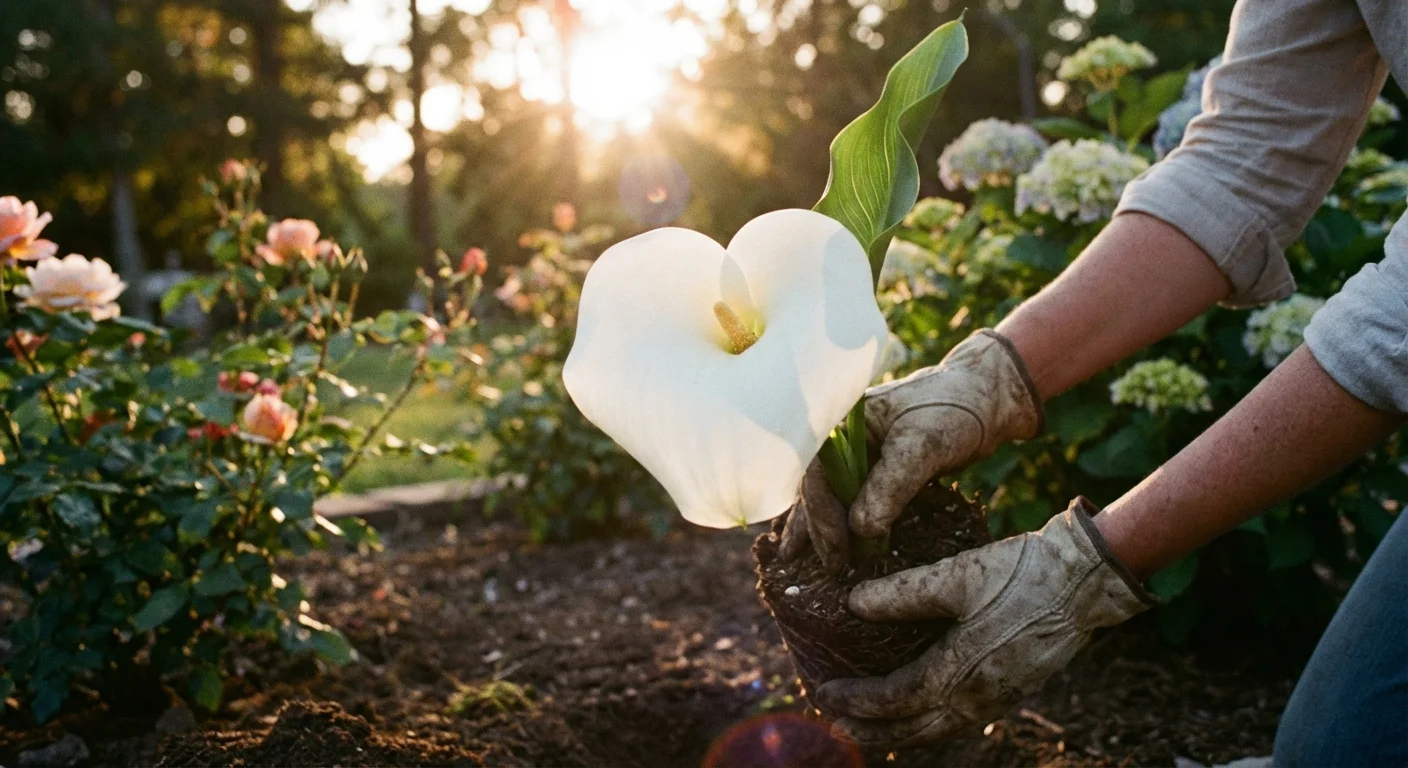
To transplant calla lilies, you’ll need to prepare the area before you uproot them. Calla lilies need fertile, moisture-retaining soil.
You may need to replant your plants for several reasons, such as to protect them against diseases or to encourage growth.
Fertilize the area before transplanting, and mix the fertilizer well. Dig holes at least 12-18 inches apart for transplants.
Be careful not to damage the rhizome when transplanting. Fill the hole with soil once the plant is moved.
After transplanting, water calla lilies regularly. Mulch around the area to retain moisture. Water callas around once a week.

How to Divide Calla Lilies?
When to Divide Calla Lilies?
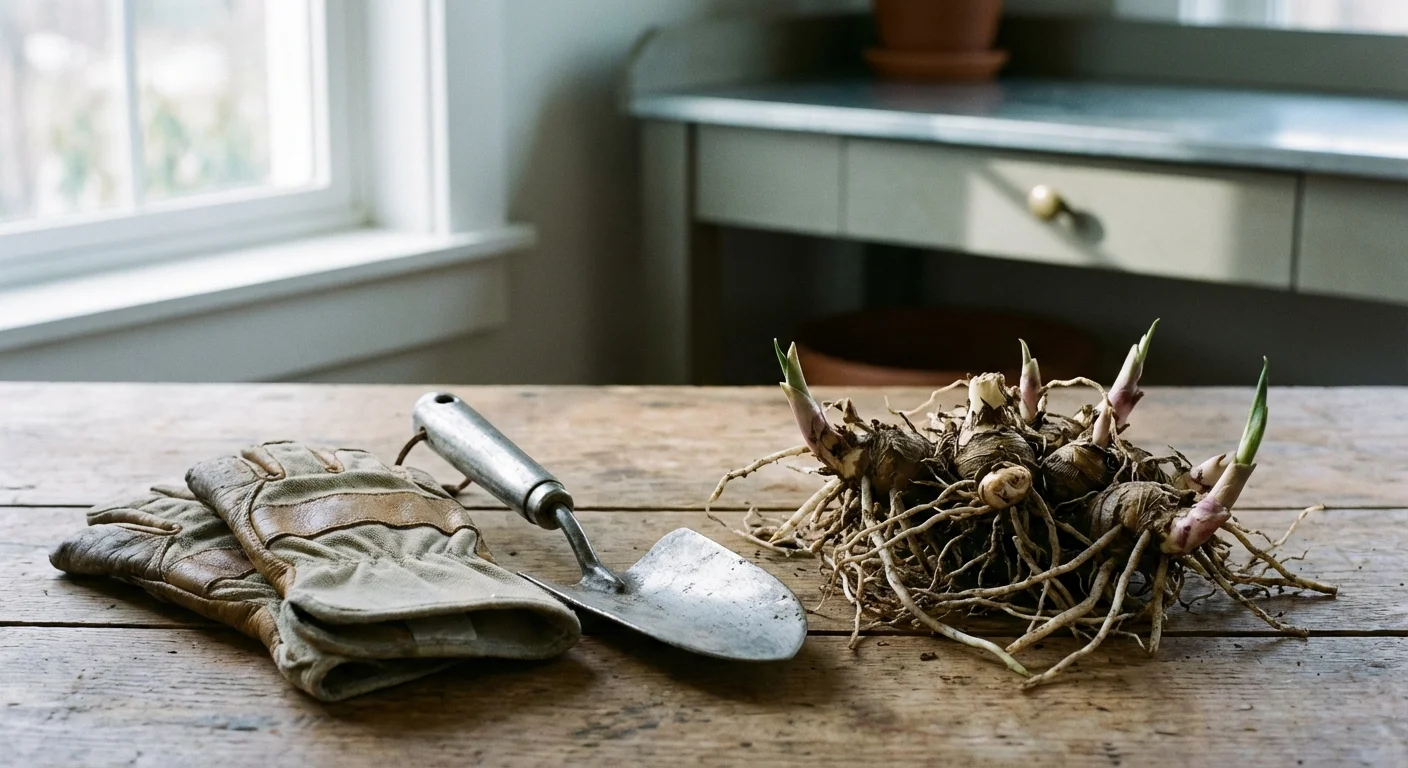
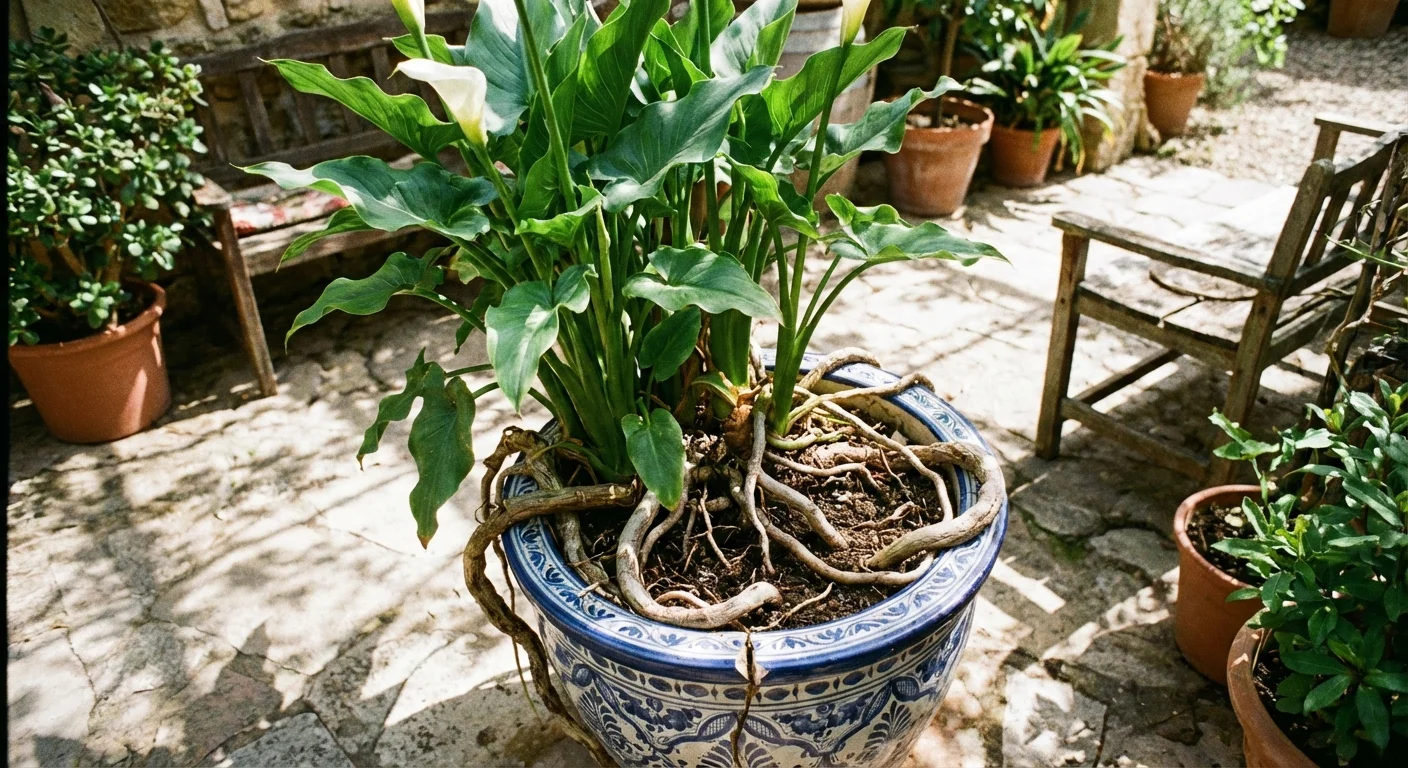
Calla lilies grow from horizontal root stems called rhizomes. When the rhizomes become overcrowded, it’s time to divide the lilies. Calla lilies are easy to divide. To get the most flowers from your calla lilies, divide them in late summer or fall.
Divisions should be made every three to five years, and should not stunt the growth of the plants.
How to Divide Calla Lilies?
To divide a calla lily, lift the clump of roots with a shovel and slide a section of rhizome beneath it. Make sure each section of the rhizome has at least one eye.
Let the rhizomes dry for a day before replanting.
If you live in USDA plant hardiness zones 8 through 10, you can store the rhizomes and replant them in the spring. Callas need to be allowed to dry for two to three days before being brushed off and dusted with bulb dust.

Final Thoughts
When transplanting calla lilies, it’s important to take care to avoid any potential damage. By following these tips, you can make the process as smooth as possible and ensure that your flowers arrive in perfect condition.
If you’re ready to start planting calla lilies indoors, keep these tips in mind so you have a successful transplanting experience.