Designing a forever home means making smart adjustments before you desperately need them, especially in spaces prone to slips and falls. The bathroom remains the most hazardous room for homeowners prioritizing aging in place, but boosting home safety does not require sacrificing your aesthetic vision. Today’s senior home upgrades blend seamlessly into modern interiors, swapping institutional, hospital-like fixtures for elegant, functional designs. By integrating strategic modifications—from zero-entry showers to motion-activated lighting—you create a resilient environment that supports independence and comfort. Investing in your retirement home now ensures you retain full access to your sanctuary while elevating the daily routines that keep you feeling your best.

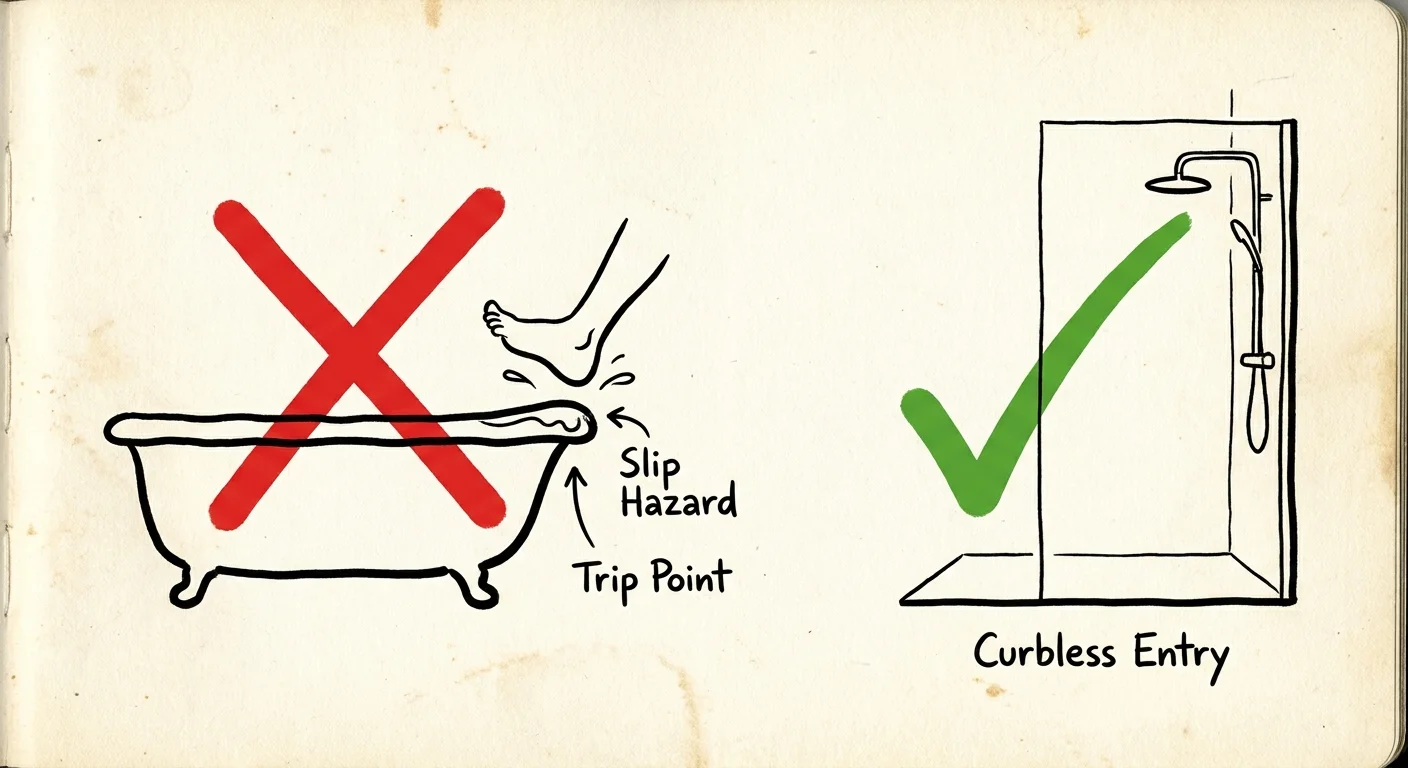
1. Curbless Showers for Seamless Transitions
Stepping over a high bathtub wall or shower curb becomes increasingly difficult, and dangerous, as mobility changes. A curbless—or zero-threshold—shower removes this barrier entirely, creating an unbroken transition from the main bathroom floor into the wash area. This continuous flooring not only makes the space feel larger and more spa-like, but it easily accommodates a walker or wheelchair.
Achieving a proper slope for drainage requires modifying the floor joists or raising the entire bathroom floor. Many homeowners opt for linear drains positioned at the back or side of the shower; these only require the floor to slope in one direction, allowing you to use large-format tiles that visually expand the room. When planning this upgrade, prioritize comprehensive waterproofing membranes to protect your subfloor from moisture damage over time.

2. High-Design Grab Bars That Double as Decor
When you think of bathroom safety, bulky stainless-steel institutional bars likely come to mind. Fortunately, manufacturers now produce heavy-duty grab bars disguised as sleek bathroom hardware. You can find stylish matte black, brushed brass, and polished nickel fixtures that function perfectly as towel bars, toilet paper holders, or shower shelves while quietly supporting up to 250 pounds of pull force.
Installation dictates their effectiveness. You must anchor these bars directly into wooden wall studs or use specialized commercial-grade toggles if stud placement proves impossible. For expert guidance on securing heavy-duty fixtures safely into various wall types, consult the detailed tutorials at This Old House. Position them vertically at the shower entrance for safe entry, horizontally along the longest shower wall for steadying, and beside the toilet to assist with standing.
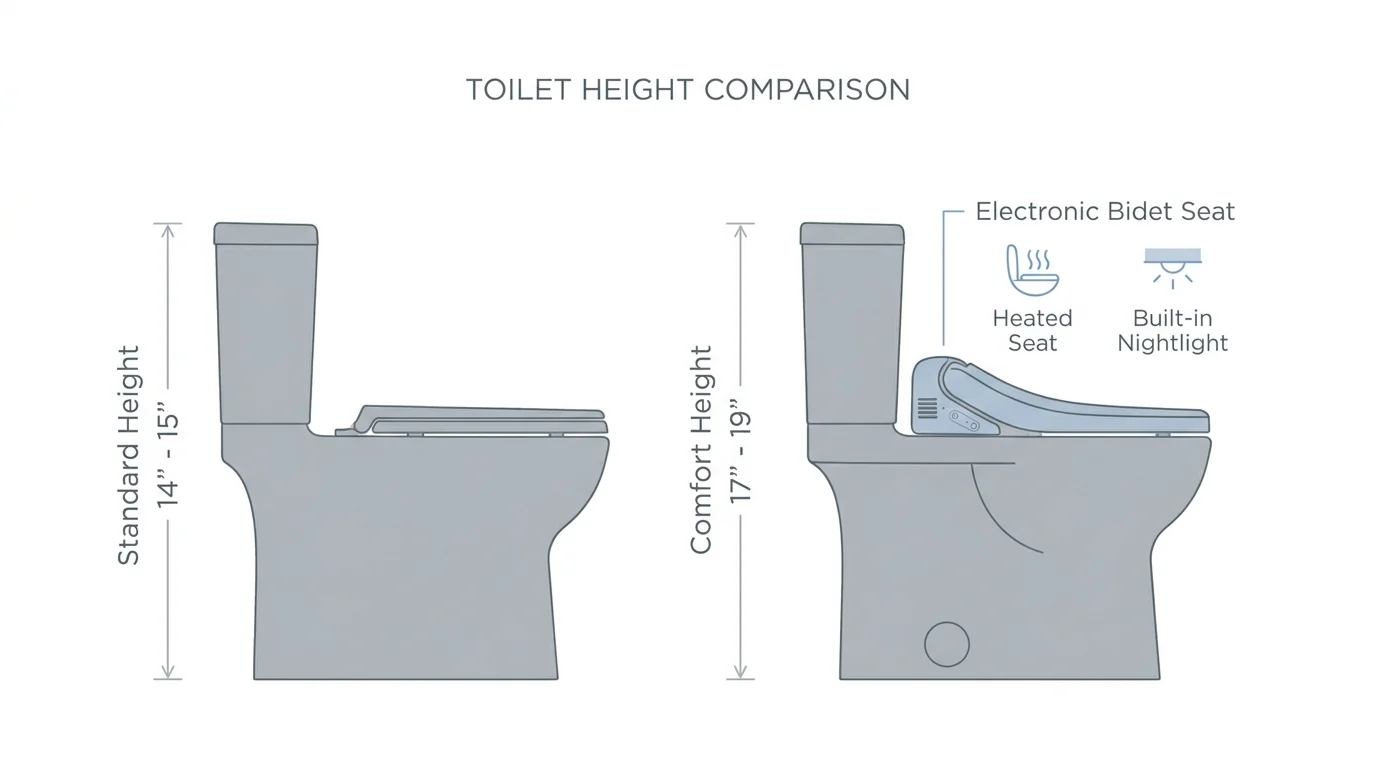
3. Comfort-Height Toilets and Bidet Seats
Standard toilets sit approximately 14 to 15 inches off the floor, forcing a deep squat that strains the knees, hips, and lower back. Upgrading to a comfort-height toilet—which measures 17 to 19 inches from floor to bowl—mimics the height of a standard chair and makes sitting down and standing up significantly easier.
Take this upgrade a step further by installing an electronic bidet washlet seat. These devices enhance personal hygiene, reduce the need for reaching or twisting, and often feature built-in nightlights, heated seats, and warm air dryers. For a comprehensive breakdown of the best models on the market and their required plumbing setups, Bob Vila offers excellent side-by-side comparisons.

4. High-Friction, Slip-Resistant Flooring
Water and smooth surfaces create the ultimate home safety hazard. Replacing slick ceramic or polished marble with high-friction flooring drastically cuts your risk of falling. When shopping for bathroom tiles, look for the Dynamic Coefficient of Friction (DCOF) rating; anything rated 0.42 or higher provides appropriate slip resistance for wet areas.
Smaller tiles, such as penny rounds or two-inch hexagons, naturally offer more traction because the high volume of grout lines provides a grip for bare feet. If you prefer the look of wood, luxury vinyl plank (LVP) offers water resistance with a heavily textured finish.
| Flooring Material | Slip Resistance | Maintenance Level | Best Application |
|---|---|---|---|
| Matte Porcelain Mosaics | Excellent (abundant grout lines) | Moderate (requires regular grout cleaning) | Shower pans and main traffic paths |
| Luxury Vinyl Plank (LVP) | Good (textured wear layer) | Low (wipe clean, no grout) | Main bathroom floor (avoid inside shower) |
| Honed Natural Stone | Good (matte finish) | High (requires periodic sealing) | Vanity areas and dry zones |
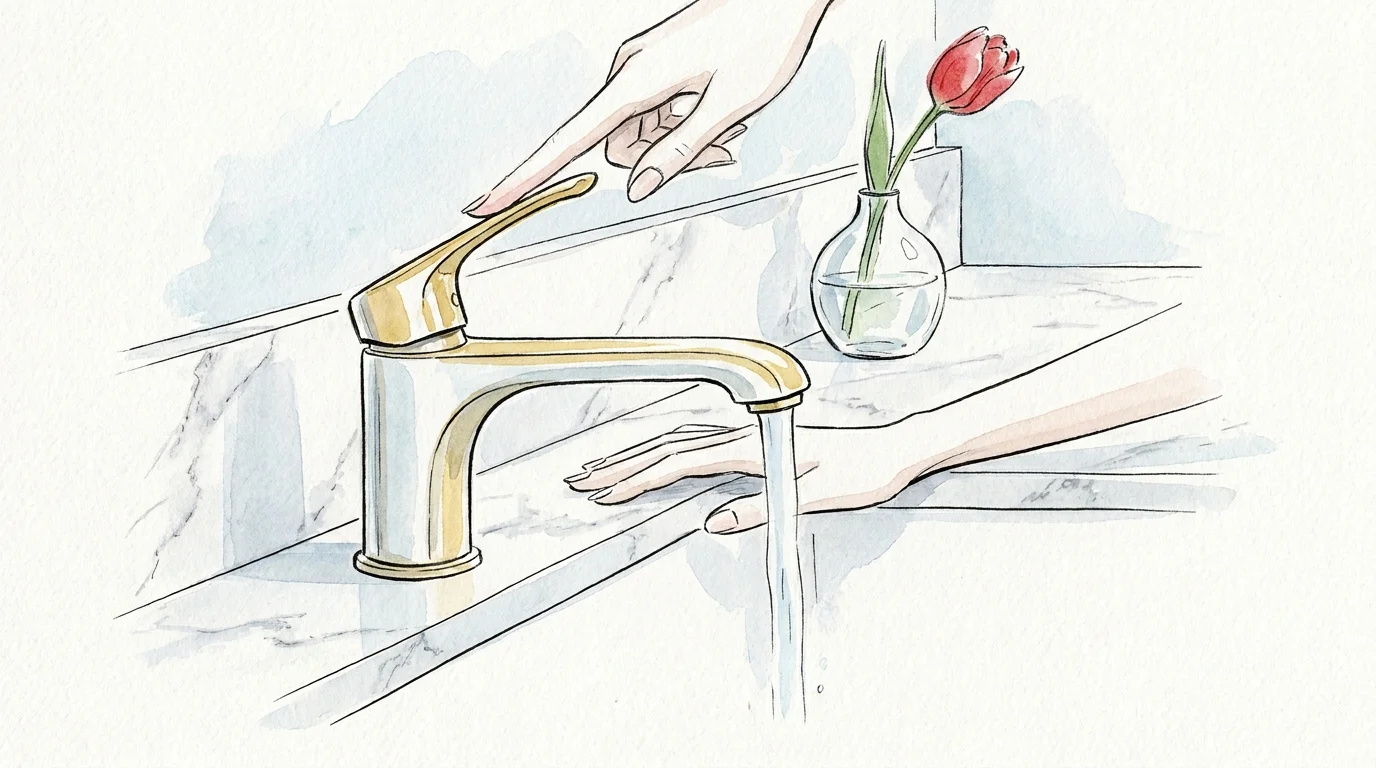
5. Lever-Style Faucets and Anti-Scald Valves
Arthritis and diminished grip strength make twisting standard round faucet knobs painful. Replacing old hardware with lever-style handles allows you to turn on the water and adjust the temperature using the side of your hand, your wrist, or even your elbow. Touchless or motion-activated faucets present another excellent, hygienic option.
Inside the wall, swap your shower’s mixing valve for a thermostatic anti-scald valve. Older adults often experience reduced skin sensitivity to temperature, increasing the risk of severe burns before realizing the water is too hot. These specialized valves automatically compensate for sudden pressure changes—like someone flushing a toilet elsewhere in the house—maintaining a safe, consistent water temperature.
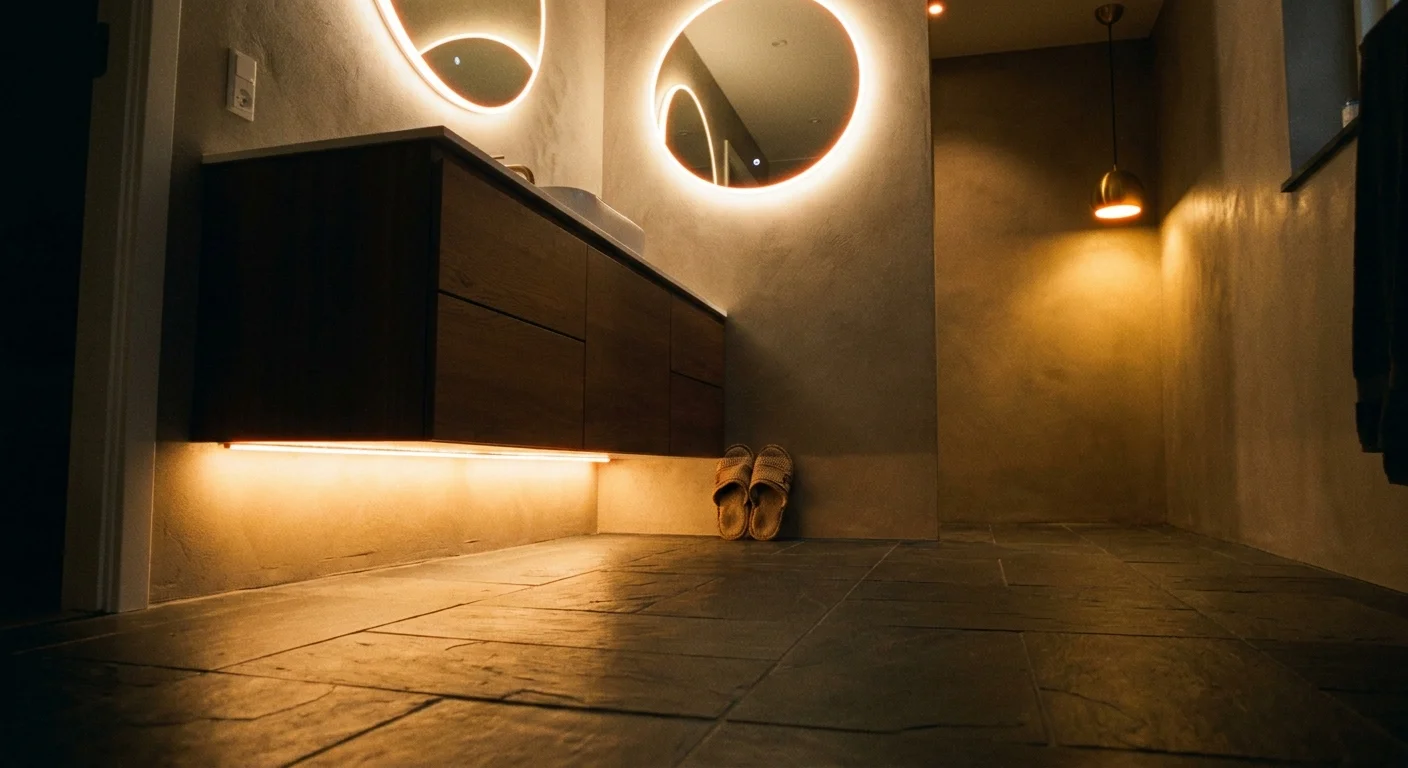
6. Layered, Motion-Activated Lighting
Our eyes require significantly more light to distinguish contrast and depth as we age. A single overhead fixture casts harsh shadows and leaves corners dangerously dim. Combat this by layering your bathroom lighting: combine recessed ambient lights, bright task lighting flanking the vanity mirrors (to eliminate facial shadows), and low-level accent lighting.
Integrating motion-sensor technology transforms midnight bathroom trips. Install motion-activated toe-kick lights under the vanity and a low-lumen nightlight near the toilet. For endless visual inspiration on beautifully layered bathroom lighting plans, browse the architectural galleries on Houzz. This ensures the room gently illuminates the moment you step through the door, removing the need to fumble for switches in the dark.

7. Floating Vanities with Knee Clearance
Traditional block vanities that sit flush against the floor offer plenty of storage but leave no room to maneuver. Wall-mounted floating vanities solve this problem beautifully. By keeping the floor space beneath the cabinet open, you create necessary toe and knee clearance.
If mobility requires transitioning to a seated walker or wheelchair down the road, this open space allows you to pull right up to the sink. Ensure the countertops are installed at a comfortable height—generally around 34 inches—and push the plumbing hardware toward the back of the cabinet to maximize underneath clearance.
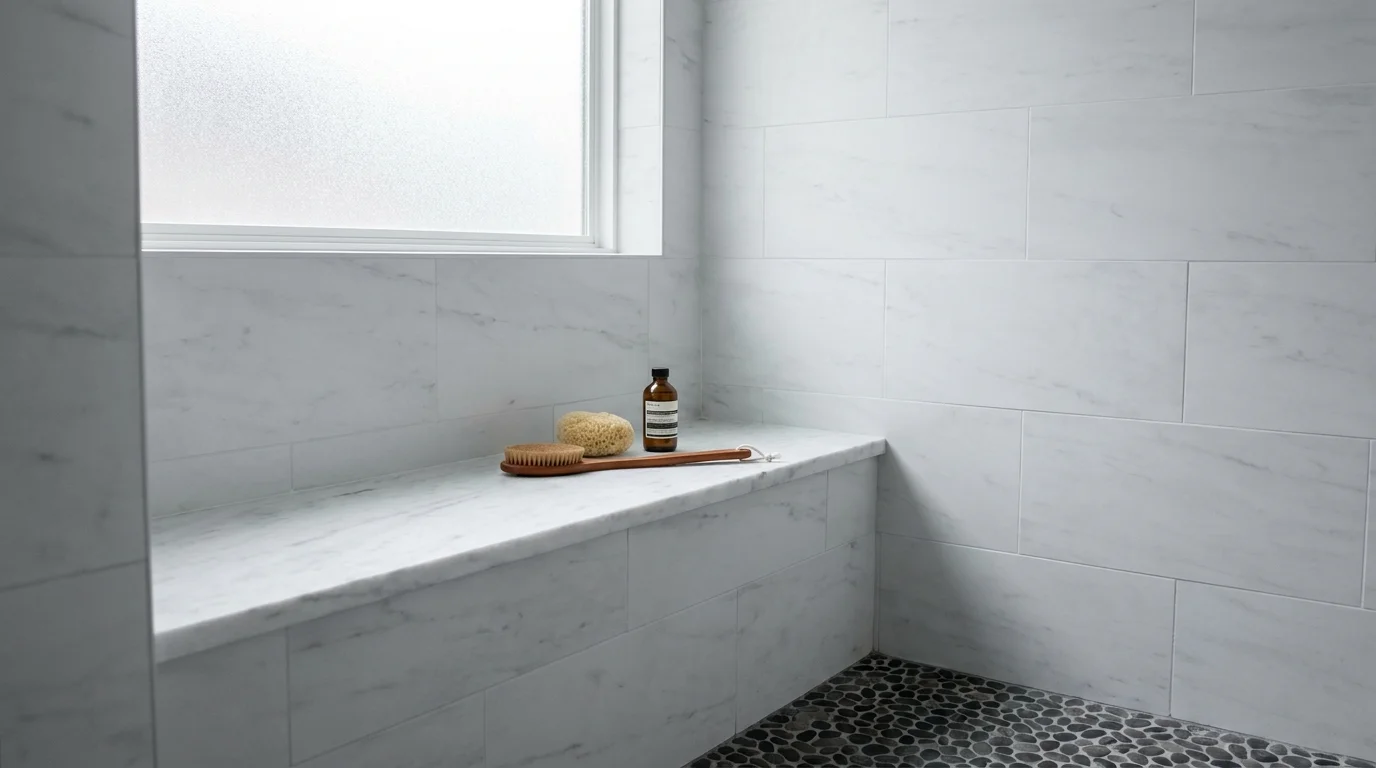
8. Built-In Shower Seating
Standing for the duration of a shower becomes exhausting, especially during an illness or recovery from surgery. While portable shower chairs get the job done, they often look medical, take up valuable floor space, and can tip over if not placed on an entirely flat surface.
During a bathroom remodel, plan for a built-in shower bench. A custom-tiled bench matching the walls provides a sturdy, permanent resting spot. If space is tight, mount a high-quality fold-down teak seat directly into the shower wall studs. Teak naturally resists moisture and rot, adding a warm, spa-like aesthetic that folds neatly out of the way when not in use.

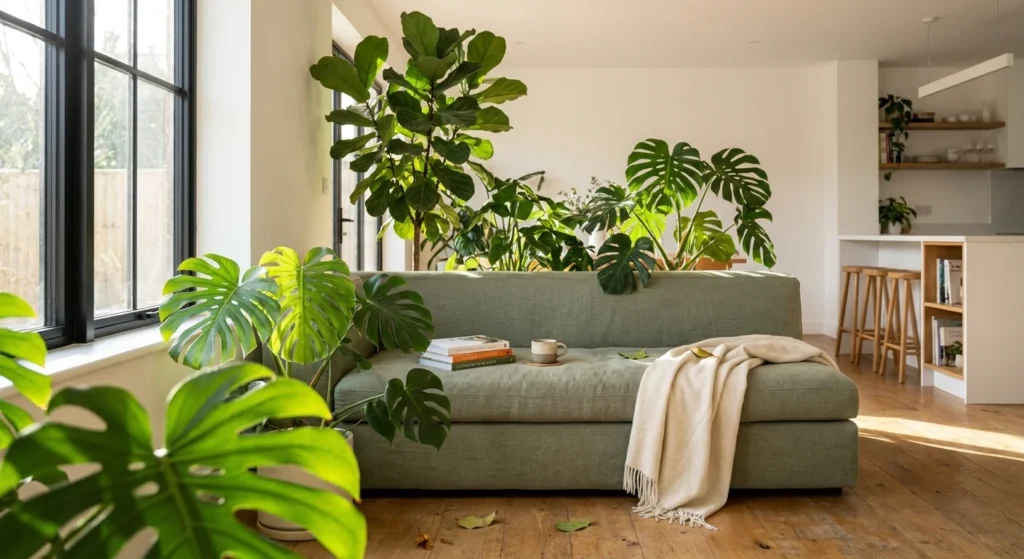
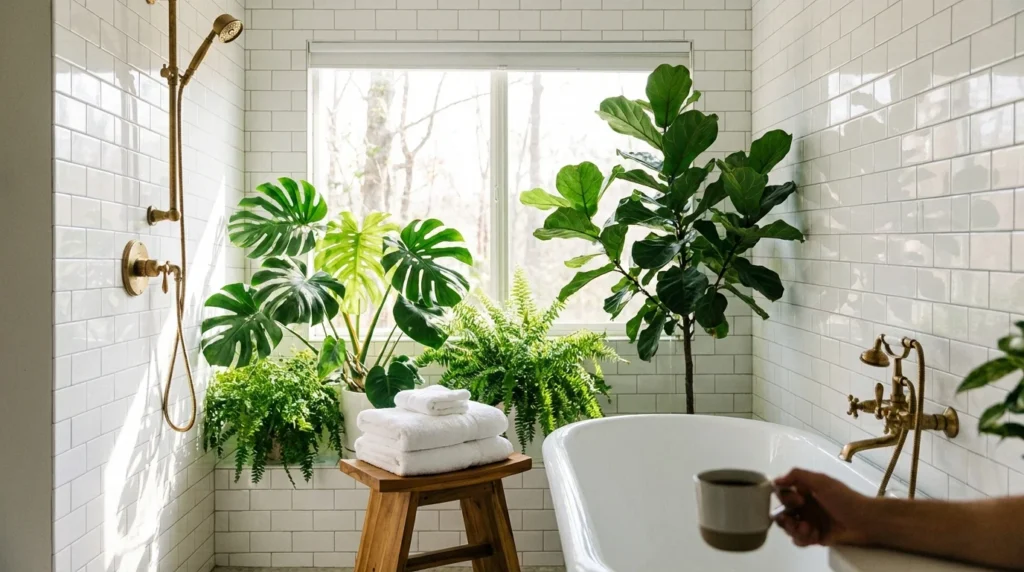
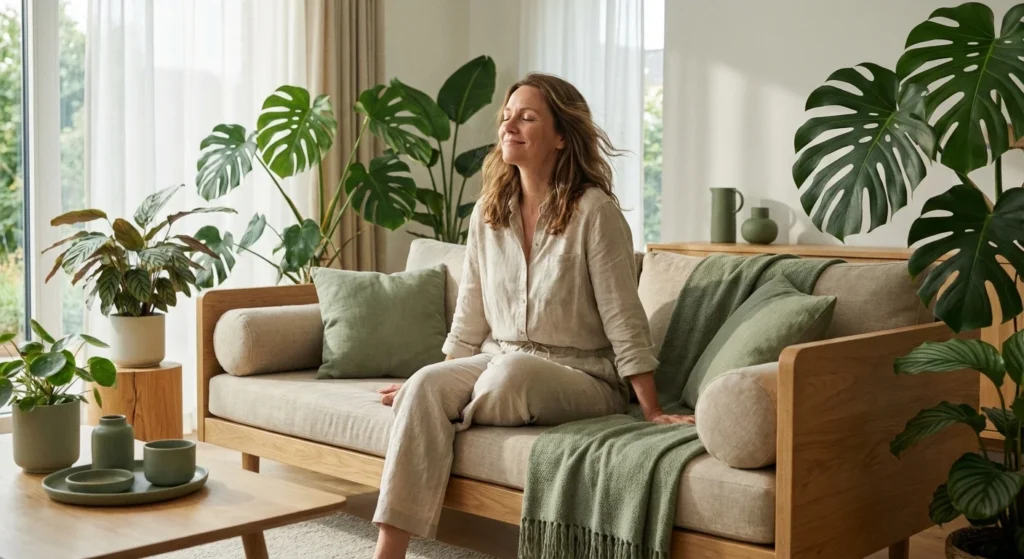
9. Biophilic Design and Air-Purifying Greenery
Creating a space for aging in place isn’t just about preventing accidents; it is about cultivating an environment where you genuinely love spending time. Incorporating nature into your bathroom—known as biophilic design—reduces stress, lowers blood pressure, and boosts mood.
“A house is not a home unless it contains plants, light, and something growing.” — Traditional Proverb
Bathrooms provide an excellent microclimate for humidity-loving tropicals. Consider hanging a robust Golden Pothos or placing a delicate Boston Fern on a high shelf. Before bringing any new flora into your home, always cross-reference your choices with the ASPCA Animal Poison Control database to ensure they are safe for wandering cats and dogs.
Renovation Pitfalls to Avoid
When executing senior home upgrades, several common mistakes can derail your timeline and your budget. Watch out for these crucial errors:
- Ignoring door width: Standard interior doors often measure 24 to 28 inches wide, which cannot accommodate a walker or wheelchair. Widen your bathroom doorway to at least 32 inches—preferably 36 inches—during the renovation.
- Choosing glossy surfaces: High-gloss tiles belong on the walls, never on the floor. Always test tile samples with wet hands to gauge their slickness before purchasing.
- Skipping blocking in the walls: If you are stripping the bathroom down to the studs, add structural wood blocking throughout the space. Even if you do not want grab bars today, having the blocking behind the drywall makes future installation infinitely easier and cheaper.
- Poorly placed controls: Shower valves should be positioned where you can reach them without having to step completely inside the spray zone. This allows you to turn the water on and test the temperature safely from dry ground.
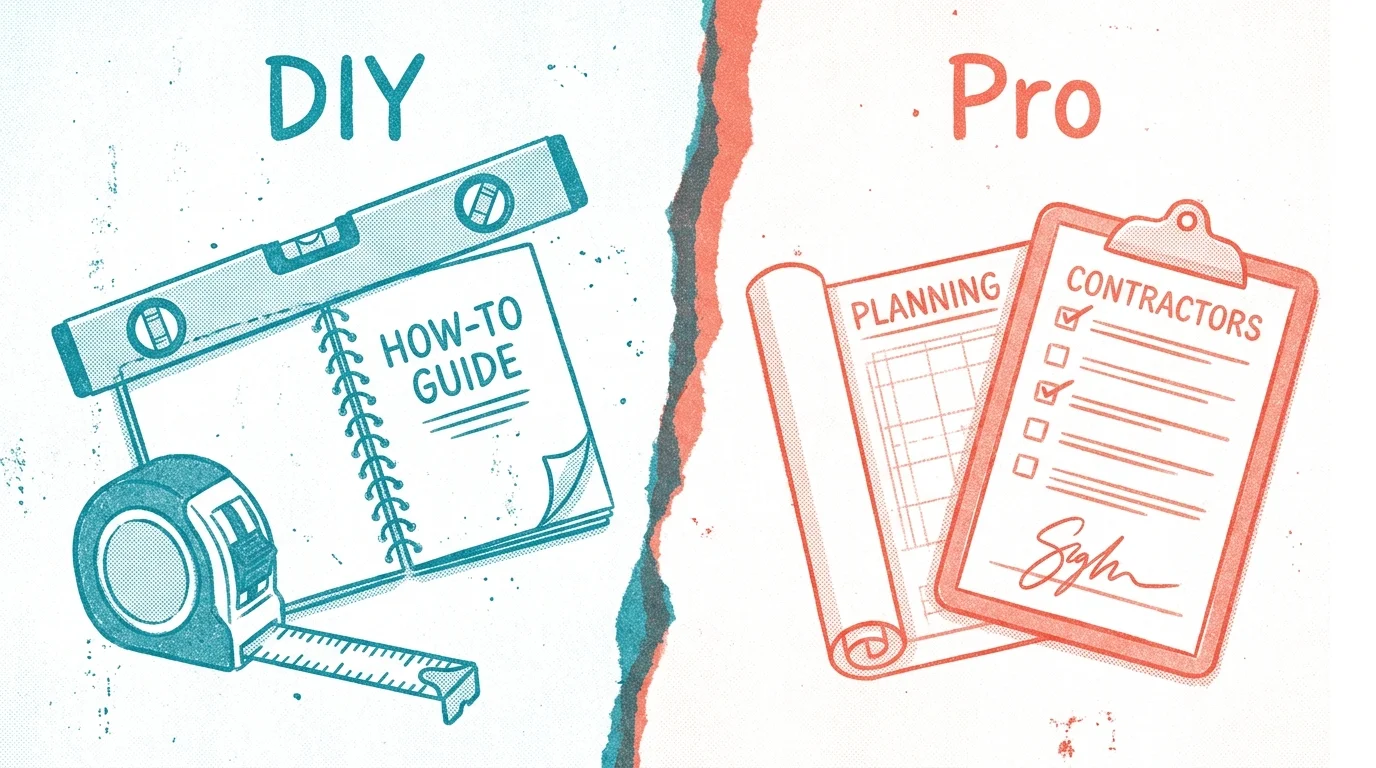
DIY vs. Hiring a Pro
Determining which projects you can tackle on a weekend and which require a licensed contractor saves you from costly water damage and safety hazards.
Projects suited for confident DIYers:
- Swapping out standard cabinet knobs for easy-to-pull D-shaped handles.
- Installing a bidet washlet seat on an existing toilet (provided an electrical outlet is nearby).
- Applying non-slip treatments to existing bathtub floors.
- Adding motion-sensor nightlights to existing wall outlets.
Projects that require hiring a professional:
- Curbless shower installation: Proper sloping, moving plumbing drains, and applying flawless waterproofing membranes demand professional expertise. A failed shower pan will rot your home’s structural framing.
- Electrical modifications: Adding dedicated circuits for heated floors, bidet seats, or extensive layered lighting requires a licensed electrician to ensure code compliance and safety in a wet environment.
- Grab bar installation on tiled walls: Locating studs behind existing tile and drilling through porcelain without cracking it takes specialized diamond drill bits and experience.
Frequently Asked Questions
What is the ideal height for a grab bar?
The Americans with Disabilities Act (ADA) recommends installing horizontal grab bars between 33 and 36 inches above the finished floor. However, in a private residence, you should customize the height based on the primary user’s height and natural reach.
Can I add a curbless shower to my existing bathroom?
Yes, but it requires structural work. Because the shower floor must slope downward toward the drain, your contractor will need to recess the shower pan into your floor joists or build up the rest of the bathroom floor to meet the level of the shower.
Are heated bathroom floors worth the investment?
Radiant floor heating provides excellent value for aging in place. Beyond the comfort of stepping onto a warm floor on a cold morning, the heat helps dry puddles of water quickly, significantly reducing slip hazards after showering.
What plants thrive in a windowless bathroom?
No plant survives in total darkness. If your bathroom lacks a window, you must install an LED grow light. With adequate artificial light, humidity-loving plants like ZZ Plants, Snake Plants, and Cast Iron Plants will adapt wonderfully to a bathroom environment.
Upgrading your bathroom to support your evolving needs empowers you to navigate your daily routines with confidence and dignity. Start small by replacing slippery rugs and installing brighter lighting, then plan for larger structural changes like curbless showers during your next major remodel. By thoughtfully blending aesthetic choices with functional safety features, you can craft a beautiful space that serves you perfectly for decades to come. Results for DIY projects and plant care depend on your local climate, home conditions, and experience level. When in doubt, consult a licensed professional.
Last updated: May 2026. Plant care guidance reflects current horticultural best practices—always observe your specific plant’s signals.