
Smart Strategies & Upgrades
Transforming your home into a self-maintained sanctuary starts with addressing the most common, high-impact issues. These nine simple repairs require minimal physical strain but deliver maximum results for your daily comfort and the vitality of your houseplant collection.

1. Sealing Drafty Windows
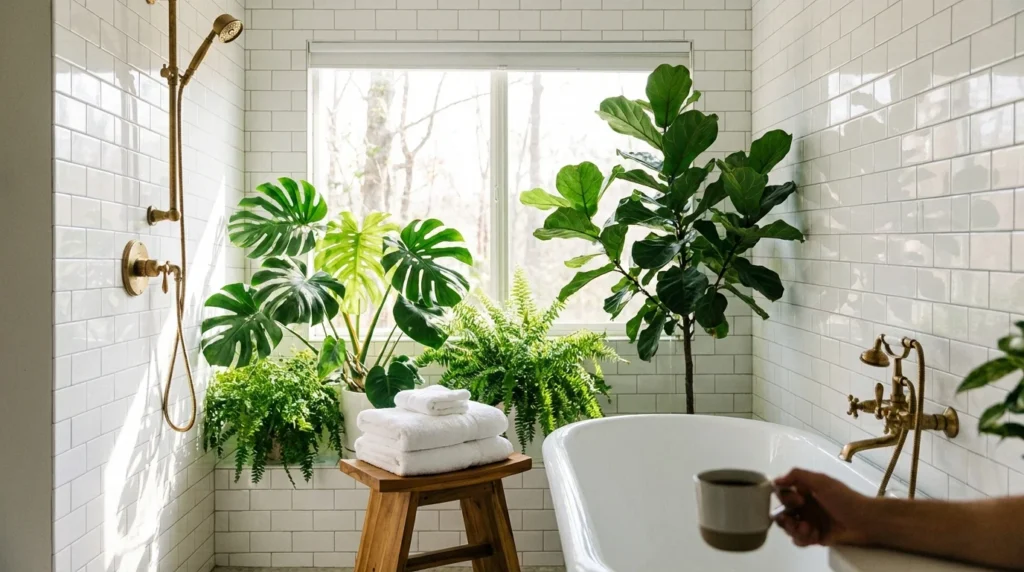
Cold drafts are the nemesis of both energy efficiency and tropical houseplants. When cold winter air seeps through aging window frames, it forces your heating system to work overtime and can shock sensitive plants like Calatheas or Fiddle Leaf Figs sitting on the sill. You can eliminate this issue by learning how to properly apply silicone caulk or weatherstripping.
Begin by scraping away any old, cracked caulk using a plastic putty knife—this prevents damage to the window frame. Clean the surface thoroughly with rubbing alcohol to ensure a tight bond. Load a tube of high-quality, clear silicone sealant into a drip-free caulk gun. Cut the tip at a forty-five-degree angle and gently run a continuous bead along the seam where the window frame meets the wall. Smooth the bead with a damp finger for a professional finish. This easy home fix elderly homeowners can complete in a single afternoon significantly stabilizes your indoor temperatures.
2. Unclogging Sink Drains Naturally
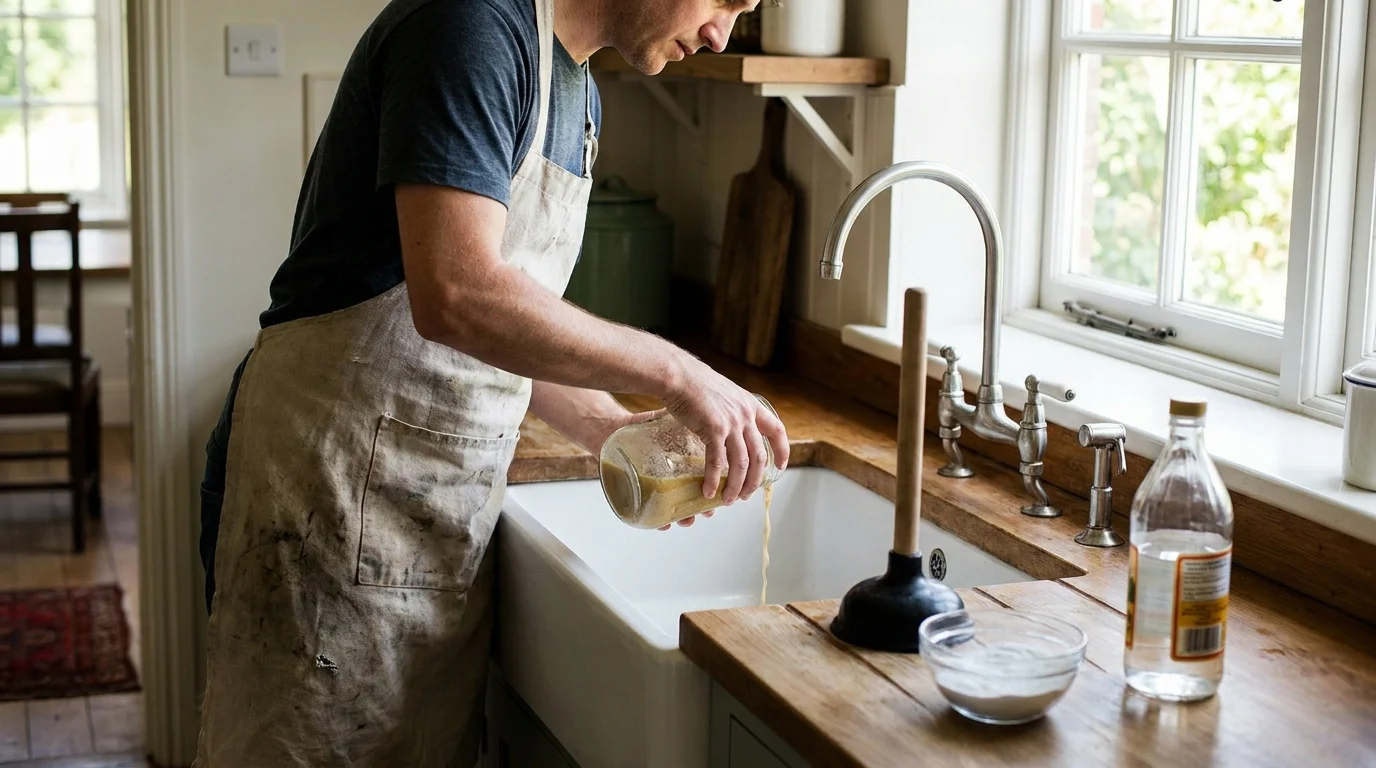
If you regularly wash soil off your hands or rinse gardening tools in the utility sink, you will eventually encounter a slow drain. Chemical drain cleaners release volatile organic compounds (VOCs) that irritate your lungs and harm the environment. Fortunately, you can clear minor clogs using items already sitting in your pantry.
Remove the sink stopper and pour one-half cup of standard baking soda directly down the drain. Follow this with one-half cup of white vinegar. Cover the drain opening with a damp cloth to force the chemical reaction downward into the pipe. Let the mixture fizz and work on the clog for fifteen minutes. Finally, flush the system with a kettle full of boiling water. This eco-friendly method breaks down organic matter safely, protecting your plumbing and keeping toxic chemicals far away from your pets and plants.

3. Patching Small Drywall Holes
Repositioning your floating plant shelves or hanging a new macrame planter often leaves unsightly holes in your drywall. Repairing these blemishes restores the pristine backdrop of your interior design and prevents pests from finding their way inside your walls.
For holes smaller than a dime, you only need lightweight spackle and a small putty knife. Press the spackle firmly into the hole, smooth it flush with the surrounding wall, and wipe away the excess. Once it dries—usually in about an hour—lightly sand the area with a fine-grit sanding block until it blends perfectly with the wall surface. Touch up the spot with a dab of matching interior paint. Mastering this skill gives you the freedom to redesign your indoor garden displays whenever inspiration strikes without worrying about permanent wall damage.

4. Replacing HVAC Filters
Air quality directly impacts your respiratory health and the photosynthetic efficiency of your houseplants. When airborne dust settles on broad leaves like those of a Monstera Deliciosa, it blocks sunlight and slows growth. Swapping out a dirty furnace or air conditioning filter is an essential task that improves airflow and reduces strain on your HVAC system.
Locate your air return vent and open the grill. Slide out the old filter and note the dimensions printed on the cardboard frame. Purchase a replacement filter with a MERV rating of 8 to 11; this traps pet dander and pollen without overworking your blower motor. When inserting the new filter, look for the printed arrows on the edge and ensure they point toward the ductwork, indicating the direction of airflow. Set a reminder on your calendar to repeat this simple task every ninety days.

5. Fixing a Leaky Faucet
A faucet that drips once per second wastes thousands of gallons of water annually. If your favorite plant-watering sink refuses to shut off completely, you can usually solve the problem by replacing a worn-out rubber O-ring or ceramic cartridge.
Before you touch a tool, reach under the sink and turn off the hot and cold water supply valves. Turn on the faucet to drain any residual water and relieve the pressure. Use an Allen wrench or a Phillips-head screwdriver to remove the faucet handle. If you have a traditional compression faucet, use an adjustable wrench to loosen the packing nut and replace the flat rubber washer at the base of the stem. Reassemble the components, turn the water back on, and marvel at the silence of a drip-free sink.
6. Tightening Cabinet Hardware
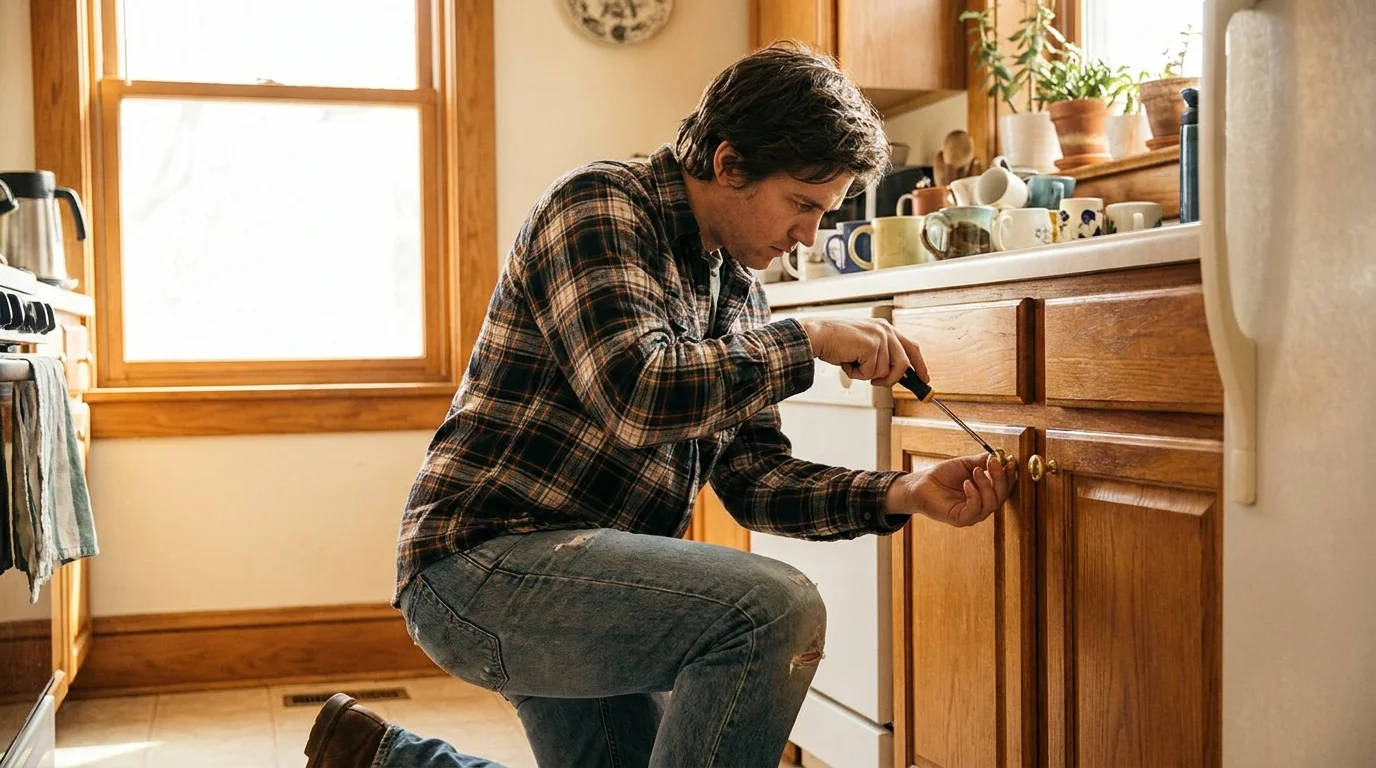
Loose cabinet hinges and wobbly drawer pulls are common annoyances that make a kitchen or bathroom feel neglected. More importantly, secure cabinets are essential for safely storing concentrated liquid fertilizers, sharp pruning shears, and cleaning supplies out of reach of curious pets or visiting grandchildren.
Grab a manual Phillips-head screwdriver rather than a heavy power drill; power drills can easily strip the wood in older cabinets. Open the cabinet door and locate the hinge screws attached to the inside frame. Apply steady, gentle pressure as you turn the screws clockwise until they sit flush and tight. If a screw spins endlessly without catching, remove it, dip a wooden toothpick in wood glue, and insert it into the hole. Snap off the excess toothpick, let the glue dry, and drive the screw back in for a perfectly secure hold.
7. Replacing Door Weatherstripping
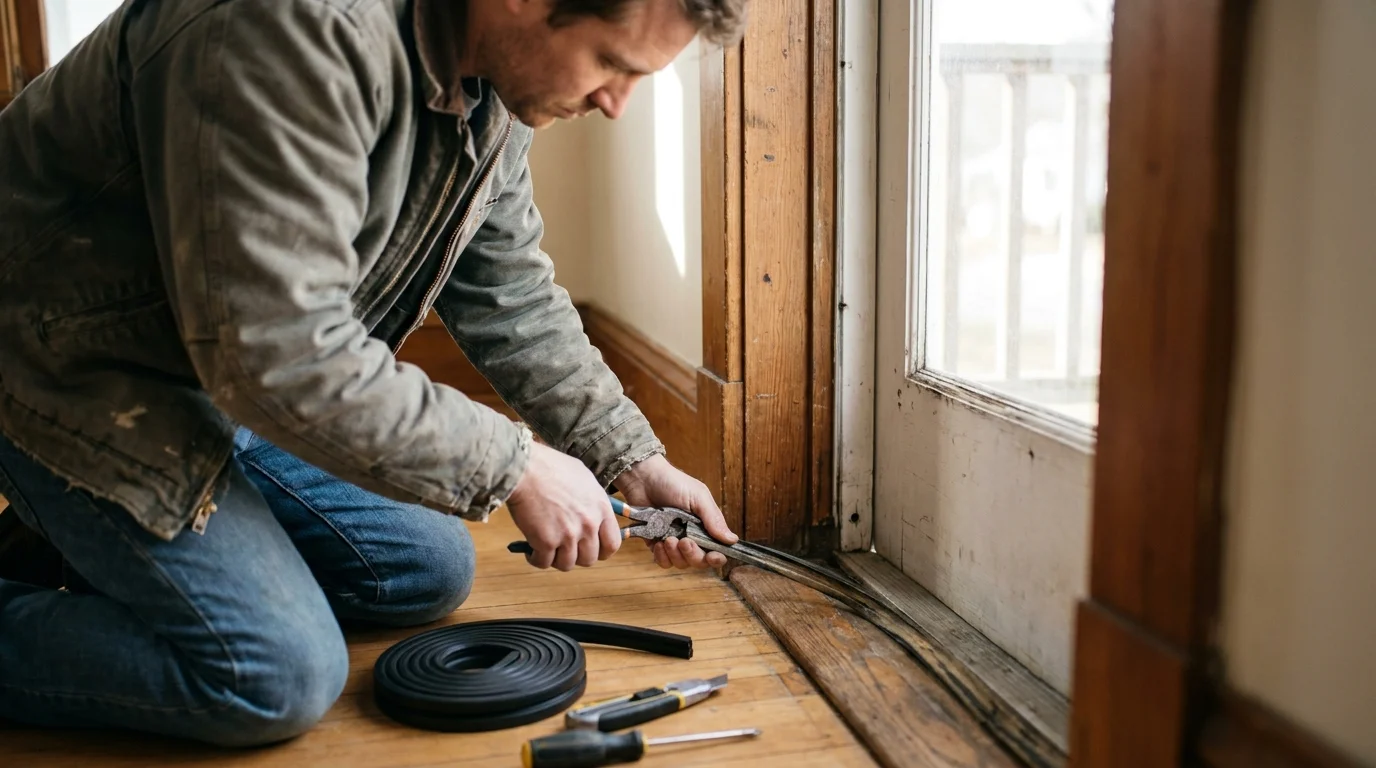
Just like windows, exterior doors are major culprits for drafts and energy loss. Replacing worn weatherstripping ensures a tight seal, keeping out winter chills, summer heat, and opportunistic insects that view your indoor garden as a buffet.
Peel away the old, flattened weatherstripping from the door jamb. Use an adhesive remover to clean off any sticky residue, ensuring the wood or metal surface is completely bare and dry. Measure the height and width of your door frame, then cut strips of self-adhesive foam weatherstripping to match. Peel back a few inches of the paper backing at a time, pressing the foam firmly into the corner of the door stop. This simple repair dramatically improves your comfort and helps you save money home repair bills might otherwise consume.

8. Repairing Torn Window Screens
Opening your windows to welcome the spring breeze is one of life’s great pleasures, but torn screens invite gnats, flies, and spider mites into your home. Replacing the mesh in a window screen frame is highly satisfying and requires only a few specialized but inexpensive materials.
Remove the aluminum screen frame from the window and lay it flat on a sturdy table. Use a flathead screwdriver to pry up the rubber tubing—called the spline—from the groove around the perimeter. Pull out the old spline and discard the torn mesh. Lay a slightly oversized piece of new fiberglass screen over the frame. Using a spline roller tool, press a new rubber spline into the groove, starting at one corner and working your way around to pull the mesh taut. Trim the excess mesh cleanly with a utility knife.

9. Swapping a Toilet Flapper
If you constantly hear your toilet running long after it has been flushed, the rubber flapper inside the tank has likely warped or degraded. This constant leak wastes water and stresses well-water pumps.
Turn off the water supply valve located behind the base of the toilet. Flush the toilet to empty the tank. Reach inside and unhook the small chain connecting the flapper to the flush lever. Pull the old rubber flapper off the plastic pegs at the base of the overflow tube. Take the old flapper to the hardware store to ensure you purchase an exact match. Snap the new flapper onto the pegs, reconnect the chain with a slight bit of slack, and turn the water back on. This is one of the most cost-effective simple repairs 60+ homeowners can master.