If you are a gardener looking to keep your plants blooming throughout the growing season, you may have heard of deadheading.
Deadheading is an essential part of gardening – in fact, research suggests that gardeners who regularly practice this technique can increase their flower production by up to 50%.
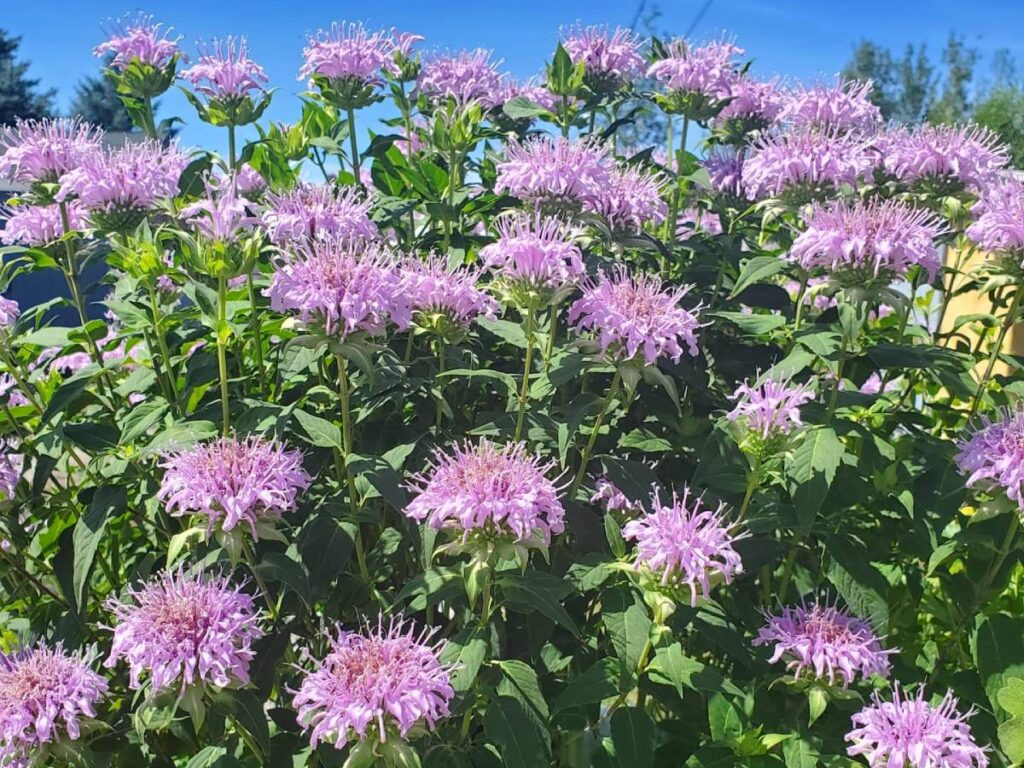
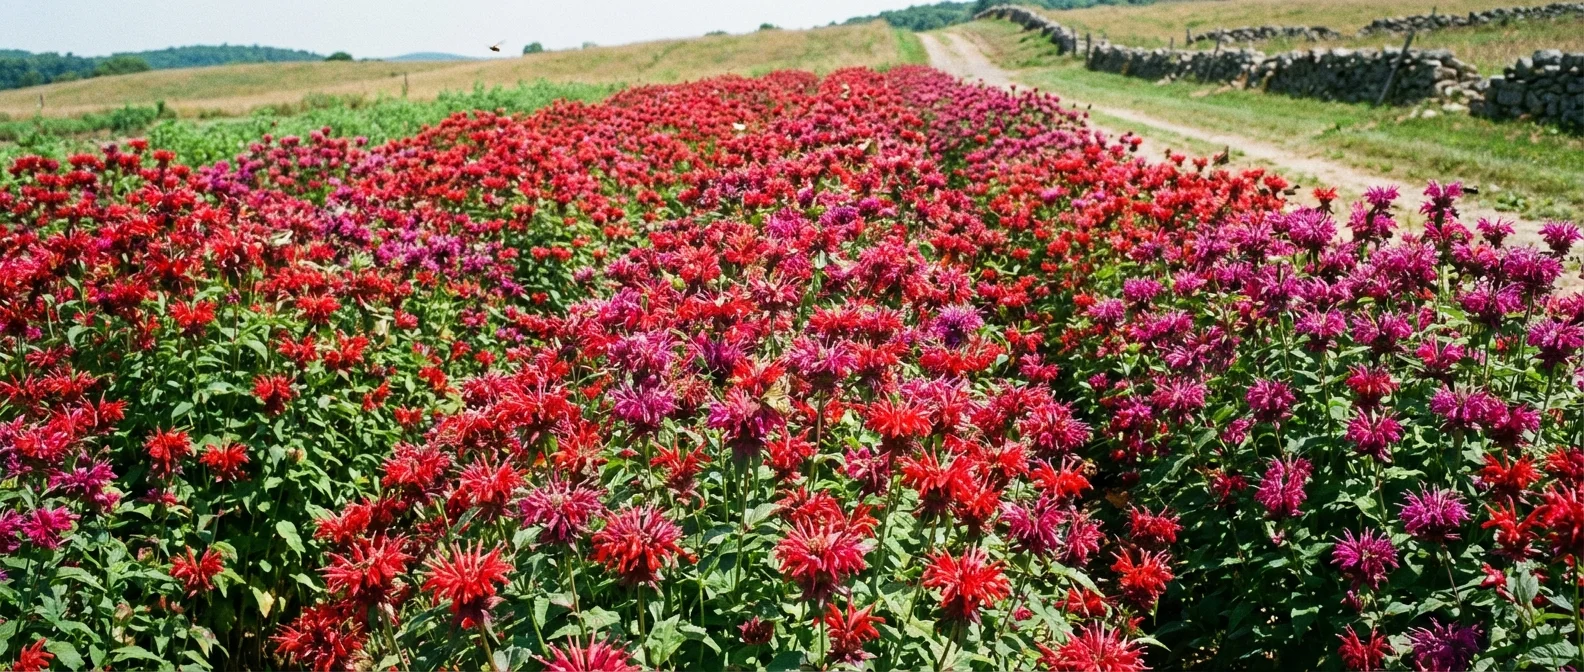
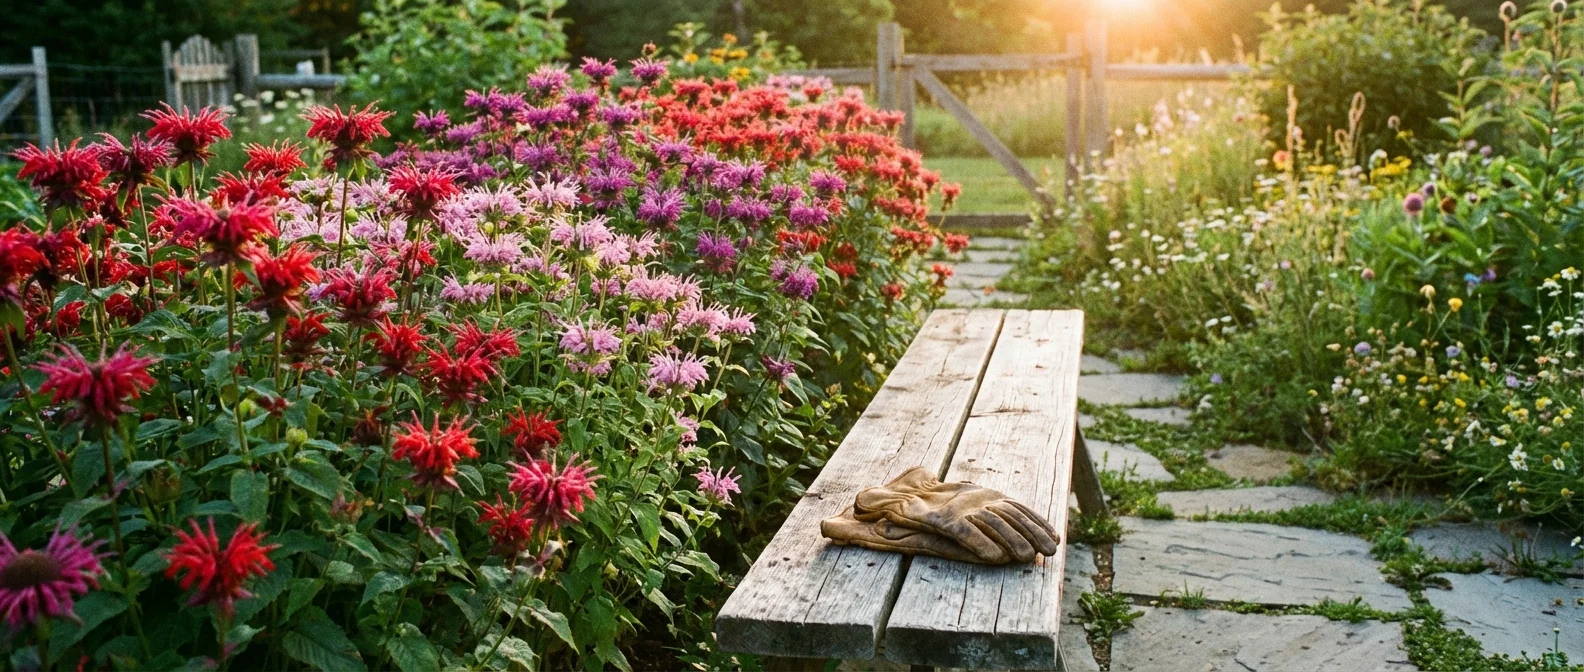
One plant that responds particularly well to deadheading is bee balm (Monarda). In this article, we will be discussing how best to go about deadheading bee balm so you can get the most out of your flowers.
Here’s How to Deadhead Bee Balm?
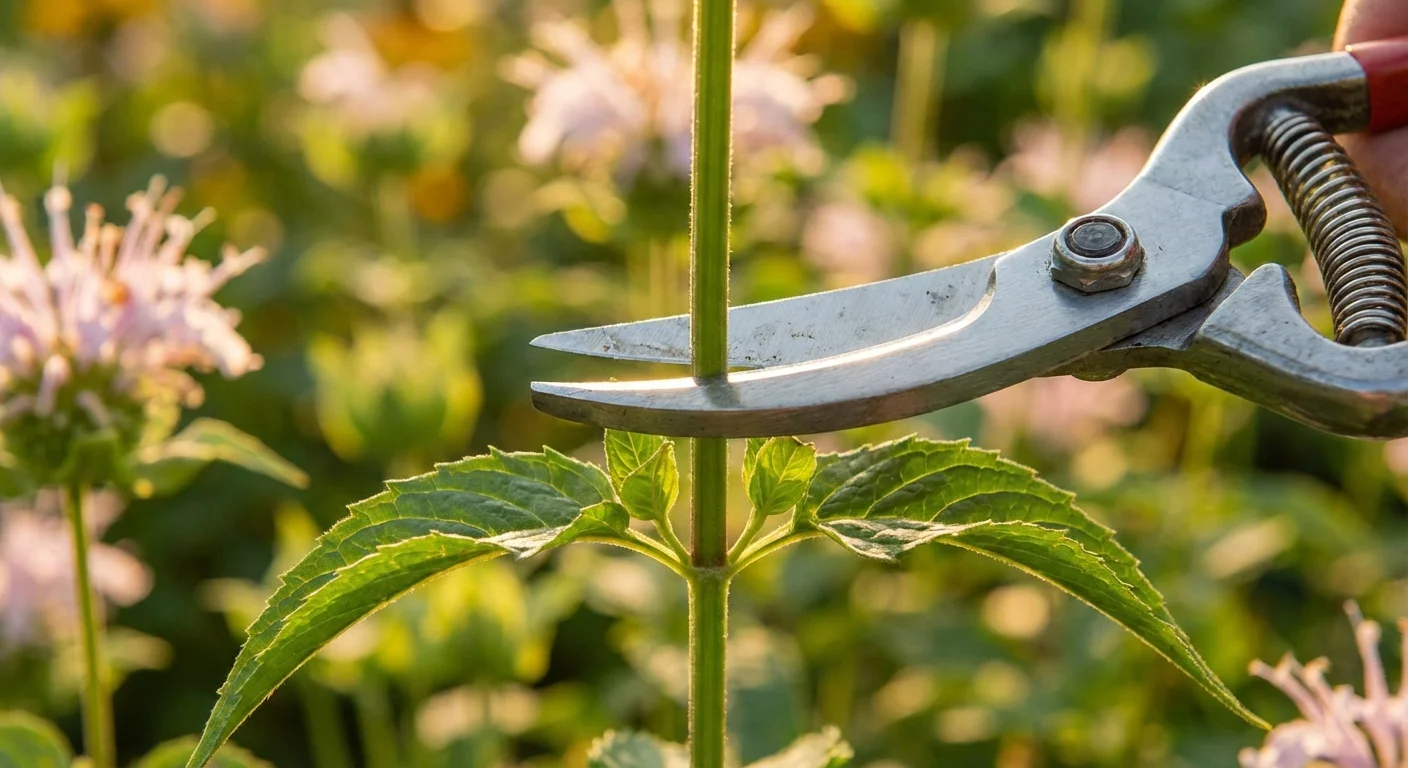
Removing the dead flowers from bee balm encourages reblooming and ensures healthy growth. To deadhead bee balm, cut back the flowering stems to within 1/4-inch of a leaf or leaf bud near the top as soon as the first flower clusters begin to wilt and die.
What Is Deadheading?
Deadheading is like a gust of fresh air for your garden. It’s the process of removing spent flowers from plants—and in this case, bee balm—to help them look their best and encourage more blooms. In other words, it’s pruning with purpose!
Take deadheading bee balm for example; when you remove the blossoming heads, you’re not only making way for new growth but also preventing the plant from setting seed which can take away energy needed for future blooming cycles.
Additionally, by cutting off fading flowerheads, you’ll be ensuring that all nutrients are going into stronger stems and roots rather than dispersing them among fruit formation or wilting petals.
Reasons to Deadhead Bee Balm
Deadheading bee balm is an absolute must-have for any gardener worthy of the name! You simply can’t be a successful bee balm enthusiast without it.
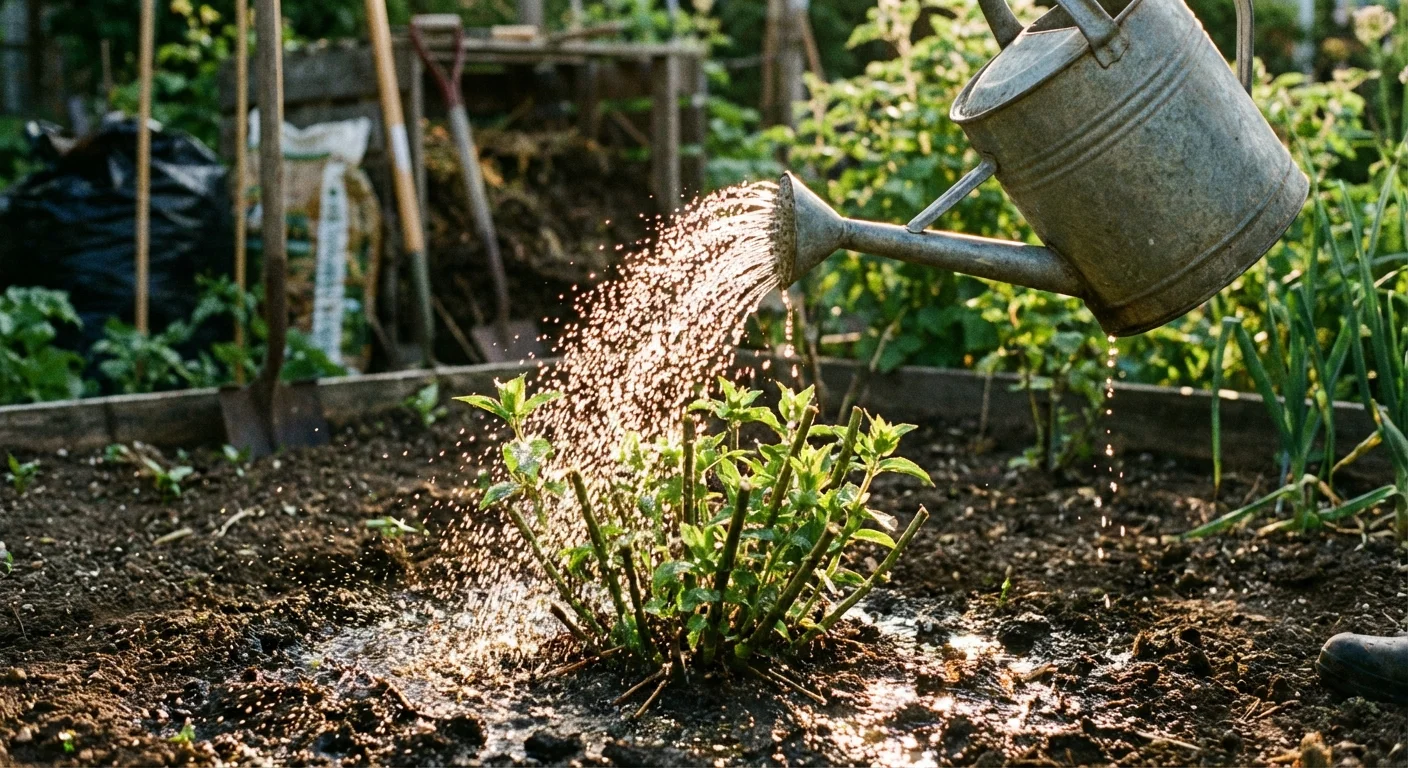
Deadheading is so essential, in fact, that you could say it’s as vital to your plant’s health as regular watering and fertilizing – if not more so! So why should every gardener make sure they deadhead their bee balm?
First off, you need to deadhead the flowers on your bee balm in order to prevent them from going to seed. When this happens, not only does the flower stalk become bare and unsightly, but it also saps energy from new growth.
By cutting the stems back after blooming has finished, you’ll keep your plant looking neat and encourage better flowering next season. Plus, deadheading will also help direct energy toward creating larger flowers rather than smaller ones.
In addition, when you take the time to cut back your spent flowers before they go to seed, you’re helping ensure that future generations of these plants have just as much beauty and vibrancy as yours do today.
With careful cultivation and maintenance through deadheading, we can all work together towards preserving our beloved bee balms!

When Is the Best Time to Deadhead Bee Balm?
Knowing when to deadhead your bee balm is essential for ensuring its full potential is realized. The best time to prune back the flowers is during late summer, when new blooms have passed their prime and are beginning to fade away.
This will encourage more vigorous flowering later on and make sure your plants look beautiful all season long! With this simple step, your garden will be bursting with vibrant colors in no time at all.
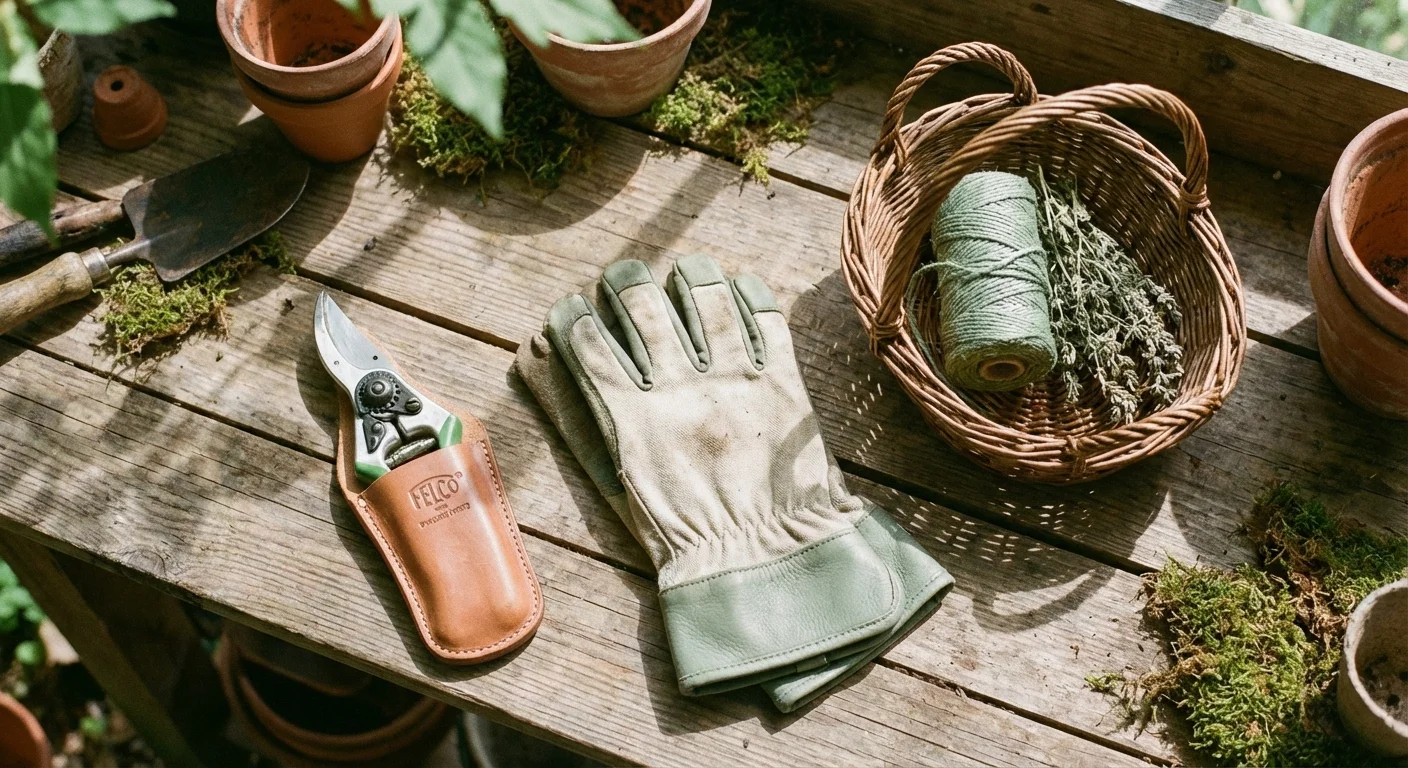
What You Need to Deadhead Bee Balm
It’s a sad but necessary task to prune bee balm and deadhead the blooms. To keep your plants healthy, it’s important to encourage them by removing any spent flower heads.
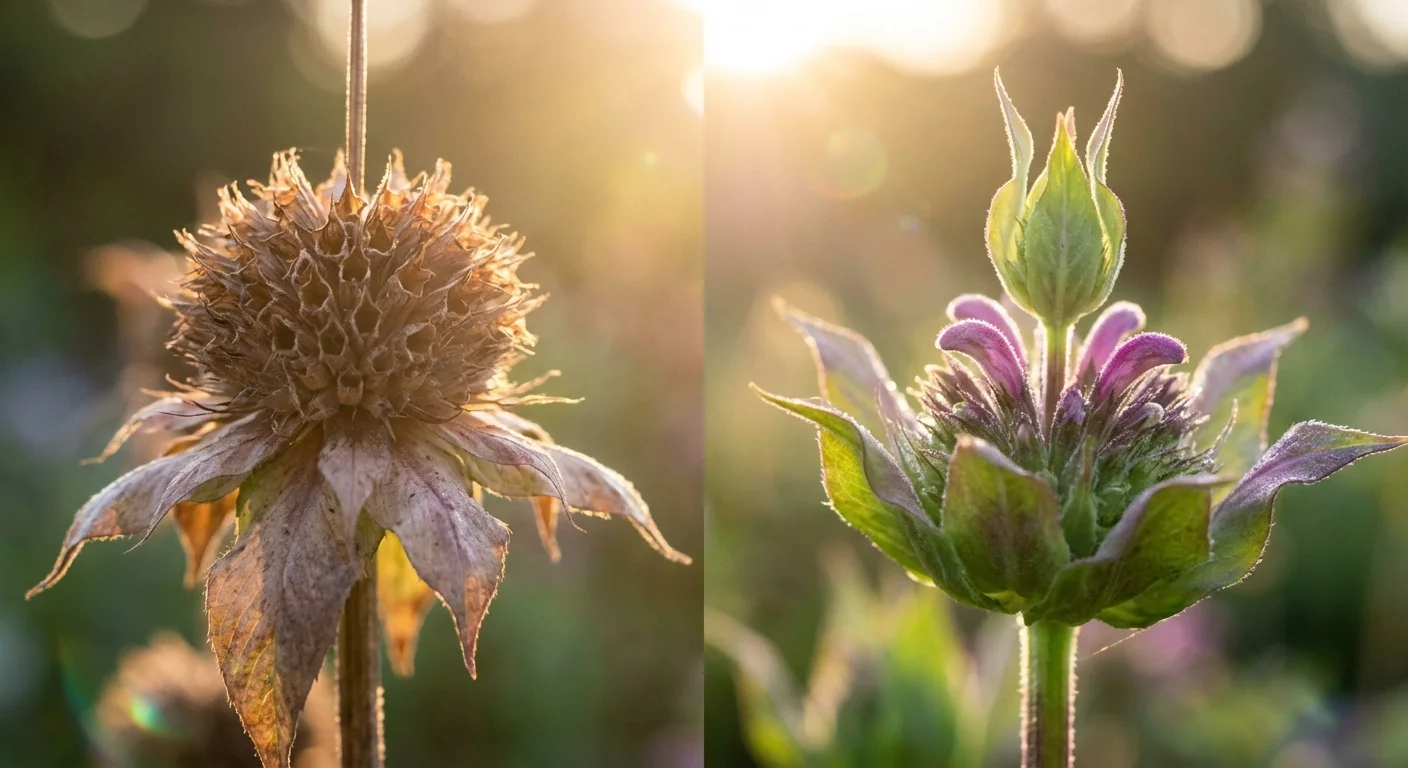
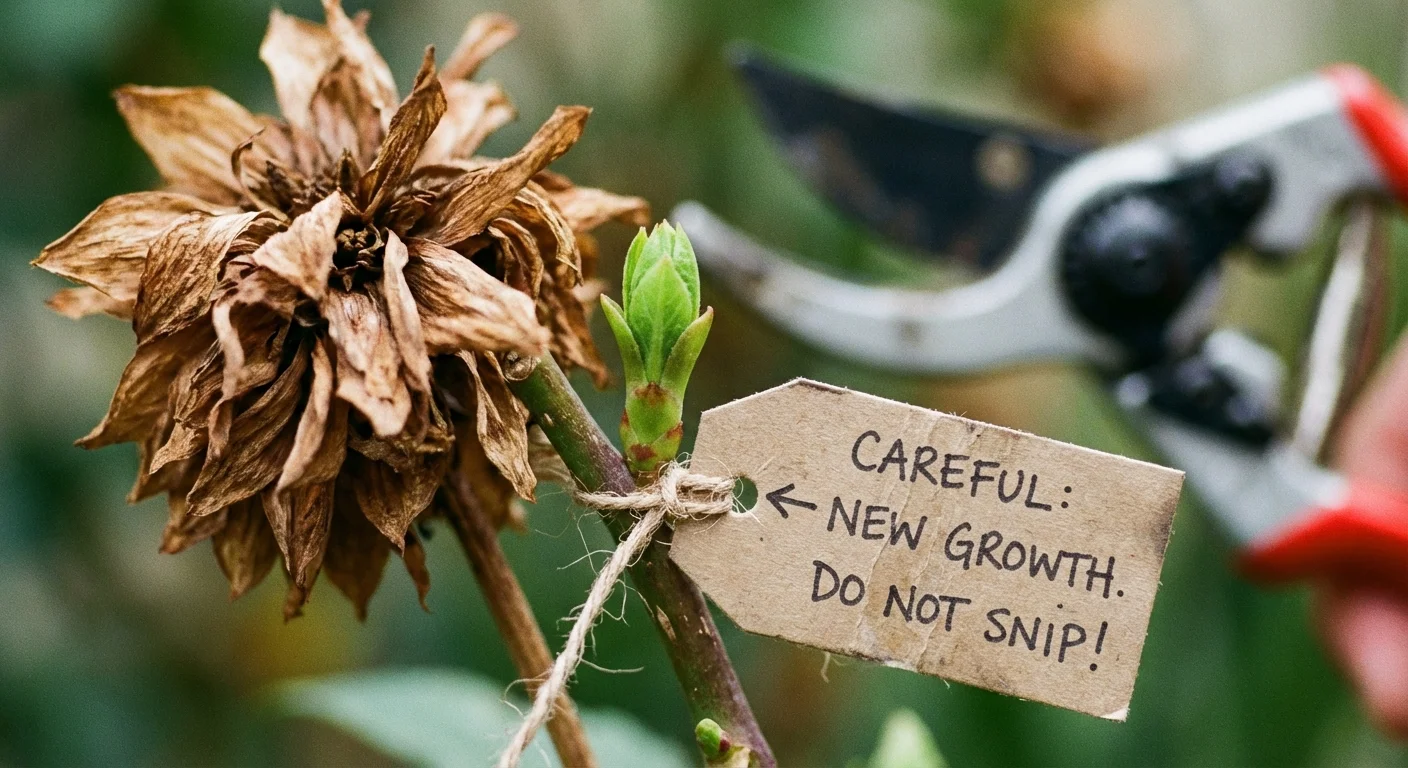
To identify which parts of the plant need to be removed, look for dead blooms or browned petals on the bee balm. Once you spot this, gently pinch off the entire bloom at its base. This will help promote more new growth and ensure that your plant stays in peak condition.
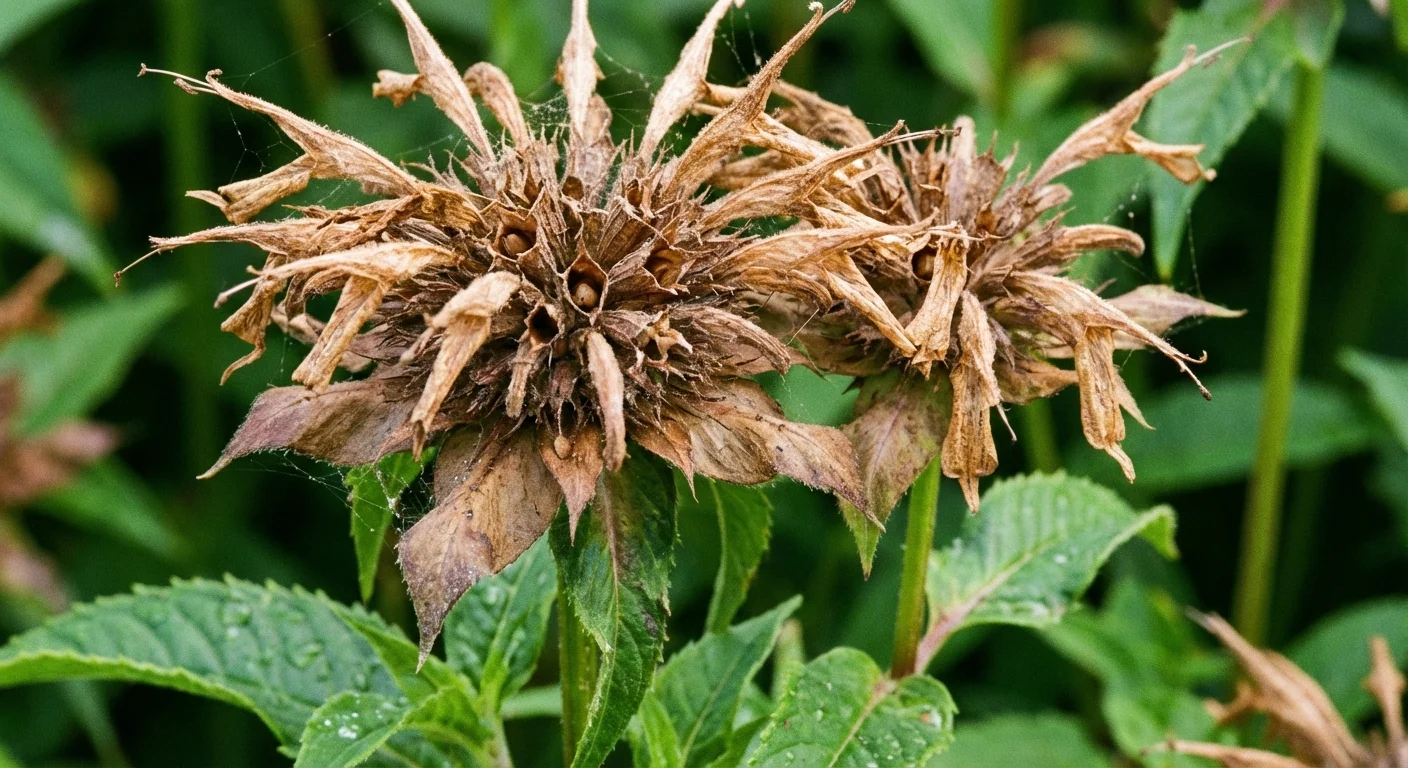
How to Identify Dead Blooms on Bee Balm
Deadheading bee balm is an essential part of caring for the plant, and doing it correctly can help your garden flourish. In fact, research shows that deadheading can increase flower production by up to 50%. So if you want a healthy, vibrant display of blooms throughout summer and autumn, learning how to identify which parts need pruning is key.
It’s not as daunting as it sounds – once you know what to look out for, you’ll be able to quickly decide which sections of bee balm should be removed.
First off, check for any wilting flowers or petals. These are easy to spot because they will have lost their colour and become limp in texture. It’s also worth looking at the stems carefully; make sure there are no signs of discoloration or damage from pests like aphids or thrips. Finally, inspect the centres of each bloom: when seed heads start appearing here it indicates that the flower has finished its flowering cycle so needs removing.
By keeping on top of this task regularly throughout the growing season, you can keep your bee balm plants tidy and encourage more impressive displays come summertime!
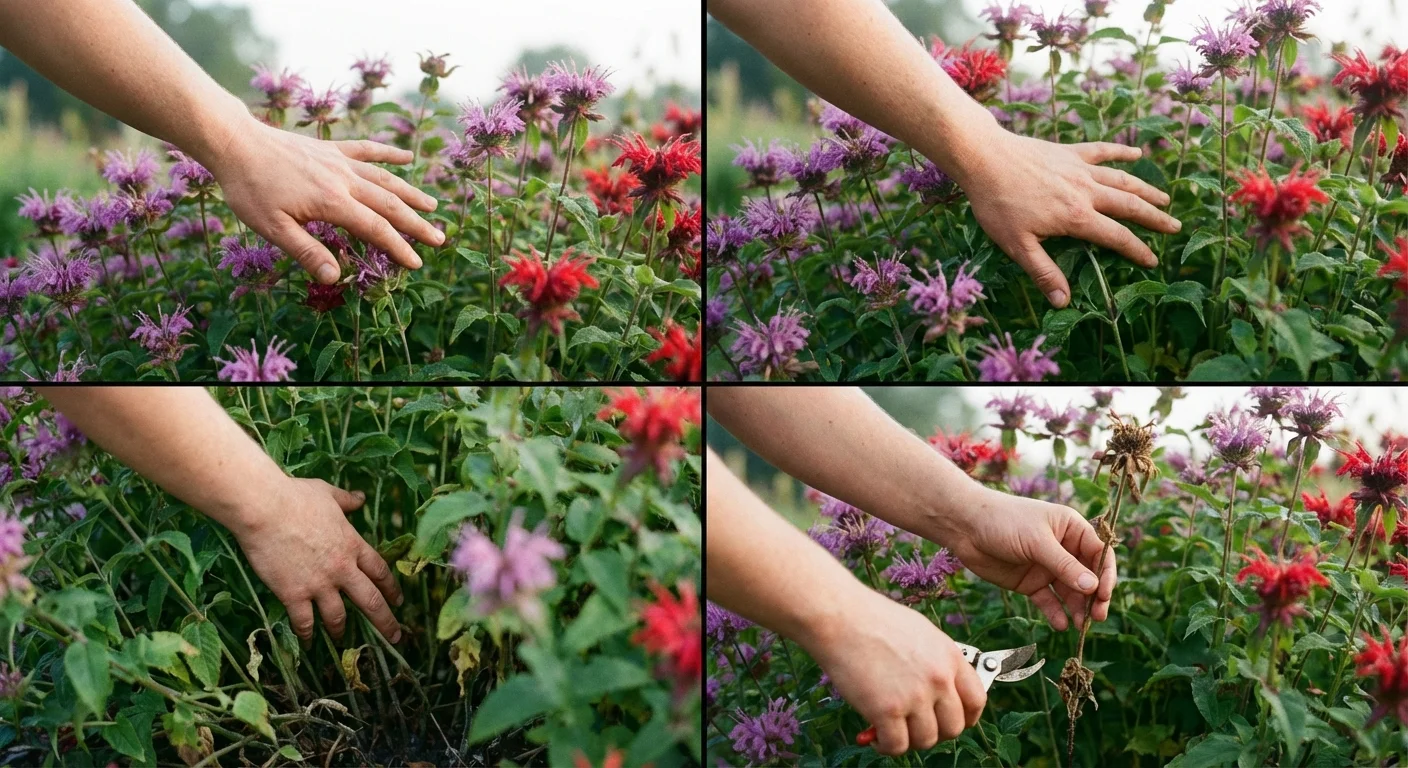
Steps for Pruning a Bee Balm Plant
Pruning your bee balm can help ensure a happy and healthy garden space year-round. Taking care when making those cuts is important, so always err on the side of caution! Here are four key items:
- Pinch back stems in order to get new spring growth; this involves cutting off the tips of the stems just above where they branch out.
- Remove any mulch that has been accumulating around the base of the plant, as this can reduce air circulation.
- Cut back severely if you’re pruning due to disease or pest problems, ensuring that all affected parts have been removed.
- When deadheading, be sure to pay attention to the depth of cuts made – too deep will damage healthy tissue.
Now let’s move onto some helpful hints for deadheading these plants.
Tips for Deadheading Bee Balm
It’s a relatively easy process, but there are some tips to keep in mind when you’re deadheading the flowers.
First, mulching around the plants will help retain moisture, protect them from weeds, and promote healthy growth.
When pruning spent blooms or seed heads, always cut back to just above where new buds appear on the stem—this will encourage new flower growth.
When deadheading with scissors or shears, make sure they’re sharp so that you don’t damage any of the other stems while cutting off old growth.
Deadheads should be removed regularly during the growing season, as it’ll help maintain the shape and size of the plant and prevent excess seeding, which can lead to overcrowding next year.
Deadheading also allows for more energy to go into producing fresh flowering stems rather than setting seeds; ensuring continuous color throughout the summer months!
Benefits of Deadheading Bee Balm
Deadheading is a simple task, but one that has many benefits for the health of your plants. Let’s explore what deadheading can do for this fragrant flower.
The main benefit of deadheading bee balm is to keep it blooming longer into the season. By removing old or faded flowers, you’re encouraging new ones to form in their place.
You’ll also be improving air circulation around the stems, which helps with both pest prevention and disease control—two common problems when growing bee balm.
Not only that, but by cutting off spent blossoms you’ll help your plant stay looking neat and tidy too! Deadheaded flowers will remain healthy until late in autumn if temperatures are mild enough.
On top of all these advantages, deadheading bee balm can be beneficial to wildlife as well! The nectar-rich flowers attract pollinators like bees and butterflies throughout the summer months, so make sure not to trim away any buds they may have already visited!
Cautions for Deadheading Bee Balm
It’s estimated that up to 75% of gardeners deadhead at least some of their flowers throughout the season, so you’re in good company if you decide to give it a try. But there are also some important cautions when thinking about deadheading this particular plant.
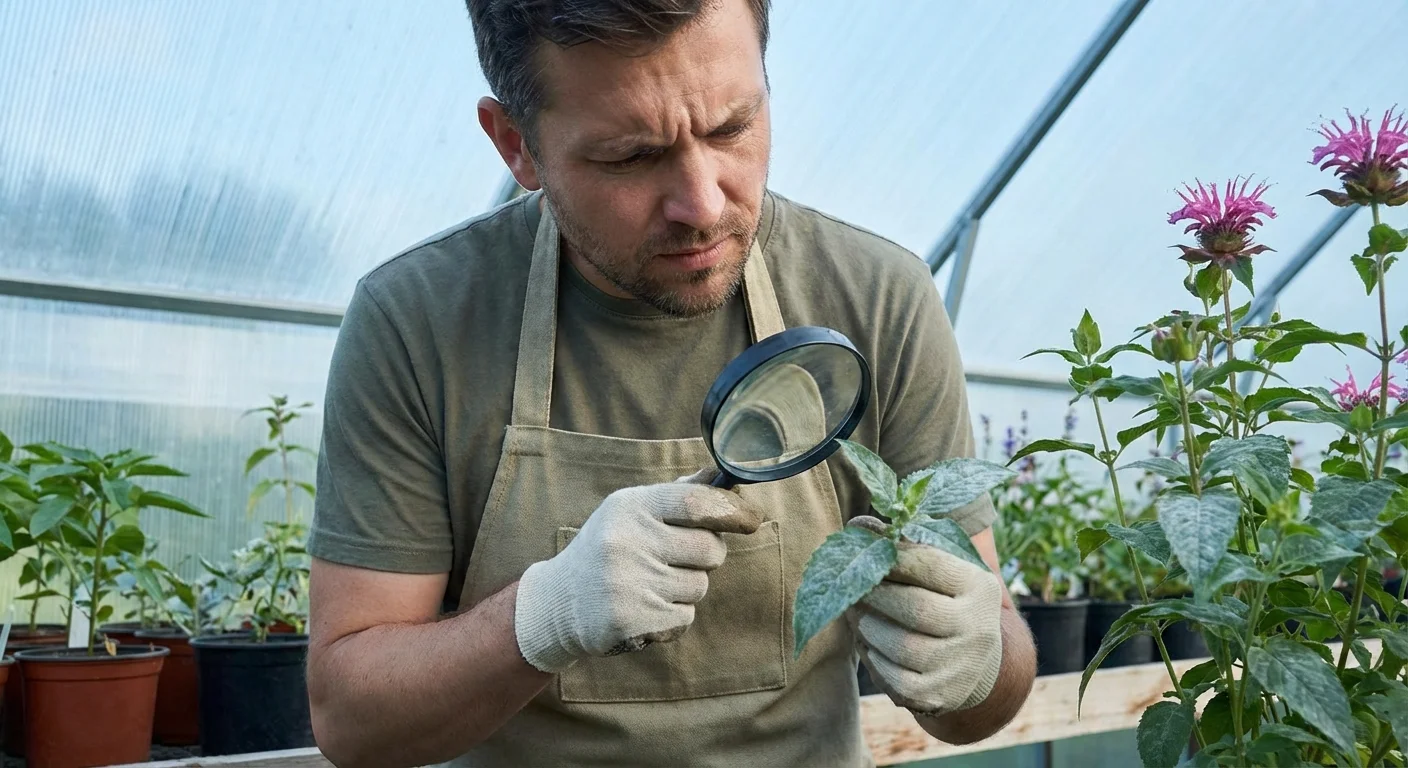
For one thing, powdery mildew can occur on bee balm if not managed properly. When pruning back parts of the plant as part of the deadheading process, make sure not to leave any ragged or jagged edges, which could provide an entry point for disease.
Prune cleanly and neatly above a set of healthy leaves rather than yanking off blooms with your hands. Additionally, don’t forget that bees love this flower; while they may not be overly attracted by its spent blossoms, they will still appreciate the fresh ones after you’ve finished trimming them away!
Common Problems with Deadheading Bee Balm
There are some common issues you may run into, so let’s take a look at them now.
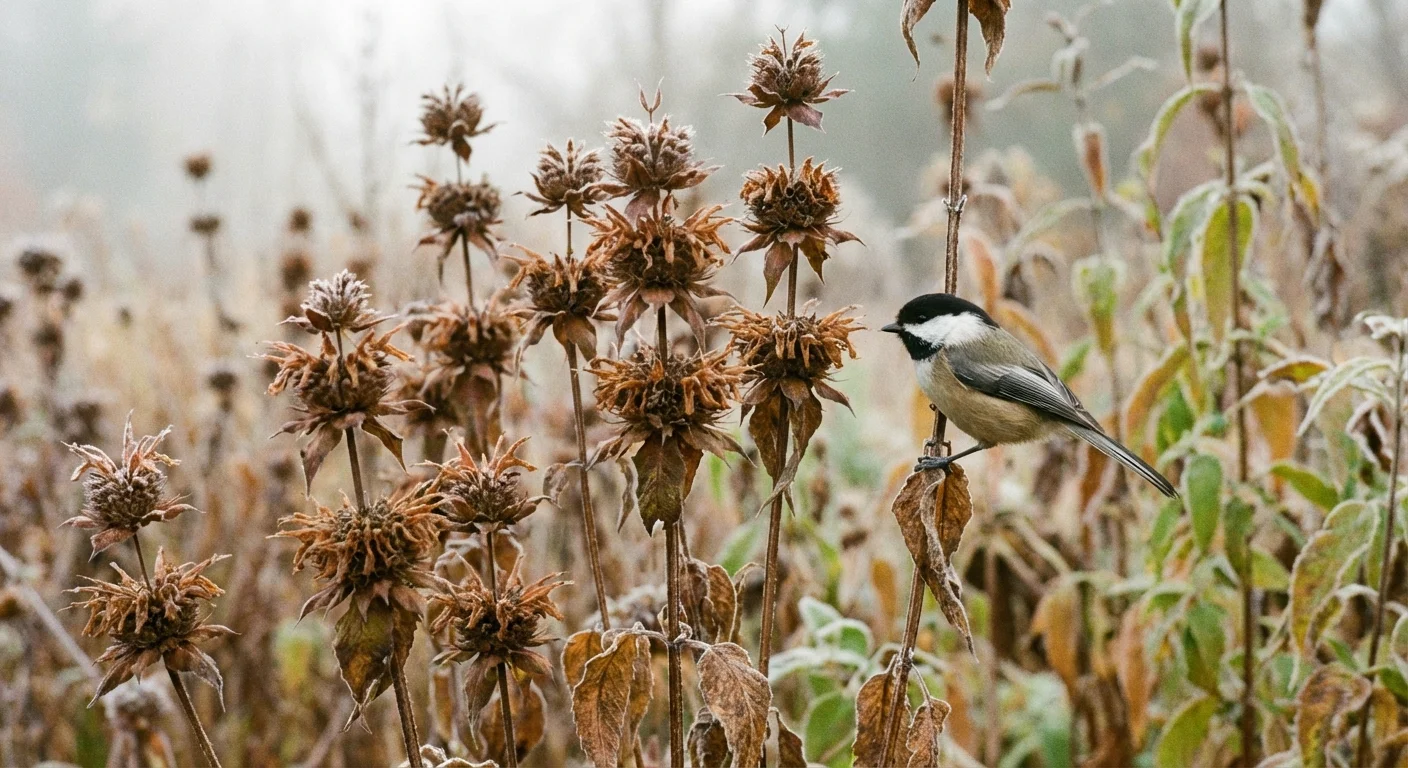
First off, be sure to remove any seed heads that remain after flowering. These can not only prevent further flowers from forming but also attract birds that eat the seeds and leave behind droppings that can cause disease in your plants. So make sure you give your bee balm regular ‘deadheadings’ to ensure healthy growth and plenty of blossoms throughout its bloom period.
The other issue you might encounter when deadheading bee balm is failing to get all the old flowerheads out as they die back. It’s important that you have patience here; carefully inspect each stem and remove every last petal before moving on to the next one! With this kind of attention-to-detail, you’ll reap rewards with more vibrant blooms come springtime.
Now that we’ve looked at how to properly deadhead bee balm, let’s move onto another equally important task: disposing of those pesky deadheaded blooms properly. Deadheading is a great way to keep your garden looking tidy, but it’s important to dispose of the blooms properly. This means removing them from the garden, either by composting them or disposing of them in a trash can.
How to Dispose of Deadheaded Blooms
Deadheading bee balm is a vital part of the plant’s health, but disposing of the blooms can be an afterthought. In fact, according to the Royal Horticultural Society, more than 80% of gardeners are unaware that deadheaded blooms need to be removed correctly. Here’s how you can do it:
Firstly, make sure to dispose of all cuttings as soon as possible; they can become breeding grounds for diseases and pests if left on the ground. Collect them in a bin bag or container and place them at your green waste collection site.
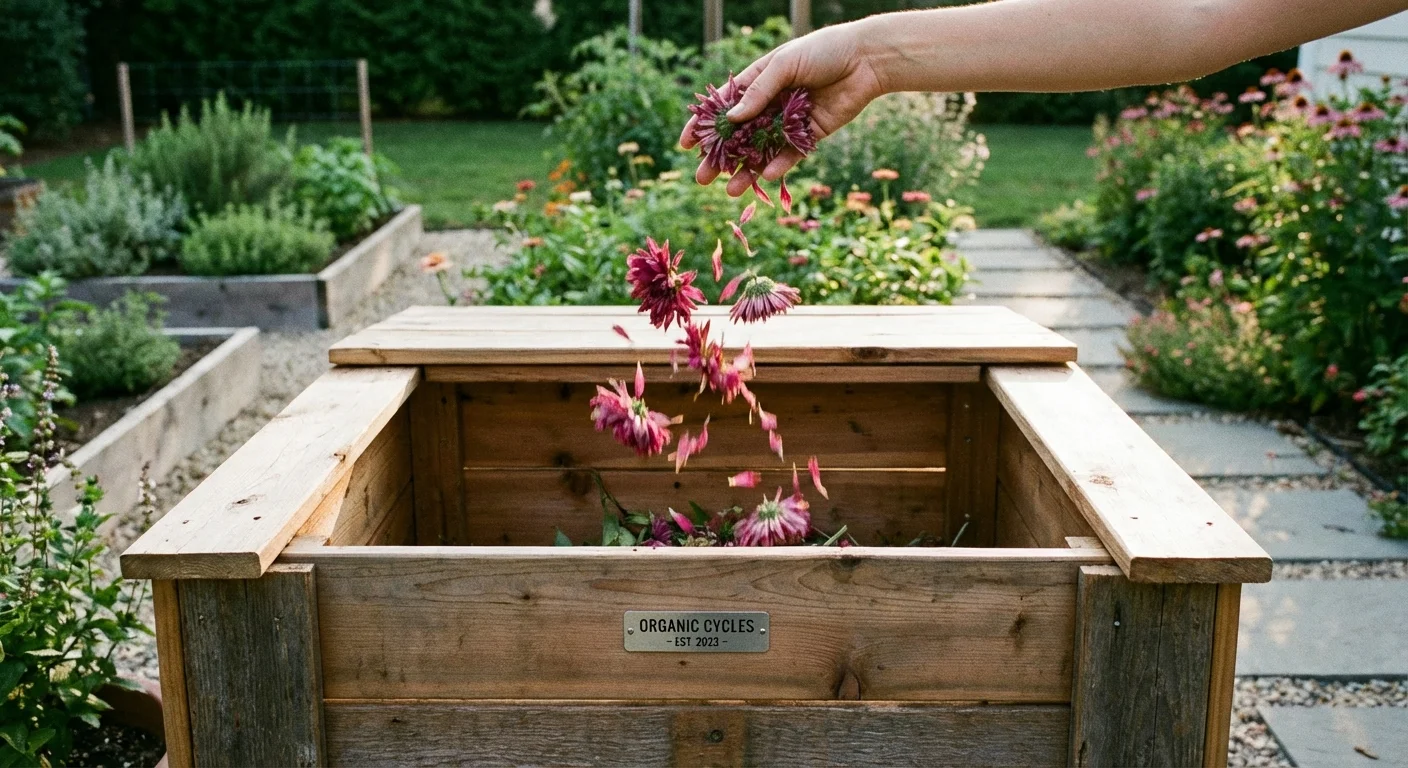
Alternatively, you could add them to your compost heap; this will help promote healthy soil nutrient levels while also providing habitat for beneficial insects such as earthworms.
Next up is burning; take care when doing so because some plants may contain harmful chemicals that can harm air quality when burned.
If you decide to burn your deadheaded blooms, then find a safe area away from combustible materials like wood or dry grass before lighting a fire or using an incinerator designed specifically for garden waste disposal.
Additionally, check with local authorities about any restrictions in your area regarding open fires outdoors.
With these points in mind, you’ll have no problem disposing of those unwanted deadheads safely and efficiently, allowing you to enjoy their beauty without worrying about what happens afterwards!
Alternatives to Deadheading Bee Balm
Sometimes, we feel like the only way to keep our plants looking their best is by deadheading them. But what if there were other options? Alternatives to deadheading bee balm might just surprise you!
Divide and conquer—literally. Propagating bee balm can be done through division in early spring or late autumn, when new growth begins emerging from the soil.
This allows for multiple plants with the same characteristics as the parent plant, thus providing an abundance of flowers without any additional effort!
The process involves carefully separating each clump into smaller sections before replanting them individually—think of it as a mini makeover for your garden bed!
Plus, dividing can actually help encourage even more blooms and provide better air circulation throughout the area.
How to Care for Bee Balm After Deadheading
When the flowers have faded and it’s time to start removing spent blooms, you’ll be happy to know that bee balm care doesn’t end there. By following these simple tips, you can keep your bee balm looking its best through the growing season.
When deadheading a bee balm plant, it’s important to divide the plant every few years or so. This will help keep the soil healthy, which in turn helps prevent mildew from forming on the foliage. Once divided, simply replant into freshly amended soil and water well until established.
To further aid in keeping your bee balm looking great throughout the summer months, remove any seed heads that may form – this will help to keep the plants shape intact and encourage new growth.
Conclusion
Deadheading bee balm is a great way to keep your garden looking beautiful and vibrant. Not only will you be able to enjoy the flowers for weeks longer, but you’ll also make sure that no unnecessary energy is wasted on seed production.
With the tips and tricks outlined here, you can maximize flower production with minimal effort, making your garden look better than ever before.